
bs'd
Good Morning, Good Afternoon, and Good Evening!CRAFTY PEEPS!
I am hosting the challenge this week at Shopping Our Stash and the theme I chose was
Cuckoo For You - Use Clocks
You can use clocks, stickers, stamps, charms, etc.
The project I created was inspired by Suzna of My Butterfly Kisses. I have saved three tuna cans since January 6th when I first saw her project. We always buy the small cans, so I knew I would have to make some adjustments...but I like challenges.
 I started the project, planning to follow the tutorial and fabricate the clock parts; however, once I began, it occurred to me that it might be fun to use the Tim Holtz Alterations™ Tick Tock Die.
I cut five shapes from corrugated cardboard to get the depth I wanted in my frame.

I found these cute birds in my embellishment cup and decided to add them to the front.
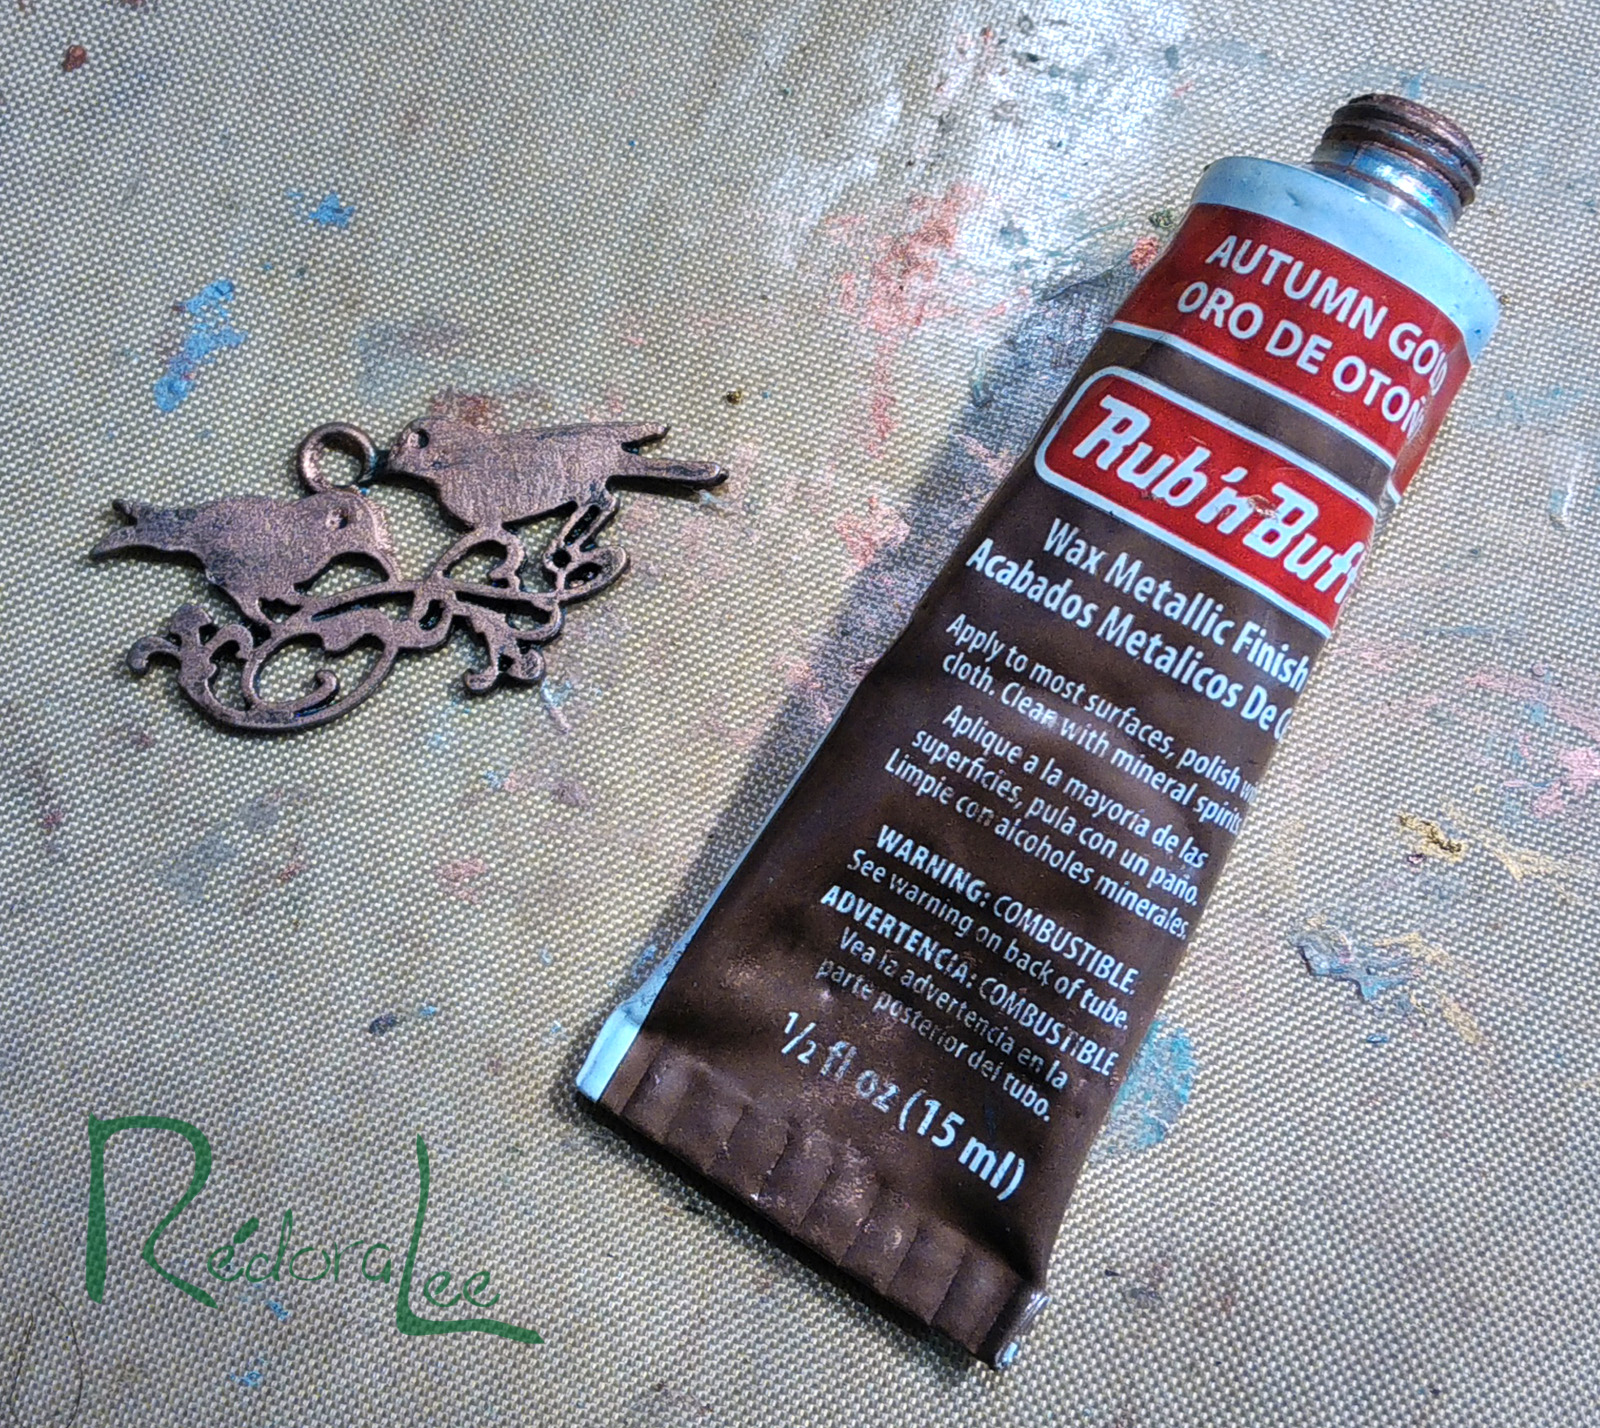
The Rub 'n Buff® Ruby Red, Autumn Gold and Patina achieved the look I wanted.


I used Earth Safe Finishes® Chalk It Up™Huckleberry Cobbler as the base color, and Americana Decor® Chalky Finish™ Serene on the back.

To achieve the rusted metal look desired, I applied: Americana® Dazzling Metallics "Glorious Gold," "Splendid Gold," and "Festive Green." I also used Rub 'n Buff® "Patina," "Ruby Red," "Grecian Gold," and "Autumn Gold."


There was really no rhyme or reason in how I applied these mediums. I just kept working with them until I was pleased with the result. I buffed my metallic wax layers, but if you want a more rustic look, do not buff. The frame braces were created using two latch die cuts from the Alterations® Hardware Findings. I used lightweight chipboard to cut the latches.

Deciding on the contents of my clock was a major decision. I never CASE another designer' project exactly. Usually, I will take the basic idea (Tuna Can) and then go off in a totally different direction. (I actually have another tuna can project I'm working on that I think will be great fun.) In this case, I wanted to stay with the clock theme, so I looked through my metal embellishments and came up with these clock pieces. After that, I just grabbed flowers, berries, etc., and put them where ever they fit.

I painted the inside of the can to match the oxidized metal appearance of the outside.
It was necessary to elevate my clock works since my acetate window would stop at the beads and washers that cover the part of the legs that extend inside the can. I used a plastic bottle cap to do this.

I cut a piece of designer paper to serve as a background and adhered everything with Locktite® Super Glue™ I added a few gears, flowers berries and brads.

Once I decided on my clock face, I added some bling and a brad and then attached the acetate window. I used super glue to hold everything down.
When I added the bottle cap to my clock, I also secured it by adding this metal wind up key and securing it with a nut from one of my nut and bolt sets.

The rear rest was made using a Tim Holtz Alterations® Game Piece

My teammies created some fabulous projects for your inspiration.
Stop by and leave a little love!
Hugz,
Chana


This is stunning, oh my, I just love it! Hugs, Lori m
ReplyDeleteHOLY MOLY this is even more impressive when you've seen the STEPS! all i can say is ***WOW***!!!!!!!!!!!!
ReplyDeleteAwesome project, fabulous that you took us on your journey from can to clock with your tutorial. You sure rocked the theme!!!!
ReplyDeleteI just can't get over how amazing your tuna can clock looks! There is sooooo much eye candy packed into this, and thanks for the tutorial of how you made this! Absolutely amazing!
ReplyDeleteChana! I am at a loss for words. This is an unbelievably AWESOME project!
ReplyDeleteWow - great project thanks for sharing!!!
ReplyDeleteOMGoodness! This is the coolest thing ever! I can't believe you used a tuna can to make this gorgeous project. The key in the back is brilliant. It really looks like it should work. Bravo! hugs, Teresa
ReplyDeleteChana this is so incredibly amazing!! Your art never ceases to astound me!!! I bask in your crafty awesomeness!!
ReplyDelete