
Hello, Crafty Makers!
This month at A Place to Start, we are challenging our players to investigate new and exciting techniques for using stencils!
This watermarking with stencils and distress inks technique is a new one for me.
So I get to check another box in my 2019 personal challenge.
~~~~~~~
"The Art of Silence"
So I get to check another box in my 2019 personal challenge.
~~~~~~~
"The Art of Silence"

"For The Love of Yoga"

Step Tutorial
The supplies and tools listed are what I used. Please use whatever you have on hand. Please note that inks that are not reactive with water will not give the same result as Distress and Distress Oxide Inks. I have provided links to some products.
Supplies and Tools
Paper
1 pc white cs - 4.25" x 11.00" scored at 5.50" (A2 card base)
1 pc white cs - 4.00" x 5.25"
1 pc black cs - 4-1/8" x 5-3/8"
1 pc white cs - 4.50" x 5.00" (for window back panel)
Inks - Distress Oxide (or ink of your choice)
Stencils
ColorBox® Art Screens: "SwirlDot" and "Funky"
Dies
Flower Cutting Dies (use what you have)
Sizzix Pierced Rectangle Die (for window)
Stamps
Yoga Frogs w/sentiment (use what you have)
~~~~
Stamping Platform or Acrylic Blocks
Die cutting machine
scissors
paper trimmer
tape runner
glue (wet)
water (mister)
paper towel
craft mat
~~~~
Step 1
1. Using your blending tool, apply distress inks to the 4-1/2"x5.0" white cardstock. Note: The decorative back panel for your window will be cut from this card. Keep this in mind as you apply your ink and your stencil design. Set aside.


2. Bring your stencils and water mister to your work area. Select your first stencil and lightly mist it with water. You should have small, fine bubbles, not big ones.


When you are satisfied with your moisture level, place the moist side of the stencil over your inked panel.

Cover the stencil with a paper towel and slide your (in opposite directions) hands across the towel.

Remove the towel to reveal your design. Repeat the process with your second stencil. Set your panel aside to dry.


3. Create your card base. If you have not done so already, cut a piece of white cs to 4-1/4"x 11.00" and score at 5-1/2". Fold on the score line and burnish.

4. Cut a piece of Black cs to 4-1/8" x 5-3/8". Layer on top of the white card base. There should be a 1/16" border on all sides.

5. Cut a piece of white cs to 4.00" x 5-1/4". Select the appropriately sized rectangle die and use it to cut out the window section. There needs to be at least a 1/4" margin at the top of the window and on both sides.


6. Using the same rectangle die or a slightly larger one, cut a section from your colored panel. While my panel was still wet, I applied "Wink of Stella" for a little shimmer.
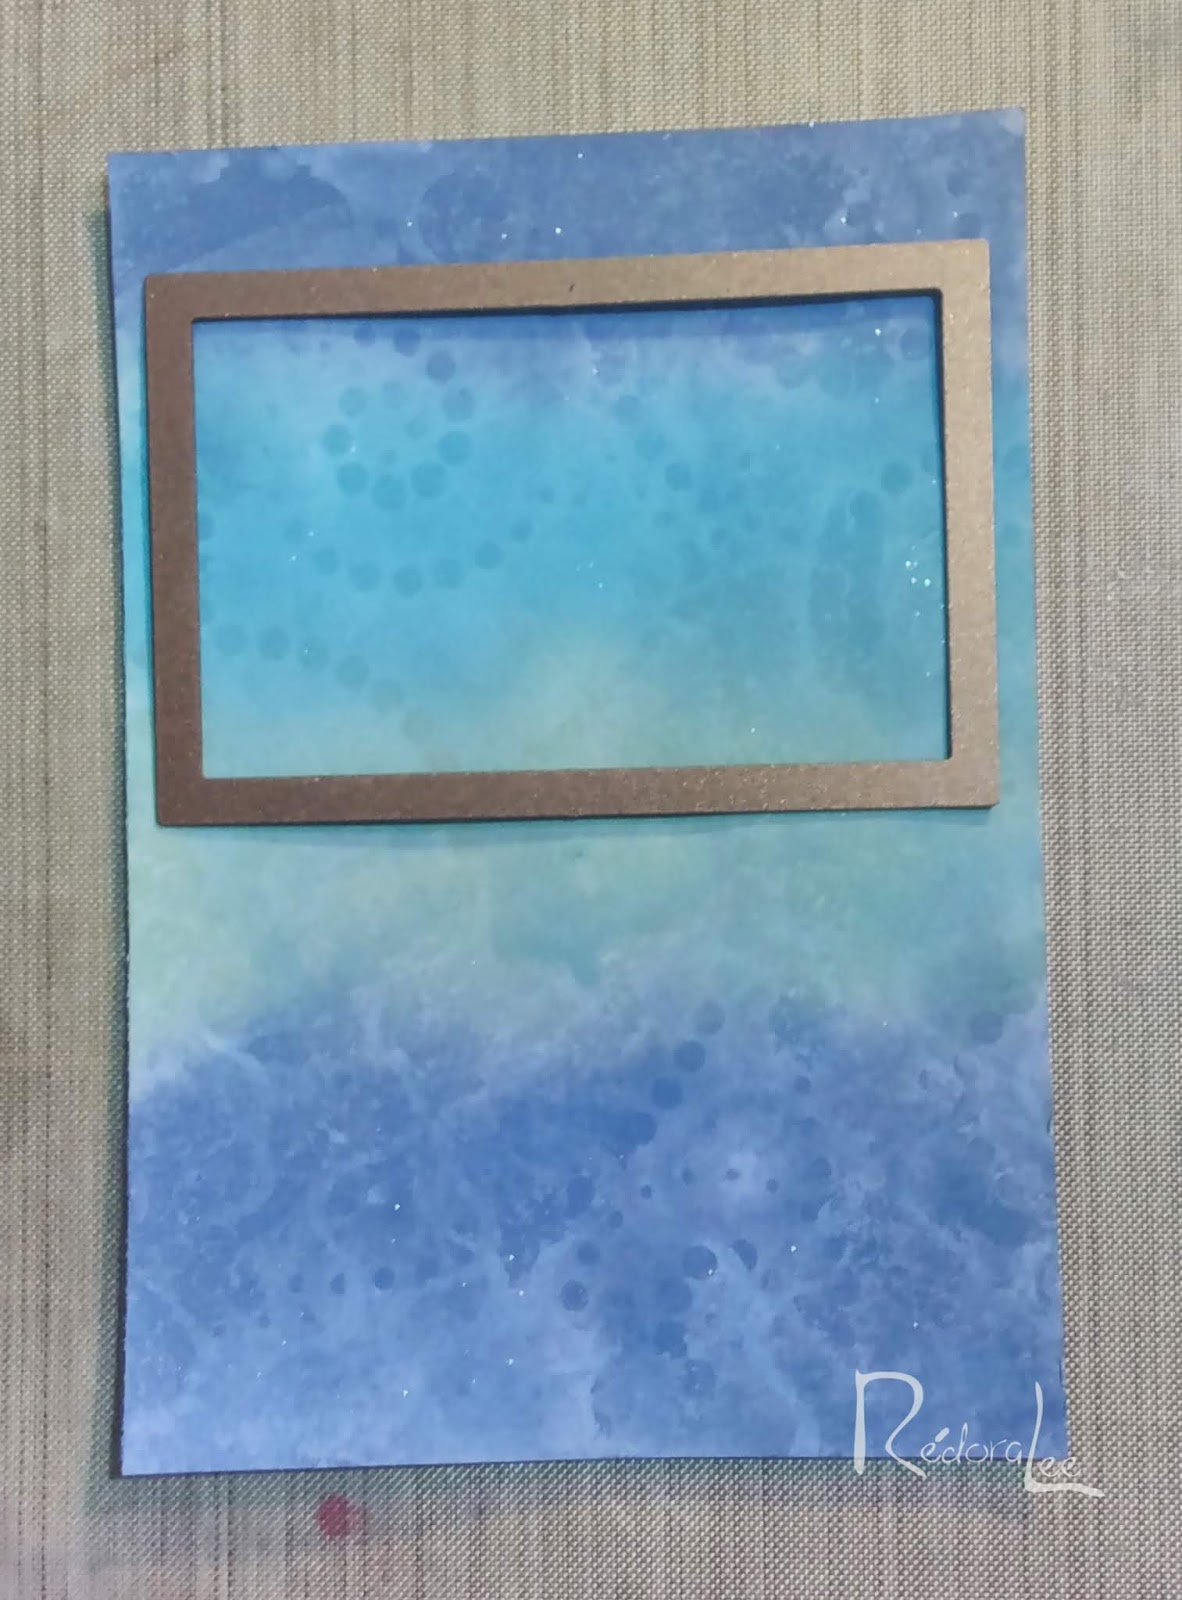
7. Position your decorative panel and face panel (do not adhere).

Determine where you will place your additional elements such as your flowers, images, and sentiment.

8. Using a tape runner and wet glue (placing wet glue over the runner lines will allow a little wiggle time) adhere the decorative panel to the base of your card.

9. Use your stencils and Distress Inks to decorate the white window panel. You may leave this undecorated if that works better with your design.


10. Stamp your image and sentiment onto the window panel and adhere any additional embellishments.

On the back of the panel, adhere a double layer of double-sided foam tape. I used pieces left over from two other projects.

~~~~~~~

Thanks for stopping by!
Click HERE to be taken to our Challenge
HUGZ,

Challenges Entered


