Wednesday, April 28, 2021

2021 Stash Bash #12 - For The Love of Mushrooms

 Hello, Crafty Makers!

Today, I am sharing the second project I created this past Friday. The first project HERE was inspired by a Tracy Evans YT video.  This project was inspired by a Jo Rice video.
Just For You!
Lavinia Stamps just released two new products.  Since they were released the same day that Jo's video aired, it was an ideal opportunity to use what I have on hand to create a similar card. I love both Lavinia and AALL & Create products, but they are pricey, and I am broke! :D)  My main focus was on using my stencils more effectively in my mixed-media projects.

I used my double mushroom, instead of my single mushroom (which would have more closely resembled Jo's tutorial) because it was a better fit for the little fairy scene at the bottom of the card.  I must admit that I did yield to temptation and ordered the "Pippin"™ image.   I have too many mushrooms and grasses so I won't order the new stamps!

Here is the link to Jo's Tutorial.   

Thanks so much for stopping by!
Hugz,
Chana Malkah
Stuff I Used: (blue = Link)
ColorBox® Art Screen - Geometrics
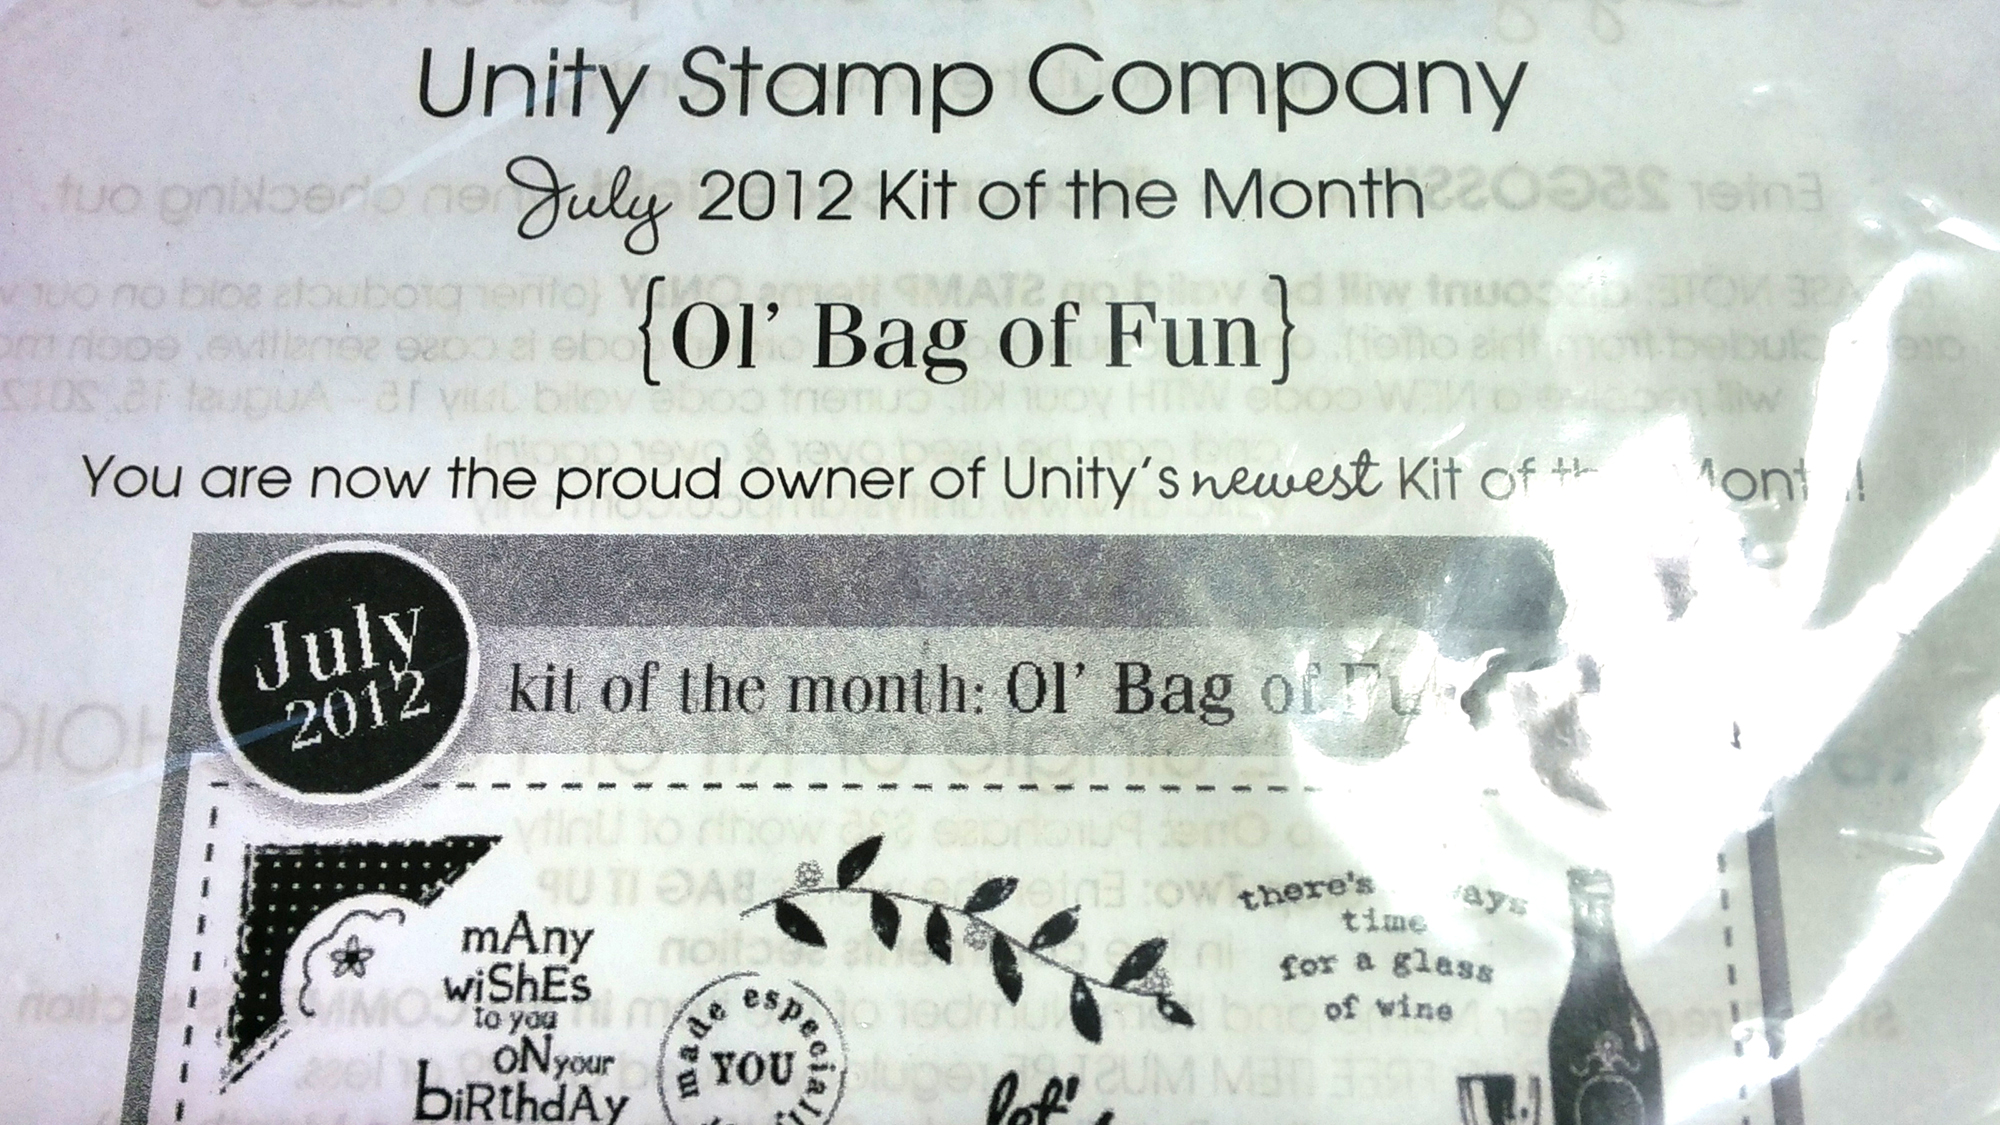
Unity Kit of the Month - July 2012


Craft  Press - Smoothing Tool

Tuesday, April 27, 2021

SOS #444 - I Made This For You Mom!

 Hello, Crafty Makers!

Welcome to another fortnight challenge at 

My mother died on Mother's Day. I was sixteen years old.  Until I had children of my own,  I did not celebrate the day.  I celebrate my mother's life.  I celebrate my memory of her smile, and I celebrate all the little nuggets she gave me that have sustained me over the years.

In our community, it was the custom for those with living mothers to wear red carnations on Mother's Day and for those whose mothers were deceased to wear white ones. I wanted this card to be as colorful as possible, and I wanted to have the white there as well. 

The flowers were stamped using VersaMark Embossing Ink and colored with PanPastels.  The great part was no embossing was needed.  
I used heavyweight vellum because I couldn't find my lightweight papers. I liked this approach as an alternative to embossing the flowers and coloring the back of the vellum.  Because this heavy vellum is more opaque, it is difficult to tell from the photos just how soft and pretty they are IRL!
The confetti splatter was made using Distress Oxide™ Inks
The "Stash" items in this project are: 
Stamps: Flowers, Leaves, I Love You sentiment.  20 years.
Brads:  In my stash for 16 years.
The Happy Mother's Day sentiment was created in Word and printed on my card panel.

Thanks for stopping by!  I can't wait to see your submissions to the challenge!
Hugz,
Chana Malkah
Stuff I Used:
Floral Stamp:  Martha Stewart
Brads: Bo Bunny

Saturday, April 24, 2021

2021 STASH BASH #11 - Party Animals

 Hello, Crafty Mates!

Today is a rainy, cold day, and I could not bring myself to study or read one more political document. Instead, I decided I would surf YouTube for a card tutorial.  As is my usual these days, I started with Tracy Evans and Jo Rice.  I ended up creating projects from both tutorials.

The great thing about stash surprises is that they often provide a little justification for the habit of buying crafting supplies and then allowing them to lay dormant for years.  That was definitely the case with this project!
Party Animals
As soon as I saw Tracy's thimble card, I was in love!  I do not own any of the AALL &Create Stamps that she used in her video, but I own a ton of "critter" stamp and die sets, and I figured I could find a thimble image on Google.  Imagine my surprise when I found that I actually had a thimble stamp.  It was in a Unity Stamp Company Kit of the Month from September of 2012.  I had never opened it!
This thimble was a much better match for my design than the thimbles I downloaded.  I still plan to use the other thimbles on future projects!
I added the fourth member of the band on the inside!

This project was fun and easy to create.  

Thanks for stopping by!
Hugz,
Chana Malkah
Challenges:
-------------------------------------------------
Stuff I Used:
Unity Stamps - September 2012 Kit - The Vintage Touch
 

Monday, April 5, 2021

A PLACE TO START - APRIL CHALLENGE - ANYTHING GOES/MAKE IT ELEGANT


Hello, Crafty Peeps!
In this age of raggedy jeans and cropped tops, I often long for a return to simple elegance!  
This month at A Place To Start, we want to see your elegant papercraft projects.

I decided to dig out one of my Graphic 45® designer stamps. Their retro stamps are fabulous and always quite elegant!

I used Distress Oxide inks to create my background and stamped it with one of my large background stamps.  I stamped a sentiment from the collection onto black cardstock and heat embossed it with white embossing powder.  G45 stamps do not generally come with dies, so stamped the image onto smooth 80lb paper, colored her with Copics, and then fussy cut her.

This was a fun and relatively quick project!  I was pleased with the outcome and I believe it is an appropriate response to the challenge theme.

I hope to see your project in our challenge!
Thanks for Stopping By!
Chana Malkah
Stuff I Used:
Stamp: Graphic 45® Couture

Sunday, April 4, 2021

613 Avenue Create - April 2021- Challenge #4 - Anything Goes w/Optional Twist: In The Garden (Create A Card for Spring)

 Hello, Crafty Makers!

613 Avenue Create's April challenge is a chance to shake off the "Winter Woes" and to "Revel in the Magic of Spring.  Anything you might find "In The Garden" can be used as the theme of your project!

BLOOM
Where You Are!
This project was inspired by a Jo Rice Tutorial. 
Lately,  I find myself having the most fun in my attempts to recreate trendy projects using the stamps I have on hand. I must admit that the projects involve quite a bit of, "Oh, wait, I know I have a flower that looks almost just like that," followed by forty-five minutes to an hour looking for "that" flower stamp.😀 The redemption comes from the joy of finding "that" stamp and few others too.

Owning all of the AALL & Create Stamps is not in my crafting budget.  I have purchased a few (Thanks, Uncle Sam,) and I have set a goal of purchasing bundles when offered at Hochanda and Craftstash.  Interestingly,  I have discovered many stamps in my stash that make great substitutes.  In November of 2020, I used my birthday money to order a bunch of border stamps from AliExpress. They were cheap, and the store owner showed pictures of how these stamps could be cut apart and used individually! I use them all the time as a substitute when following a tutorial by Tracy or Jo.

This Unity Stamp has been stash since 2012.  I used to get the monthly kits, most of which went unopened. 
I planned to use this stamp with the script but it did not work. I opted instead for fussy cutting the petals and stacking them on the card. I stamped the image three times,  removed the leaves from all but one, and added them to the bottom of the floral spray.  I left them uncolored to continue the scheme of black and white spotlighting in the project.

This project attracted my attention for two reasons, the diagonal stenciling on the two layers, and the black and white spotlighting.  In the tutorial, Jo did not use Bundled Sage.  I just love Bundled Sage and Wilted Violet together. I used my  Crackle Stencil to add Sage highlights.
This beautiful butterfly is a Martha Stewart Stamp Set. I purchased this on December 14, 2011.  I used it for the first time two weeks ago.  It now resides in my "special" stamps container.  I don't want to lose it again.
One of the fun techniques I have learned in my recent classes is "partial stamping."   This image is the barrel of a fountain pen.  I only wanted the word "imagine."  I think partial stamping takes the project to the next level.  Now I look at my stamps through a new and exciting lens.
Another technique I am using more these days is stamping words from different sets and using them on my projects.  I am also doing more splattering.  I used Wilted Violet and Fossilized Amber to create the confetti splatter on this card.  
My blooms were "faux" watercolored with distress ink and pastel chalk pencils. I also used oil pencils to darken the center of the blooms. The spot color on the butterfly is Liquid Pearls.

I know this was a bit of a picture bomb.  Thanks for looking!
Hugz,
Chana Malkah

Stuff I Used:
Flowers: Unity Stamp Company- "everyday fairytale" (December 2012 Kit of the Month)
Stencils: Andy Skinner - "Bubbles" (Discontinued) 

Friday, April 2, 2021

2021 STASH BASH #10 - ART IS - LEARNING NEW STYLES

 Hello, Crafty Folks!

This project is "technically" a stash bash even though the stamps I used are fairly new.  The acrylic paints I used to create the background are six or seven years old.

ART
I created the background using bubble wrap and acrylic paint.  I have learned a lot about using unconventional materials in a class that I purchased from Gerry's Craft Room.  I also watch a lot of Tracy Evans and Jo Rice Videos.

My rose-colored staple (a bit crooked though it may be) is not showing in the picture as well as it does in real life. It is amazing how these small details add so much interest and depth.  I debated adding a Pink Poppy to this very gold and green background.  In the end, though, I thought the contrast worked out okay!

I had fun exploring and playing around with various techniques.  I actually created two backgrounds but I am still unsure how I will finish the second card.  I may have to live with it just a bit longer.

Thanks for stopping by!
Happy Crafting!
Chana Malkah
Stuff I used:
AALL & Create - #401 - Containers
AALL & Create - #395 - Papaver Poppies
Prima Marketing - Engraver

Note:  The Hubster purchased my Rich Art™ Acrylic Paint at Dollar Tree.  So the cost was $12.00 for a full set. 

Thursday, April 1, 2021

2021 STASH BASH #9 - HINDSIGHT (ALMOST BOKEH)

HELLO, CRAFTY PEEPS!
Last night, while sitting through a particularly boring Zoom meeting, I thought I would work on my Bokeh skills. 
 The term comes from the Japanese word boke, which means "blur" or "haze."
Unfortunately, the white ink I used to create my Bokeh circles faded more than expected.  By the time the stamping was completed, my circles were almost invisible.  I still like the final project, but the Bokeh effect would have made it an even better project!

My latest obsession is Lavinia Stamps.  Silhouette stamping is just so cool. I love creating these ethereal scenes. This card measures 7.25" x 5.50." I rarely create large cards, but I felt that this scene would look "cramped" if placed on a smaller-sized card base.

I wish the glitter had photographed because it adds so much drama to the scene.  Here,  it looks like snow!  My initial idea was to use Panpastels to color the background but the Distress Oxide Inks worked well and my makeup sponges made blending a breeze.  I was unsure if the Bokeh technique would work on top of the Panpastels™.  I probably should have used the Panpastels™ white for my circles.  Next time!

Thanks for stopping by!
Hugz,
Chana Malkah
Stuff I Used:
Sentiment:  Unity Stamp Company - "Bold Insight"