Thursday, May 21, 2020

Redora Lee Beginner's Series - Pocket Tag Card - Stash Party #19

Hello, Crafty Makers!
Recently, I decided to try adding content to my YouTube channel again.  I never really had that many followers, but I need the video making/editing practice and I like the idea of having videos to go along with my step tutorials.

I planned a series of videos that will help those who are new to cardmaking create simple cards using limited resources. I used the five (5) cards from one stamp challenge that I recently completed as the first tutorial of the series. These Pocket Tag Cards are the second in the series.  If all goes well, I will review products, talk about techniques, and money-saving hacks.  I have a long way to go but I believe I will enjoy getting there.

POCKET TAG CARDS
I created this Pocket Tag Card for a crafting friend.  I wanted to give her a charm and a clear stamp and I wanted to present them in a crafty package so I came up with this Pocket Tag Card Idea.  It is an original idea to me, but I imagine it has been done before.

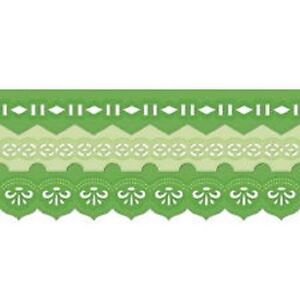
I used a Heidi Swapp stencil and Ranger Distress Oxides to create the paper design for my Pocket Card.
I stenciled the word "Art" on the back After I applied Perfect Pearls to embossed design.
I had to get a new editing program and the ups and downs of learning how to edit necessitated the creation of three more Pocket Tag Cards.  The Hubster says I am getting better with each video, he is so well trained! :D)
Here are the results of my other efforts!
Baskin Robbinsesque
Sunshine Art
Tropical Punch

Thanks for stopping by.  
The Step tutorial and supply list can be found below.

Step by Step Tutorial
(Click on the images to see detail)
Cut a piece of cardstock to 4.5" x 11.0"
On the long side, score at 4.5" and 9.0"  
Trim 1/2" from the end of the 4.5" panel.  Burnish scorelines.
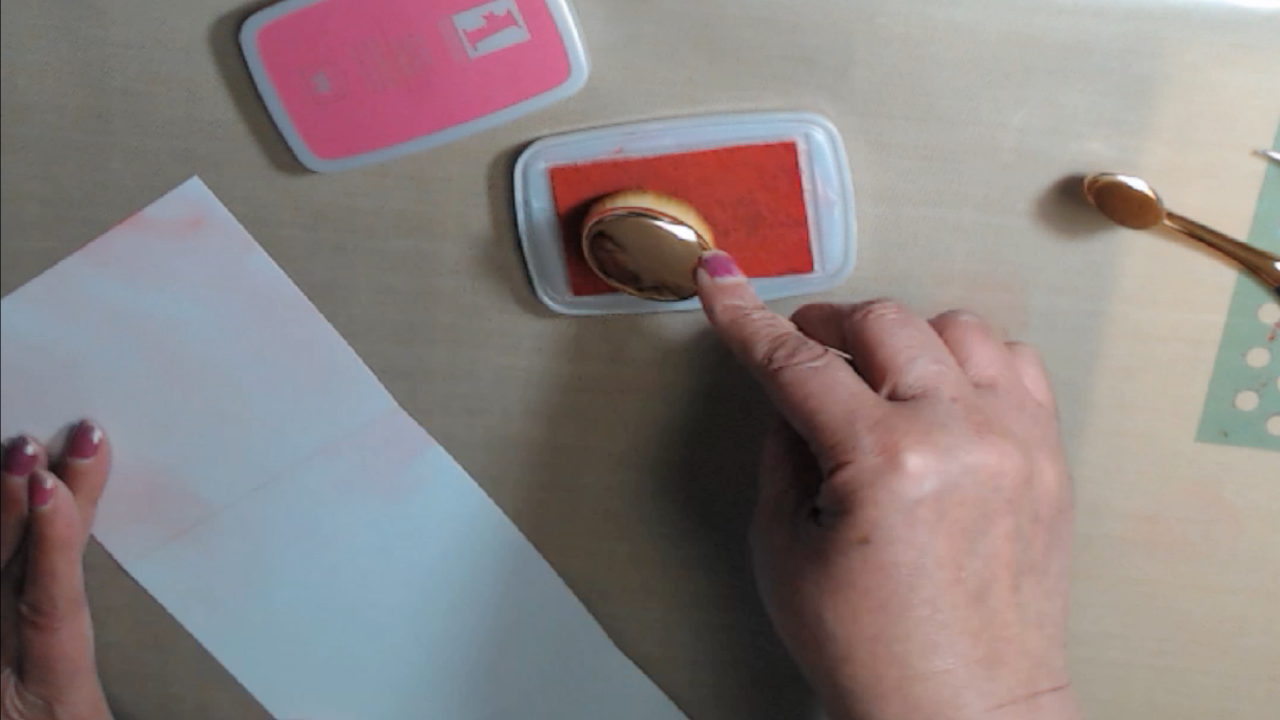
Begin applying your base ink to the back of your paper. Ink can be applied using either the direct-to-paper method (see Tropical Punch above) or by using blending brushes.  It depends on your planned design.
Use your anti-static on the surface of your card.
Position your stencil and secure with either scotch removable tape or Pixie Spray. Use the direct-to-paper method to press VersaMark embossing ink into the stencil.  Move stencil as needed to cover the paper.
Apply the clear embossing powder and use your heat tool to emboss the stenciled design
Apply your second ink color to your card!  The ink will only take in the places where the embossing powder did not adhere. I used Vintage Photo Distress Oxide.
Optional: Apply a coat of Perfect Pearls, "Perfect Pearl" to the embossed design. Use the misting technique to set the Perfect Pearls (Spray water into the air and pass your card through the mist. Do not spray directly onto the card.)
After the Perfect Pearls has set, your card should have a satin look.
On the 4.5" side, use a punch to cut a thumb slot.  Use a corner rounder to round the ends of the card.
Cut your decorative border or edge on the small flap.
Apply double-sided tape to the right and left edge of the bottom flap (the one with the thumb slot.) Stop just below the rounded corner.  This will make it easier to put your tag into the pocket card.  Remove the release paper seal your pocket.
Assemble the elements you plan to use for your tag.
Decorate your pocket and tag as desired.

Stuff I Used:


Wednesday, May 6, 2020

A PLACE TO START - MAY 2020 CHALLENGE - CREATE A CUSTOM BACKGROUND

Hello, Crafty Makers!
We have a fabulous challenge for you this month at A Place To Start!
We are challenging all of our players to create their own custom backgrounds.  We accept all crafts, so you do not have to make a card, however, you cannot use designer paper.   I know this is a challenge Gelli Plate Artists can nail just using their wipe-offs!😊
Love Life
My card is being posted a couple of days late.  I am not always the best at anticipating how much time things will take.  I signed up for a bunch of Jewish Learning classes, not thinking that they might overlap some of my gig work and my crafting!  C'est la vie!

Decorated envelopes are always nice!  I only do them when I can use a simple image and not worry about decorating the inside.
Without those small flatback crystals, I don't think this card would have the same visual impact.  The waxed linen thread is perfect!
This is the most decorating I have ever done on the inside of a card.  The sentiment expresses my attitude.  I love life!  In spite of it all, life is good!
 <><><><><><><><><><><><>
How to create these backgrounds:
Use the stencil(s) of your choice
  • Cut a piece of white CS to 11.0" x 5-1/2".  Score at 2", 4-1/2" and 9".
  • On the backside of the card, apply Distress Oxide Inks: (Blend until you achieve your desired color.  
  • Next, cut the decorative edge on your small flap.  I positioned the die at 1/4" from the edge!  (The positioning of the die will be determined by the image you plan to stencil on your flap and the size of your border die).
  • Positioned your stencil so that a small part wraps around the back when folded.  Color in the stencil using your blending brushes.
  •  Allow the outside to dry thoroughly before decorating the interior. Use a blending brush to cover the entire surface with Vintage Photo Distress Oxide Ink. Wipe an anti-static bag over the inked surface. Use Pixie Spray or a low tack tape (like Scotch removable tape)to the back of your background stencil. (this design can be the same as the front. I just chose to make mine different.) Make sure that both the card and the stencil are secure. I applied two layers of VersaMark Embossing Ink. The first layer was applied using a piece of cut foam. The second layer was applied using the direct to paper technique and then embossed with clear embossing powder.
  • If you are using a second decorative stencil as I did, position the stencil on the inside and color it with blending brushes. After the stencil has been colored, you can apply Perfect Pearls or Wink of Stella to the interior surface. If you use Perfect Pearls, Remember to mist the stencil design (spray water into the air and then pass your card through it a few times) to set the Perfect Pearls.
  • Cut a piece of text weight paper to a size slightly smaller than the center panel and adhere it to your card using a glue runner. Stencil in the Design. You can use CS instead of Text!
  • Use a stamping platform to stamp your sentiment.
  • Secure your flap with cord (I used waxed linen ) or ribbon. Add other embellishments as desired.
<><><><><><><><><><><><><>
Stuff I Used
Heidi Swapp Stencils
Martha Stewart Stencil


SPELLBINDERS-Edgeabilities-Mix-amp-Match-CLASSIC-DECORATIVE-INSERTS-TWO-E8-010-Die

Monday, May 4, 2020

2020 Stash Party #18: Use One Stamp 5 Ways - A 5 Day Challenge - Day 5

Hello, Crafty Peeps
This five-day challenge hasn't been at all difficult or painful.  At the outset, I thought it would be both.  I think what my crafting buddy is trying to teach me is that I need to stop overthinking and believing that every card has to be an "artistic masterpiece."  Her words to me were, "just sit down and make something.  It's not like you are trying to win some national design award. We both are just amateur hobbyists doing what we love!"  I have to admit she was right and making a lot of sense.  Man, there will be no living with her now!😀

My final creation is the most severe progression!  I returned to my white card base and, of course, I had to keep the sentiment but I wanted to change the perspective of the design.  I was able to accomplish this by using an oval die-cut and a bold lavender background paper.  Green and lavender are among my favorite colors and they compliment each other so well.  I just knew that my little gingham bow (leftover from another project would work perfectly.)  The white frame on this card was a scrap from Project #3 in this series of cards.  It was pure coincidence that it fits the focal panel perfectly!  Honestly, I am sad that the challenge has ended!  I am sure she will have another!

Hugz,


Stuff I Used:
WONKY STITCHED OVAL DIE SET - Gina Marie Designs
Gingham Moss Green 3/8 Inch

Sunday, May 3, 2020

2020 Stash Party #17 - 5 Day Challenge: One Stamp Five Ways - Day 4

Hello, Crafty Makers!
So, my crafty buddy and I have arrived at day four of our five days, five cards, challenge.  In spite of my moaning and groaning, this has been a lot of fun, I even made a video while creating my first card!  I can hardly wait to see what my buddy comes up with next!

FAITH IN WHAT WILL BE
For this progression, I decided to use my colored cardstock for the base, to use a dotted designer paper as one layer, and use the white cardstock to create a frame.  I originally had the designer paper in the recessed area of the die-cut, but it looked too contrived for me so I got rid of it. 
This close-up image gives a little better idea of the satiny sheen I get on my panels using Perfect Pearls.  I just ordered another jar of the Perfect Pearls "Perfect Pearl" because I know I will use is often in my projects!
I wanted to keep the design as clean as possible so I added only this bejeweled butterfly to the lower right corner!  I used craft foam beneath my image to give so dimension to the project!

AN ADDITIONAL CREATION
As I was working on this card, I was simultaneously working on my planner spread for May!   Since I live in a state where the governor has decided that "black lives really don't matter,"  and that COVID-19 might just be the vehicle to help him reduce the black population of Metro Atlanta, I wanted to have this stamped sentiment in front of me every day in my planner.  I made a quick page divider using this stamp.   I plan to do it over and emboss the sentiment with white embossing ink which will make the sentiment easier to read.  But I like this one and plan to keep it!

Thanks so much for stopping by!
HUGZ,
Stuff I Used:
Couture Creations Embossing Folder - Pinstripe
FAITH in what will be

Saturday, May 2, 2020

Stash Party #16 - Day 3 - Use One Stamp 5 Ways - A 5 Day Challenge

Hello, Crafty Makers!

I am back with my third card in the 5/5 challenge.
For this iteration, I used a border die to cut this cool pattern in the bottom of my card face. Next, I embossed the top portion with a swiss dots embossing folder.  Rather than stamping my sentiment onto the card face, I stamped it on a separate scrap of paper and mounted it onto the card face with 3D dots.
I colored the image and distressed the edges with Broken China Distress Oxide ink.  After that, I used my blending brush to add Squeezed Lemonade Distress Oxide in the center of the image and blended it softly into the inked edges. I then applied Perfect Pearls to the panel, brushed off the excess, and wiped the panel gently with a microfiber cloth.  In real life, the panel has a smooth, soft, satiny appearance.  To finish the design, I added a strip of foiled washi tape and a flower.  I added bling to the image and the center of the flower.

I am pleased with this project since I believe that it maintains the continuity of the design of the first two cards.  These cards will make a very nice gift set for somebody!

Thanks for stopping by!
Hugz,
Stuff I Used:
FAITH in what will be