Hello, Crafty Peeps,
Here is an idea for quick gifts that take almost no time to create! I find they make wonderful gifts and are fabulous stash reducers! I am including a detailed step tutorial but there are several hundred videos on YouTube if that is your preference!

Note Pad/Post It Note Holder
Supplies Needed:
1 8-1/2" x 11" sheet of cardstock (at least 110lb)
1 6"x6" Designer Pad or paper scraps cut to
3-1/2"x3-1/2" and 2-1/2" x 3-1/2"
3"x3" Sticky pad
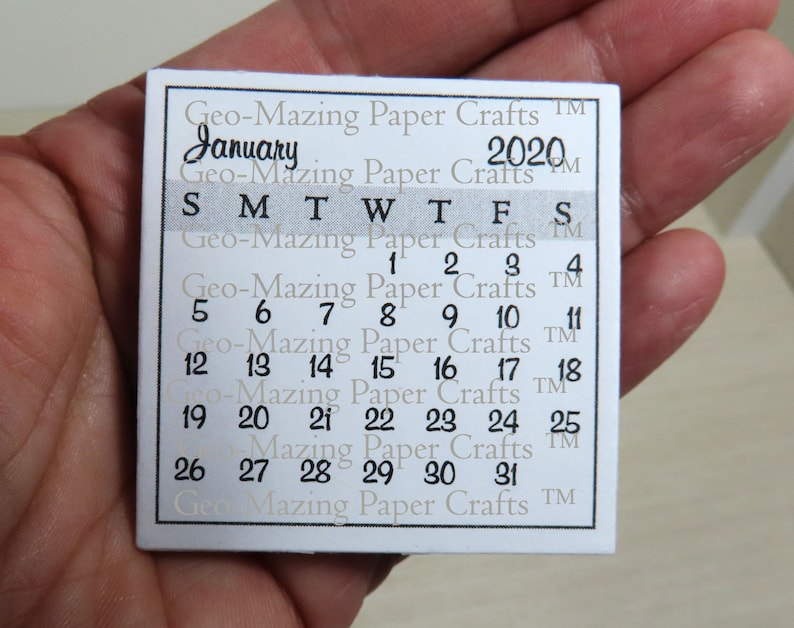
Tiny Calendar Sheets
Tiny Calendar Sheets
Small Ink/Gel Pen
Small Detail Paint Brush
Small Detail Paint Brush
Wet Glue (I use PH Neutral PVA)
(same consistency as Tombow Mono Glue)
(same consistency as Tombow Mono Glue)
Tools:
Corner Rounder (Optional)
Paper Trimmer
Paper Trimmer
Scoreboard
Bone Folder

Cut cardstock to the following sizes:
- 1 pc -3-3/4" x 11"
- 1 pc -4-3/4" x 7-1/4"
- 1 pc - 2-1/2" x 2-1/2"
Cut DSP to the following sizes:
- 3-1/2" x 3-1/2"
- 2-1/2" x 3-1/2"
The papers I use have been retired. I am listing them in case you have them in your stash.
Card: Bazzill Basics - Sea Glass
DSP: American Crafts-Amy Tangerine " Sketchbook."
 If you decide to place the calendar on the front of your noteholder.


 If you are adding the calendar, apply glue and d/s tape to the back of the calendar and then adhere to the base.

~~~~~~~~~~~~~~~~~~~~~~~~~~~~~~~~~~~~~~~~~~~~~~~~
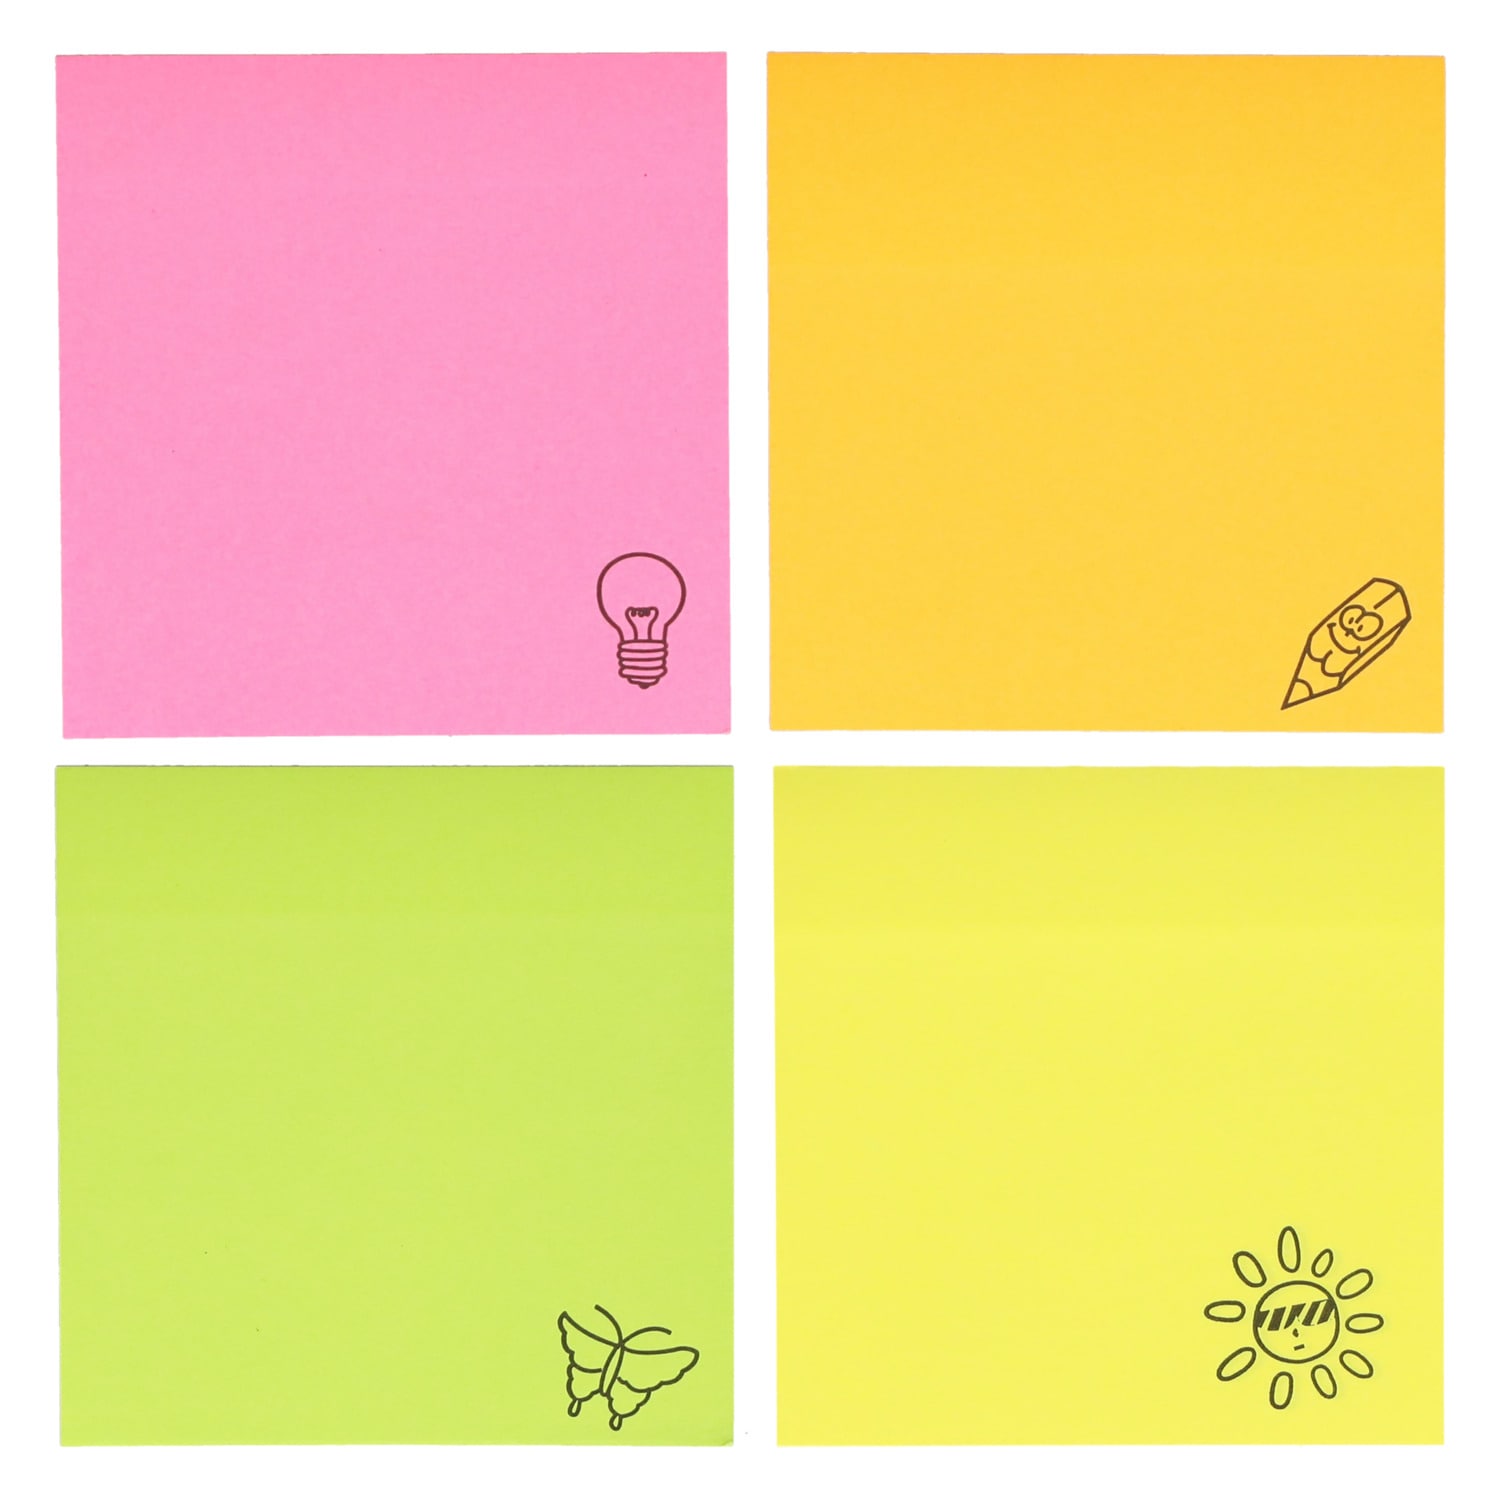
Jot Sticky Notes- Neon
These are $1.00/ea @ Dollar Tree. I buy in bulk (36 units/case.) If you divide them in half you can create 72 projects. Each pad has 125 pages.
By Jeanette Cobb
Mini Calendar:

- cut out your calendar pages and attach them to a piece of chipboard. I covered my chipboard with a piece of my DSP.
- Use clamps or alligator clips to secure your calendar pages.
- Use a detail brush to apply glue to the calendar assembly. Apply 2 or 3 coats. Set aside to dry while you construct your holder.
Noteholder
- Score the 3-3/4" x 11" card on the 11" side @ 4", 8", 9", 10"

- Score the 4-3/4" x 7-1/4" card on the 4-3/4" side @ 1/2" then turn and score the other side at 1/2". Turn to the long side and score @ 4" and 4-1/2"

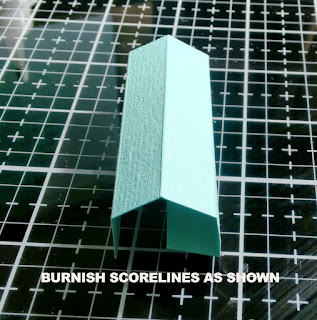
- Score the small 2-1/2" square piece at every half inch 1/2",1",1-1/2", 2"

- Burnish the scorelines on the small piece (this is your pen holder).Apply glue to one end and join the two ends together to form a square tube. Set aside.

- Burnish the score lines on the 11" piece. Make a valley fold on the three 1" scorelines. This will form the standing base for your holder. Apply glue to the edge of the valley fold and join with the flap. Set aside.


 |
| This is my circus and these are my monkeys |
- Burnish the scorelines on the final card. On each side, cut on the vertical score lines up to the horizontal scoreline. Cut a small, angular slither to form your tabs.

- Round the corners at the top of your holder (this is the long section.) Glue the large piece of DSP to the back of your holder. The paper is smaller than the back, so make sure it is centered. Add the smaller DSP to the front of the holder.

- Fold your tabs in and apply glue. Adhere them to the inside of the side pieces as shown below.

- Next, apply glue to three sides of the pen holder. Make sure the side without glue faces toward the sticky notes space as shown.

- Now, apply glue to the bottom sides and adhere to form your pad holder. Apply double-sided tape and glue to the back of your holder and attach it to the standing base.


HAPPY CRAFTING!

~~~~~~~~~~~~~~~~~~~~~~~~~~~~~~~~~~~~~~~~~~~~~~~~
Jot Sticky Notes- Neon
These are $1.00/ea @ Dollar Tree. I buy in bulk (36 units/case.) If you divide them in half you can create 72 projects. Each pad has 125 pages.