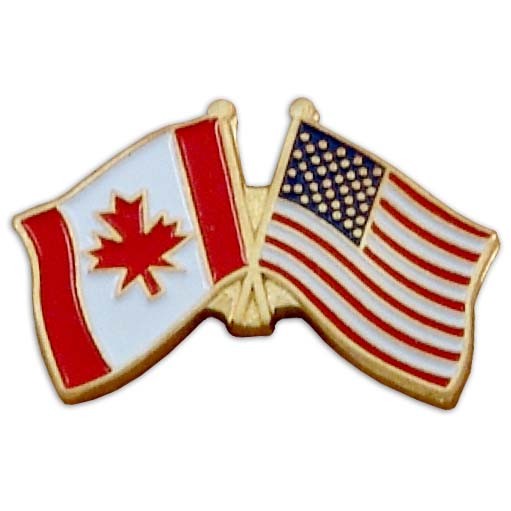
Welcome to another fun challenge at Shopping Our Stash. This week we honor both Independence Day and Canada Day. Please show us your Red, White, and/or Blue creations. It is not necessary to use all three colors and your project does not have to have a patriotic theme.
I have been so disheartened by the unfortunate situation that has developed between the Canadian and American Governments. I want all my Canadian friends to know that "we, the people," will never forget your friendship and support from Normandy to Baghdad. As a US Army veteran, I offer you my sincere thanks and a heartfelt apology for the behavior of #45.
We have a fun challenge for you this week at Shopping Our Stash! We are curious to see examples of the many creative ways crafters use their various crafting machines.
My Silhouette Cameo has been getting quite the workout since I became an avid planner girl. I usually decorate three days at a time, which is easy because my days don't vary that much.
I definitely like these funky little page markers, by Scrapcraftastic™. Her template includes blanks so that you can personalize the markers to fit your needs.
I added stickers to the markers that I use in my TN. Customizing your files is easy peasy and that means your personality drives the design of your pages and the elements you use in your planner.
~~~~~~
While I use some paid sticker images, I have found quite a few blogs that provide monthly freebie kits. Most of the designers provide Studio.3, JPEG, and PDF files so using the print and cut function on the Cameo is very easy. Additionally, most designers will include printing instructions for using their stickers with the Cameo. Even if you don't have a cutting machine, you can print the files and use sissors. Most sticker designers provide helpful hints about fussing cutting the sticker sheets.
I mix and match elements from various sticker sheets (I'm just weird like that) but most planners will use one theme throughout their weekly and/or monthly planning. The pajama-clad image was fussy cut but the other stickers were cut using the Cameo. The lazy day and Family time stickers are layered on top of planner square stickers. The page tab is also a sticker and was fussy cut.
My daily calendar page has pre-defined boxes for things like goals, notes, schedule, and to do lists. I usually cover those with stickers so that my pages are more interesting and I have more flexibility in the content of the page.
If you have never explored the world of planning, I would encourage you to do so...it is great fun and there is a true benefit in organizing your daily, weekly, and monthly routines.
This week at Shopping Our Stash, we have a wonderful color palette to help inspire your creativity.
DaCre8tive One
I have recently become a fan of an artist known as DaCre8tive One. I became aware of this artist while searching for African American Images on Pinterest. I would like to say the image I used today is my favorite but I love all of the images and the truth is, they are all my favorites!
The DaCre8tive One has a unique way of using a neutral to bring energy and life to the faceless images, consequently, one is able to infer and express multiple meanings.
I took the most pedestrian interpretive approach for this design but the sentiment seemed very relevant to today's environment. #knowyourvalue and #metoo
Kraft faux leather using basketweave embossing folder.
This week, at Shopping Our Stash, we want to see how you use your favorite crafting "things." If you are anything like me, you have "hundreds" of favorite things so the most difficult part of this challenge will be the act of narrowing the choices.
Basic Materials Used: (to create faux leather)
Kraft Paper
Glycerine
Glue
Liquitex Professional Gloss Varnish
Distress Ink: Vintage Photo, Black Soot
Kraft/Faux Leather/ Traveler's Notebook
I made this TN as a birthday gift for my daughter. The project allowed me to use my favorite technique, creating faux leather using Kraft paper, and several other of my favorites like embossing folders, ClearSnap Smooch Inks, and anything Tim Holtz.
I love how this process gives the designer a beautiful emboss on the front and equally pretty deboss on the back.
I used Tim Holtz® Distress Inks™to color the cover. Almost all colors will work. Sheena has a beautiful blue faux leather notebook on her YouTube channel. The possibilities are endless. You can use the regular DI no need to buy oxides, etc. I used a clear acrylic sealer (three (3) coats) on both the inside and outside of my TN cover.
The sunflowers were colored using ClearSnap® Smooch™inks
The texture is determined by how much "scrunching" you do when your paper is wet.
Ink applied after the paper has dried can be used to add depth to specific areas of the design. The embellishment was made using a slide and layering a brad on it.
Some Fun Stuff on The Inside
Creating the dashboards and inserts for this project also gave me the opportunity to use my new favorite thing, Stickers!!
This image actually reminds me of my daughter.
Gotta love the back of that blouse!
The backing on inside of the TN is muslin I decided to leave it untreated and opted to create pockets using a printed acetate sheet. I am just in love with this image.
Fun papers make interesting insert covers.
Pen Loop
Another favorite thing, making pen loops. This one was made from a piece of the faux leather shown at the top of this post
~~~~~~~~~~~~~~~~~~
This is the definitive faux leather process tutorial.
Thanks so much for visiting my blog. Give this faux leather technique a try. Also, visit Shopping Our Stash and check out my teammates' creations!