Thursday, February 28, 2019

A Single Layer of Love - Single Layer Card - Focus on Sentiment

Hello, Crafter Makers!
Last night I made two quick cards for my gallery at Splitcoast Stampers.
The real payoff for me is that both help me further my 
2019 Personal Crafting Goals
~~~~~~~~
A SINGLE LAYER OF LOVE
This happy puppy was great fun to create. 
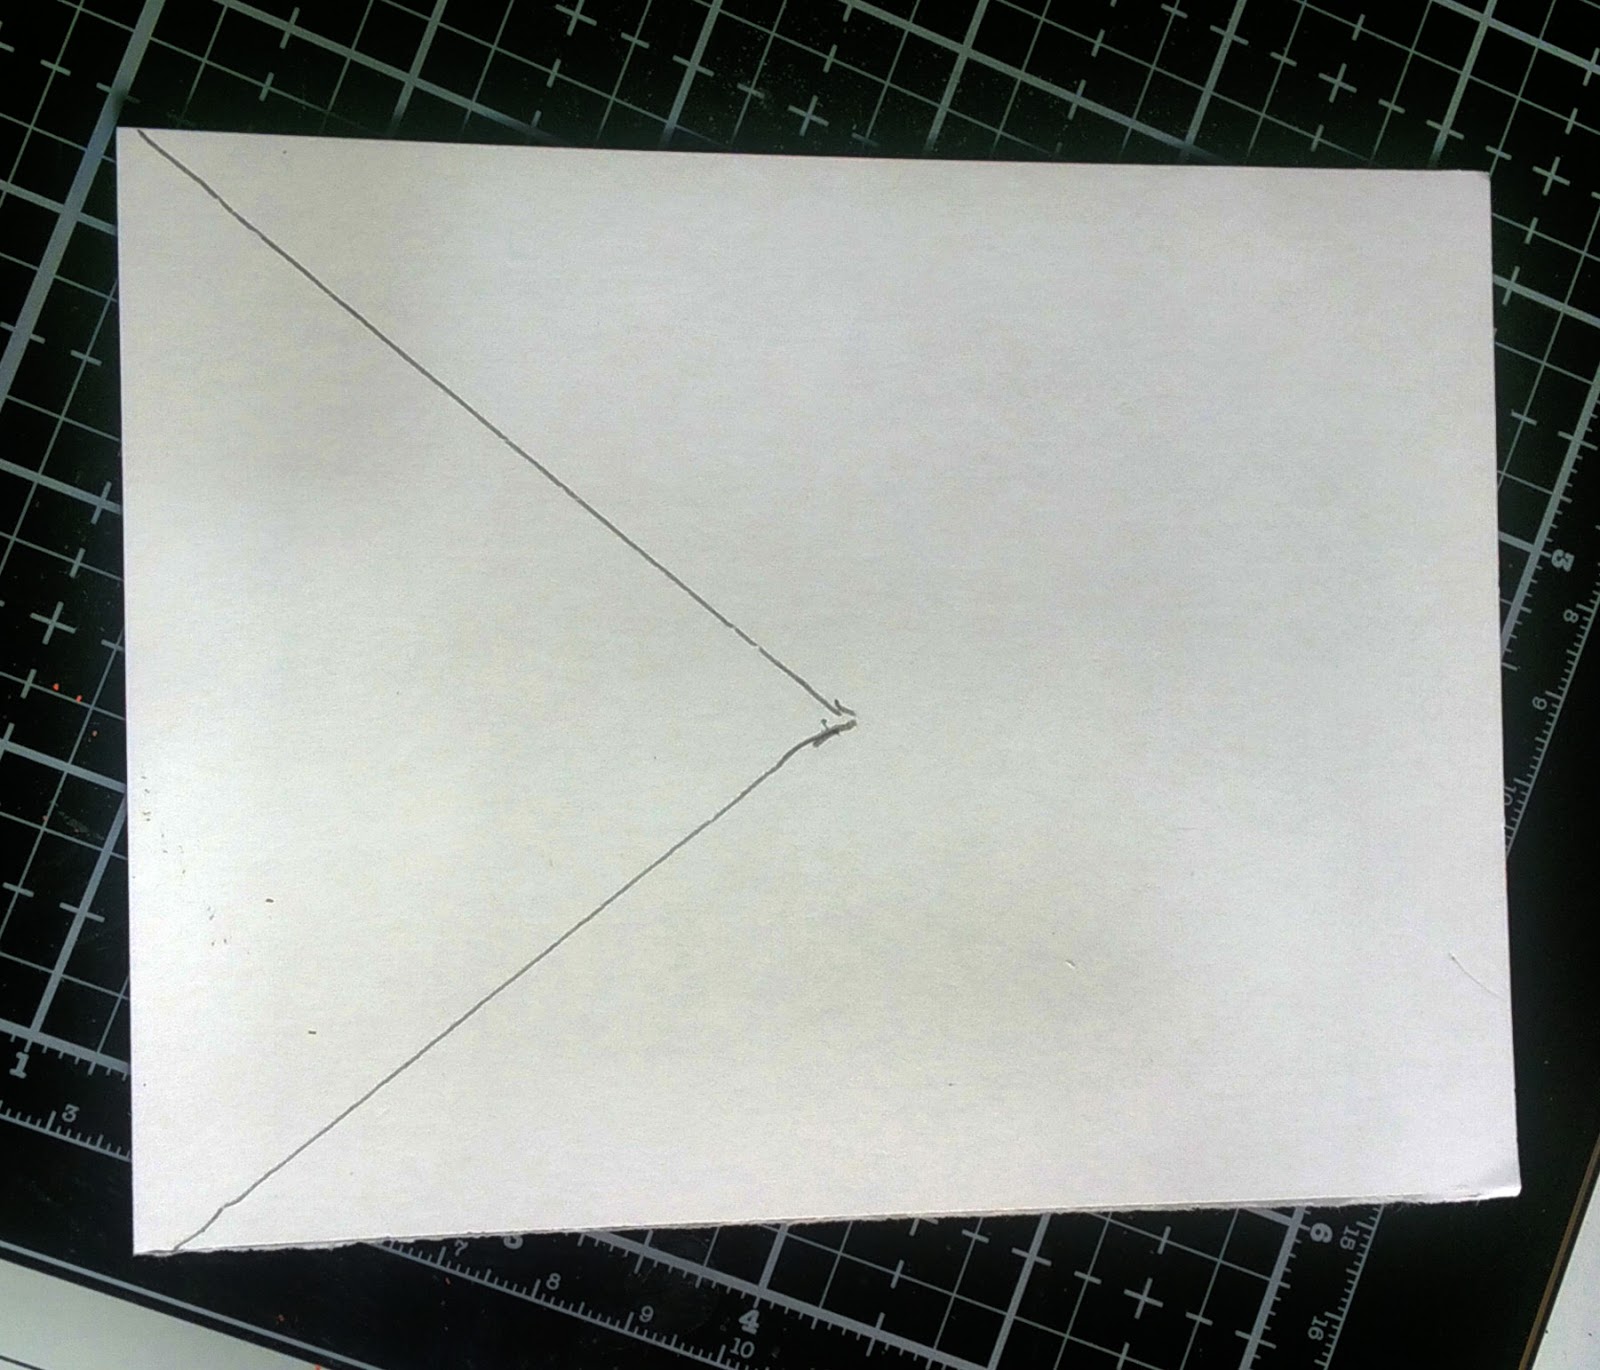
I created an envelope for this card.
I used my very, very favorite Distress colors and my Mermaid Brushes.
Personal Challenges Met:
1. CAS Design
2. New Technique - Sponged background and Sponging w/stencils and dies, splattering
3. Antique Stuff - Heidi Swapp Mini Word Stencils, Honeycomb Corner Die
~~~~~
Supplies
White CS
Distress or other ink
Stencil
Die (with medium to large openings)
Blending Tool
Sponge
Masking Tape or Post It™Notes
Paint or Splattering Brush
Water
Easy Tutorial
1.  Cut a piece of white cs to A2 size (4.5"x11.0") and score at 5.5"
2.  Use Post It™notes or masking tape to cover approximately 1/4" on the top bottom and both sides on the front of your cs base.
3.  Using your blending tool, apply your first background color (I used Twisted Citron).  Start blending on the masking paper and gently work your way onto the face of your card.  Continue adding color until you achieve your desired pattern.  Leave a small spot near the center of your card slightly lighter in color than the surrounding areas.  My additional colors were Broken China and Cracked Pistachio Distress Oxides.
4.  Position your die to the desired area (mine is in the upper lefthand corner) and use your sponge to apply the ink.  I used a light dabbing motion.  If you want a darker impression, 
5.  Center your stencil on the colored area and use your sponge to apply ink.
6.  Remove masking tape.
7.  Choose one of your ink colors to use as splatter on your project. Vary the size of your splatter for a more artistic impression.  Size is determined by the distance and force.

Distress Inks used: Twisted Citron, Broken China, Cracked Pistachio, Fired Brick, Wilted Violet
~~~~~
I am an Amazon Associate
Stuff I Used


HUGZ,


Tuesday, February 26, 2019

Shopping Our Stash Challenge #390 : Fabulous February

Hello, Crafty Peeps!
The fortnight (two weeks) challenge at Shopping Our Stash is:
Fabulous February.  
Make something inspired by February's stone (amethyst) or February's flowers (violet or iris)
~~~~~~~
 I realized long ago that there were many fabulous card designers out there creating "floral" cards and it seemed dumb to even try to do the flower thing. 
That was then, this is now.  Facing serious health issues changes how one sees so many things in life.  For the past four years, crafting has been a port in the storm for me. It has been my family's barometer for measuring how well I was doing on any given day. I have returned to the passion that made me fall in love with this hobby in the first place. I create for the pure joy of creating! 
Violet Passion
I don't know why I haven't used this Sizzix Die over the years because it is one of my absolute favorites.   For this challenge, however, I decided to continue my personal challenge of creating CAS projects, using "ancient" stamps and dies and learning at least one new technique each week.  Using old stuff is the essence of SOS Challenges. 

Personal Challenges Met:
1.  CAS Design
2.  New Technique: Splattering
3.  Ancient Supplies:  Sizzix Die, Hampton Arts Stamp, Vellum Paper, Purple Heart, Bling.

What I Did
1.  Cut a piece of heavy-weight white cardstock to 4.25"x11.50" (A2 card base)
2.  Make a banner cut at one end of the paper.  
3.  Score at 5.50" and fold.  Burnish with a bone folder.
4.  Cut a piece of white cardstock to 4.25" x 5.50".  Place this inside your folded base and trace the banner.  Use your trimmer or scissors to cut out the triangle shape.
5.  Emboss or use a background cut plate on the banner end only of your base.
6.  Repeat the embossing or die cutting on the small banner piece.  Use double-sided tape to adhere the small banner to the back of the banner shape on your base.  Make sure the embossed/die cut design is facing out.  If you want to wrap ribbon or twine, attach it before you glue the banner panels together.


7.  Cut a piece of vellum to 4.00" x 5.25".  Stamp your sentiment and heat set.  Place aside to dry.
8.  Cut a piece of white cs to a size that will allow you to place and cut your dies.  Blend your inks to achieve an ombre effect.   Splatter ink on opposing colors.  I also added gold splatter.  Arrange your dies on the sheet and cut.
 9.  Form your flowers and assemble.  I used double-sided foam tape between each layer except the bottom flower that is to be attached to the card base with double-sided tape and wet glue.
I created a card box to avoid crushing my flower!

Thanks for stopping by!
Hugz!


Thursday, February 21, 2019

Splish, Splash, and Splatter! CAS and A New Technique

Hello, Crafty Makers!
My CAS quest continues and
 the new technique this week is Splash and Splatter!
For some odd reason, I have always been splatter challenged.  It made no difference if I used a toothbrush, paintbrush, or the highly touted Tim Holtz Splatter Brush, my splatter was a fail.
Splish, Splash, Splatter
I cannot express how delighted I am to finally be able to create splatter on my cards.  Not only do I have splatter, but I also have splashes!  I owe a big thank you to Loll Thompson and her wonderful video.   This was my first attempt.  It was supposed to be a practice sheet only but when it was done, I decided it would be okay on a card.
The Big Splash
I love the large splashes.  The fun elements can be created using Distress Stain or paints.  The intensity of the splash can be changed by spraying water on the sponge applicator of the Distress stain or paint bottle.
Just to add interest, I dragged my paintbrush through one of the splashes that I created using the Distress Paint.   I love the illusion of a nucleus in some of the splashes.
I used two pieces of bookbinding waxed cord to create a frame for my sentiment.  In my stash, I found a scrap of glitter paper that was a perfect compliment to the green ink!  I applied a little Distress Ink around the edges, added a few crystals and called it a day!
Stuff I Used:


Challenges:
The Card Concept: Pineapple Party -I used Colors From The Concept
Thanks for stopping by!
Hugz!


Sunday, February 17, 2019

A Place To Start: Inspiration Challenge: You Are My Sunshine - Tissue Paper /Embossed Acetate

Hello, Crafty Makers!
This is my third make for the Inspiration Challenge at
Over the past few days, I have been doing a lot of Tissue paper water coloring.  Unique patterns form when you do this technique!
YAY!  One more CAS design under my belt!
You Are My Sunshine!
This cheery tissue panel was easily one of the favorites of my first attempts at tissue paper water coloring.  Waiting for inspiration, I kept it on my board for a few days while I worked on other projects.  It was clear that the panel should be the star of the show.  I had just ordered this stitched scallop frame die and from that, I drew my inspiration.   I had seen the Scallop frame used in conjunction with the circle flower background plate and I thought that would be a good combination here as well.  The Hubster says it is "holographic.  I simply love the way the white give extra life to the colored panel.
~~~~~~~~~
Supplies and Stuff
1 piece -Watercolored tissue paper.  My panels were 6"x6"
1 piece -White card stock cut to A2 (4.25"x11" and scored at 5.50")
1 piece -White card stock cut to the size of your frame die
1 piece -Acetate cut to the size of your frame
1 Rectangle Scallop Frame Die
1 Circle Flower Cut Background Plate Die
Embellishment(s) and Sentiment Dies
Wet Adhesive, Double-sided Foam Tape, Double-sided Tape
Wink of Stella, Optional

THIS IS WHAT I DID
     
1.  Create your watercolor panel and wait for it to AIR dry thoroughly( 15-20 minutes).
2.  Use a strong adhesive (wet glue) to glue the panel to the acetate. Use your finger or a sponge to spread the glue smoothly and evenly over the acetate.
3.  Carefully place the colored panel onto the acetate.  Allow assembly to dry.
4.  Emboss the WC panel using the cut background plate (it is important not to use a background die that will cut all the way through your panel).

5.  Use double-sided tape to adhere the embossed panel to the frame. 
6.  Apply double-sided foam tape to the back of your embossed panel.  I put foam on the four sides and a horizontal piece across the middle.
7.  Mount the remaining white panel to the back.
8.  Use double-sided tape to adhere the assembly to the A2 card base.
9.  Embellish.
10. Stand back and admire your work! :D
I added Wink of Stella to my embellishments for added visual interest. 

What I Used:


Thanks so much for stopping by!
I would love to see your projects in my new challenge blog!
Challenges:
Lil Patch of Crafty Friends: Always ATG
Crafting From The Heart: Always ATG

Friday, February 15, 2019

Happy House Day - A Special Non-Valentine Card

Hello, Crafty Makers!

The Hubster and I do not celebrate Valentine's Day but, because we closed on our home on February 14th, as a joke we always say Happy House Day! 
This year, the Hubster surprised me with 4 boxes of Truffles that are only available at this time of year.  I was stunned.  Two of the boxes were the ones I always want and never get because they sell out so quickly and two were a new variety that he thought I might like.  And even though he said they were not Valentine gifts, I still felt the need to make a card to thank him.  He loves it when I make cards for him.
He likes Kraft CS because he thinks it is more masculine.  I was looking through my stash of 6"x6" papers and I found this amazing steampunk paper by Bo Bunny.  I layered the printed paper onto a piece of Gold CS.  I cut my hollow heart and then decided to make it a window by applying a piece of acetate.  I double-stacked adhesive foam to give the window depth.   My original plan was to have the word "together" on the inside of the window and the word "forever" at the bottom by cherub's foot but I did not like that composition.  I like the placement on the cherub's wing.  Since this will be displayed in his man cave along with his other cards from me, I was not concerned about the cherub hanging off the edge.  In the end, The Hubster loved it and that is all that truly matters.

Thanks for Stopping By!
Challenges Entered:

A Place To Start - Use An Inspirational Stamp or Die - Mid-Month DT Make

Hello, Crafty Makers!
The creative challenge this month at 
is to use an inspirational stamp or die.  Mostly, I have inspirational sentiments that I try to pair with images that communicate things like, Hope, Joy, Peace, etc. 
 Hope 
 It is so funny how creative endeavors always seem to take on a personality all their own.  I started out creating the project using one of my watercolored tissue paper panels.  I wanted to put patterned paper behind it but when I found this lovely paper and my entire project changed. 
  The paper worked so well with the dragonfly that I cut the dragonfly away to use as a stand alone embellishment.
For this little fella, I used three different embossing powders. After each color was embossed, I applied a fresh layer of Versamark, added the EP and heated one again.  The final EP was a Clear Iridescent Powder that added amazing sparkle to the die cut.  The surprise benefit here was that the Tim Holtz Distress Embossing Powder that I used as my base layer, resisted the other EPs in some areas.  
I have always used black cs with my shadow dies, but in this instance, I thought to pull in the background paper might create more tension and I was right.  To give added dimension, I used the shadow die to cut a piece of craft foam and attached to the back of the shadow shape.  The effect of elevated sentiment is way cool.
I had a bunch of stitched panels in my stash, so I used Vintage Photo Distress Oxide Ink to distress the edges and added 3 crystals to finish off the design.

I hope you will join us at A Place To Start Challenge.  
Here is a chance to use all those inspirational sentiments that you have been hoarding!
HUGZ,
Challenges Entered:

Supplies & Stuff
Gina Marie™Wonky Stitched Die
Hampton Art Hunter Green Embossing Powder (no longer available)
Basic Grey® Life of The Party Paper Stack (retired)