Tuesday, January 27, 2015

Shopping Our Stash -Challlenge #186 - Love me Do

Hello,  Crafty Peoples,

I'm back with another fun challenge at Shopping Our Stash!  We want you to:
MAKE A LOVE THEMED CARD


I chose a very smple design


Everything I used for this project came from my stash!  and all of it is more than two two years old, except for the ribbon which is from the Really Reasonable Ribbon December 2014 Kit.

Thanks for stopping by!  Hope to see your designs in the Challenge!
Hugz,
Chana

Sunday, January 25, 2015

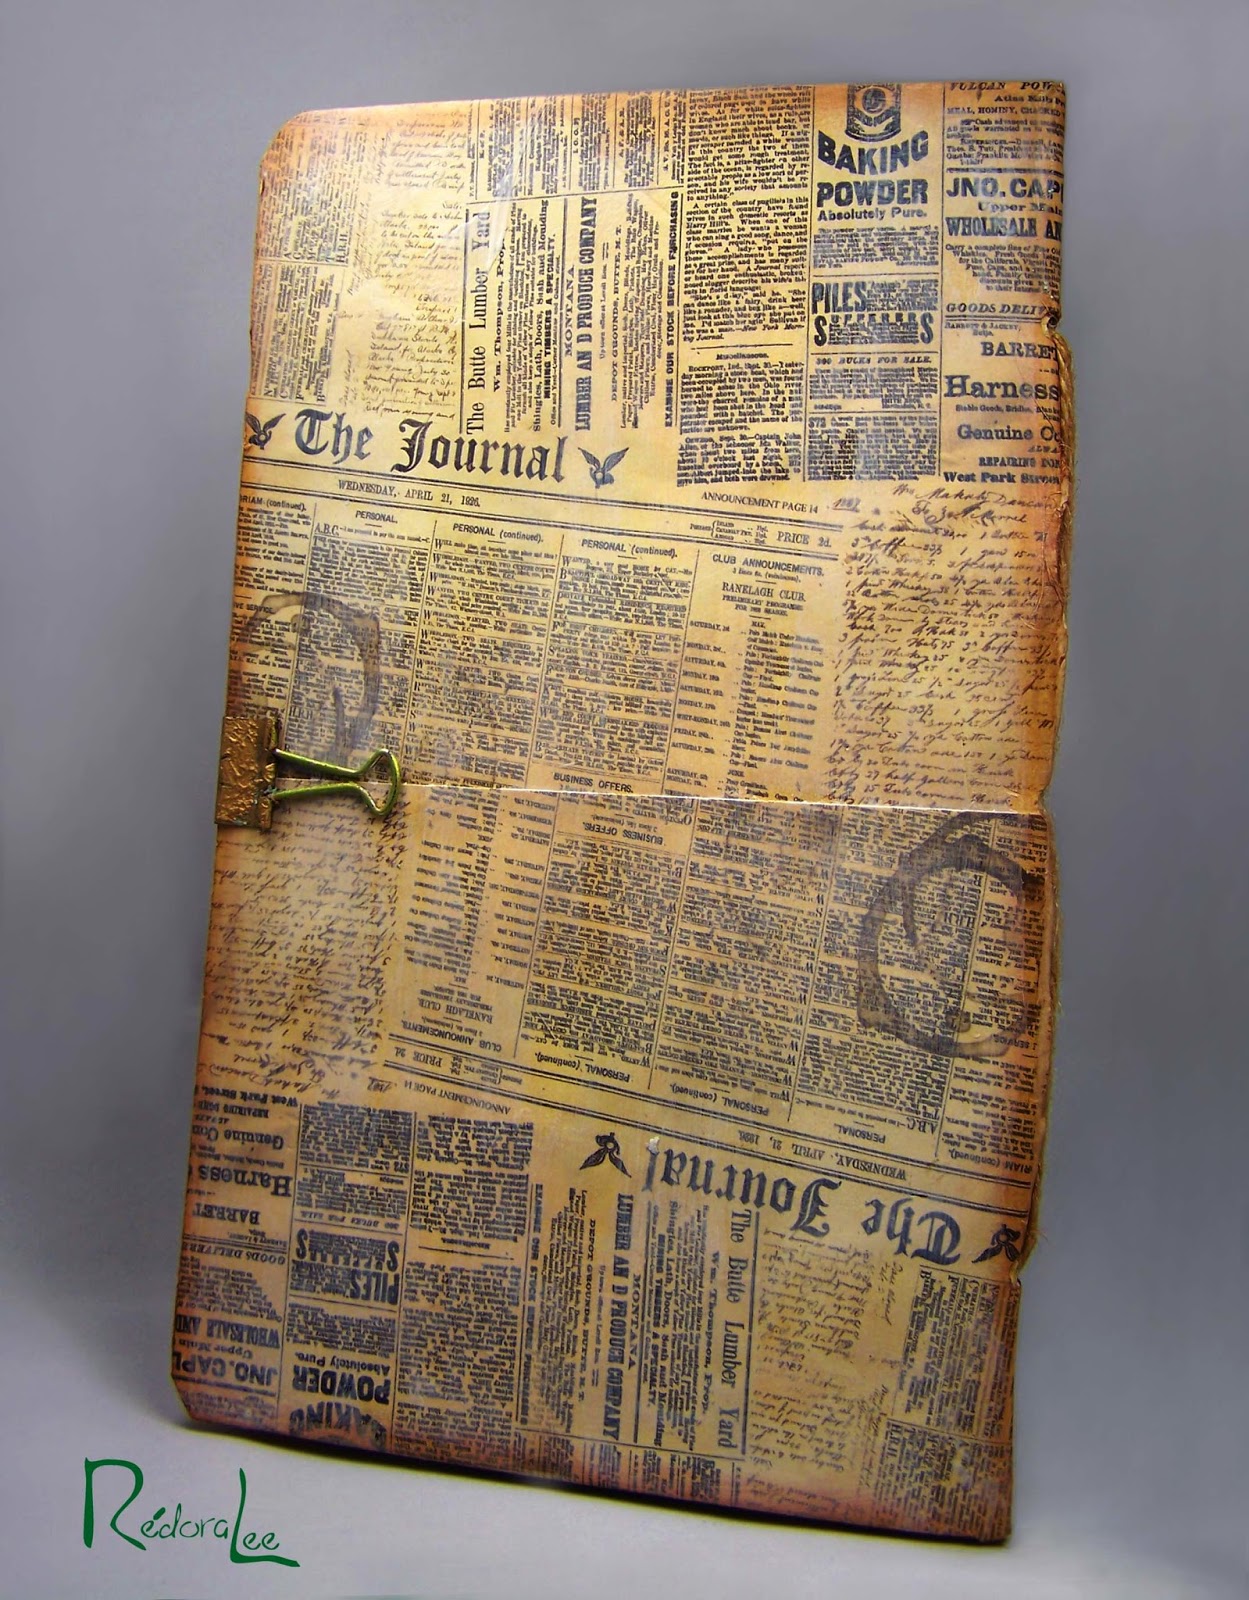
IDEA BOOK - Sketches and Ideas .


I spend a lot of time in the offices of physician's offices and radiologists, not to mention the six to eight hours hooked up to an IV once a month for my infusion therapy. Like most crafters, while sitting there, I am thinking about projects on my board for DT assignments or other challenges.  I usually take a book to read but it occured to me that I should have in my purse at all times a mini sketch book.  I didn't want anything fancy and this is a long way from fancy.


STEP ONE
I began the design using an empty Frosted Flakes Carton.
  You may use chipboard, corrugated cardbord or other material.  
  Empty cartons are a staple in my studio.  I substitute this for chipboard on many projects. 
It also makes a pretty sturdy tag.

STEP TWO
Cut cardboard to the desired size 
I planned to use 8.5" x 11" Paper, so I cut my cardboard  9" x 11.5" 

 STEP THREE
Glue your cover to your design paper.
I used my scoreboard to determine the center crease.  
Then, using my Tim Holtz ruler, I marked the location of my holes.  
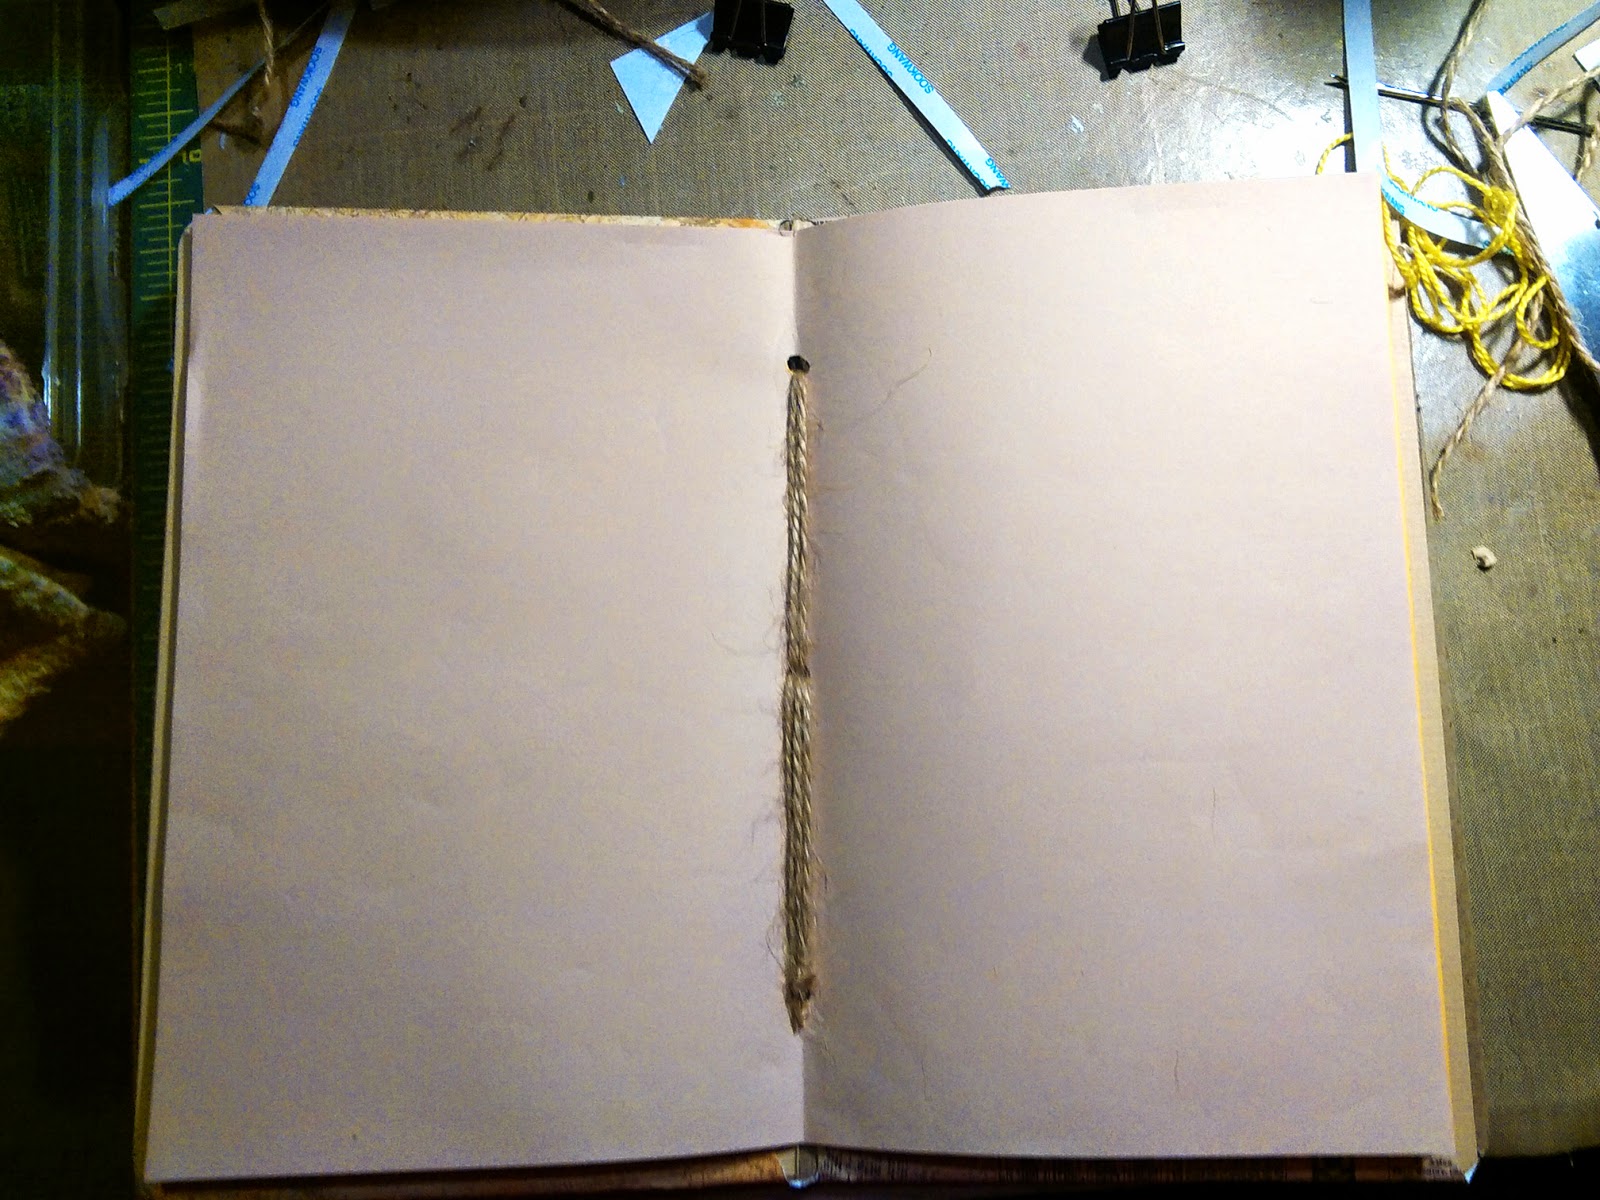
I punched the holes using my Big Bite!
I used Bo Bunny et cetera papers
Add inside cover paper
I chose to add my inside cover as two individual panels after adding my paper. 
 I do not reccomend this approach.

STEP FOUR
Align Papers.


STEP FIVE
STITCH COVER


STEP SIX
EMBELLISH AS DESIRED
For my closer, decided to use a binder clip. The clip is also used to hold the pages while the book was in use.  I used  Rub'n Buff to change the color and give it an aged look!

To Apply the Dina Wakley Stencil, 
I used TH Distree Inks: Vintage Photo and Peacock Feathers


I also added a scrap strip of drywall tape and a Petaloo Glass Flower

On the inside front cover, I used The Gardenia Stencil from Prima's Bloom Collection


Tuesday, January 20, 2015

Shopping Our Stash - Not Your Usual Paper

Good Morning, Crafty Peeples!

This week at Shopping Our Stash, the challenge is: 
Use papers that are not the usual ones you use in your crafting.

For my project, I have chosen Burlap paper, cereal box scraps,  and Wallpaper.   

When I first began making cards back in 1998, I used wallpaper exclusively in my designs.  It is rather funny now when I survey the thousands of dollars I have invested in this craft buying dies and cutting machines
This is actually the beginning of a cover for my Project Ideas Notebook.    
I will add the closer when the back cover is completed.  
The plan is to use all burlap paper on the back
I love cutting bouquets from the paper and using them on projects. 
 The borders are also good for trims.

Thanks for stopping by!   Hope to see your entry in the challenge!
Hugz,
Chana

Sunday, January 18, 2015

CHALLENGE #107 - ANYTHING GOES with Optional Twist: WINNIE THE POOH DAY

Hello, Crafty Peeps,


It's Winnie The Pooh Day
If you want to play our optional twist, we challenge you to:
Use one of the following quotes in your creation

WINNIE THE POOH CLIPBOARD

For this challenge, I chose to create a clipboard using recycled paper products.  
I save various sizes of corrugated cardboard boxes. I have  found that I can cover them with fabrics such as canvas, burlap, crinolin, and create strudy functional items.   This is a functional clipboard and I have every intention of  using in in my studio.

Supply List:
Chipboard (2 Pieces) cut to the desired size (mine is 5" x 7") 
Paper Scraps (or other desired background papers)
Image
Clip
Baby Wipes
Gesso, Mod Podge (or other matte gel medium)
Inks, Paints, etc.

Step One:
Apply Gesso to the front of one of your cardboard panels.  Allow to dry.
Step Two
Arrange your background papers on your panel.  Don't worry about overlap 
Continue gluing pieces until you have your desired collage.  Leave some white spaces
When you are satisfied, apply several coats of Mod Podge.  Allow to dry between coats.
 Fold and trim overlap.   Remember that some the overlap will show on the back.
Step Three
Choose the color(s) that will be your primary color (chose yellow/brown to coordinate with Pooh's fur) and apply to your panel.  Use a baby wipe to mute your color


Round the corners of your clipboard at this point
Step Four
While your panel is drying, apply Gesso to your clip.  I decided to paint th red clip, but I could have used either clip without altering and they would have worked just as well.
 I also taped my Winnie The Pooh Invitation Stamps so I could use just the image.
Step Five
Choose paints, Inks, and/or sprays.  Experiment until you achieve the desired color profile
I wanted to pull in the color of the forest so I did greens, reds, etc.
Step Six
Apply stamped or hand drawn images.  Allow to dry, apply several coats of Mod Podge
Use your baby wipe to keep your colors from becoming muddy.
Step Seven
Determine the placement of  your image and sentiment. Center Clip
 Apply designer papers or other embellishment to clip
Step 8
Attach Clip, add image and sentiment.  
Apply several coats of Mod Podge until desired result is achieved
Apply back panel
I used Plain Jane Baseboard Brown by Tattered Angels 
ENJOY YOUR NEW CLIPBOARD

HUGZ, 
CHANA