Showing posts with label Teacher Appreciation Gifts. Show all posts

Friday, November 29, 2019

Quick Holiday Gifts for Teachers or Students

Hello, Crafty Peeps,
Here is an idea for quick gifts that take almost no time to create!  I find they make wonderful gifts and are fabulous stash reducers!  I am including a detailed step tutorial but there are several hundred videos on YouTube if that is your preference!
 Note Pad/Post It Note Holder

Supplies Needed:
1 8-1/2" x 11" sheet of cardstock (at least 110lb)
1 6"x6" Designer Pad or paper scraps cut to 
3-1/2"x3-1/2" and 2-1/2" x 3-1/2" 
3"x3" Sticky pad
Tiny Calendar Sheets 
Small Ink/Gel Pen
Small Detail Paint Brush
Wet Glue (I use PH Neutral PVA)
(same consistency as Tombow Mono Glue)
Tools:
Corner Rounder (Optional)
Paper Trimmer
Scoreboard
Bone Folder

Cut cardstock to the following sizes:
  • 1 pc  -3-3/4" x 11"
  • 1 pc  -4-3/4" x 7-1/4"
  • 1 pc - 2-1/2" x 2-1/2"
Cut DSP to the following sizes:
  • 3-1/2" x 3-1/2"
  • 2-1/2" x 3-1/2"
The papers I use have been retired.  I am listing them in case you have them in your stash.
Card:  Bazzill Basics - Sea Glass
DSP:  American Crafts-Amy Tangerine " Sketchbook."

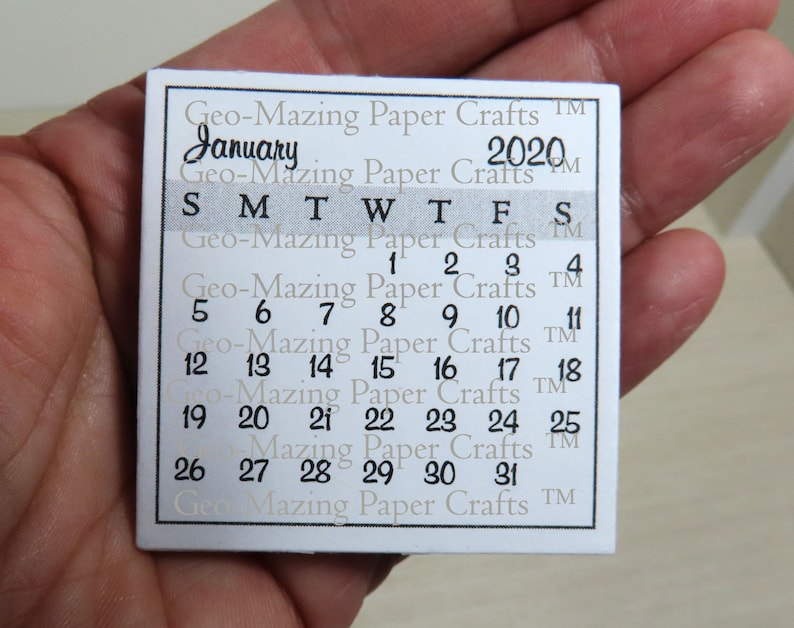
Mini Calendar:
If you decide to place the calendar on the front of your noteholder.
  • cut out your calendar pages and attach them to a piece of chipboard.  I covered my chipboard with a piece of my DSP.
  • Use clamps or alligator clips to secure your calendar pages.
  • Use a detail brush to apply glue to the calendar assembly.  Apply 2 or 3 coats.  Set aside to dry while you construct your holder.
Noteholder
  • Score the 3-3/4" x 11" card on the 11" side @ 4", 8", 9", 10"
  • Score the 4-3/4" x 7-1/4" card on the 4-3/4" side @ 1/2" then turn and score the other side at 1/2".  Turn to the long side and score @ 4" and 4-1/2"
  • Score the small 2-1/2" square piece at every half inch 1/2",1",1-1/2", 2"

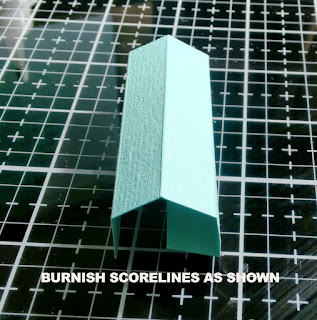
  • Burnish the scorelines on the small piece (this is your pen holder).Apply glue to one end and join the two ends together to form a square tube.  Set aside.


  • Burnish the score lines on the 11" piece.  Make a valley fold on the three 1" scorelines.  This will form the standing base for your holder.  Apply glue to the edge of the valley fold and join with the flap.  Set aside.


This is my circus and these are my monkeys

  • Burnish the scorelines on the final card.  On each side, cut on the vertical score lines up to the horizontal scoreline.  Cut a small, angular slither to form your tabs.


  • Round the corners at the top of your holder (this is the long section.) Glue the large piece of DSP to the back of your holder.  The paper is smaller than the back, so make sure it is centered.  Add the smaller DSP to the front of the holder.


  • Fold your tabs in and apply glue.  Adhere them to the inside of the side pieces as shown below.


  • Next, apply glue to three sides of the pen holder.  Make sure the side without glue faces toward the sticky notes space as shown.


  • Now, apply glue to the bottom sides and adhere to form your pad holder. Apply double-sided tape and glue to the back of your holder and attach it to the standing base.

If you are adding the calendar, apply glue and d/s tape to the back of the calendar and then adhere to the base.

HAPPY CRAFTING!

~~~~~~~~~~~~~~~~~~~~~~~~~~~~~~~~~~~~~~~~~~~~~~~~
Jot Sticky Notes- Neon
These are $1.00/ea @ Dollar Tree.  I buy in bulk (36 units/case.) If you divide them in half you can create 72 projects.  Each pad has 125 pages.
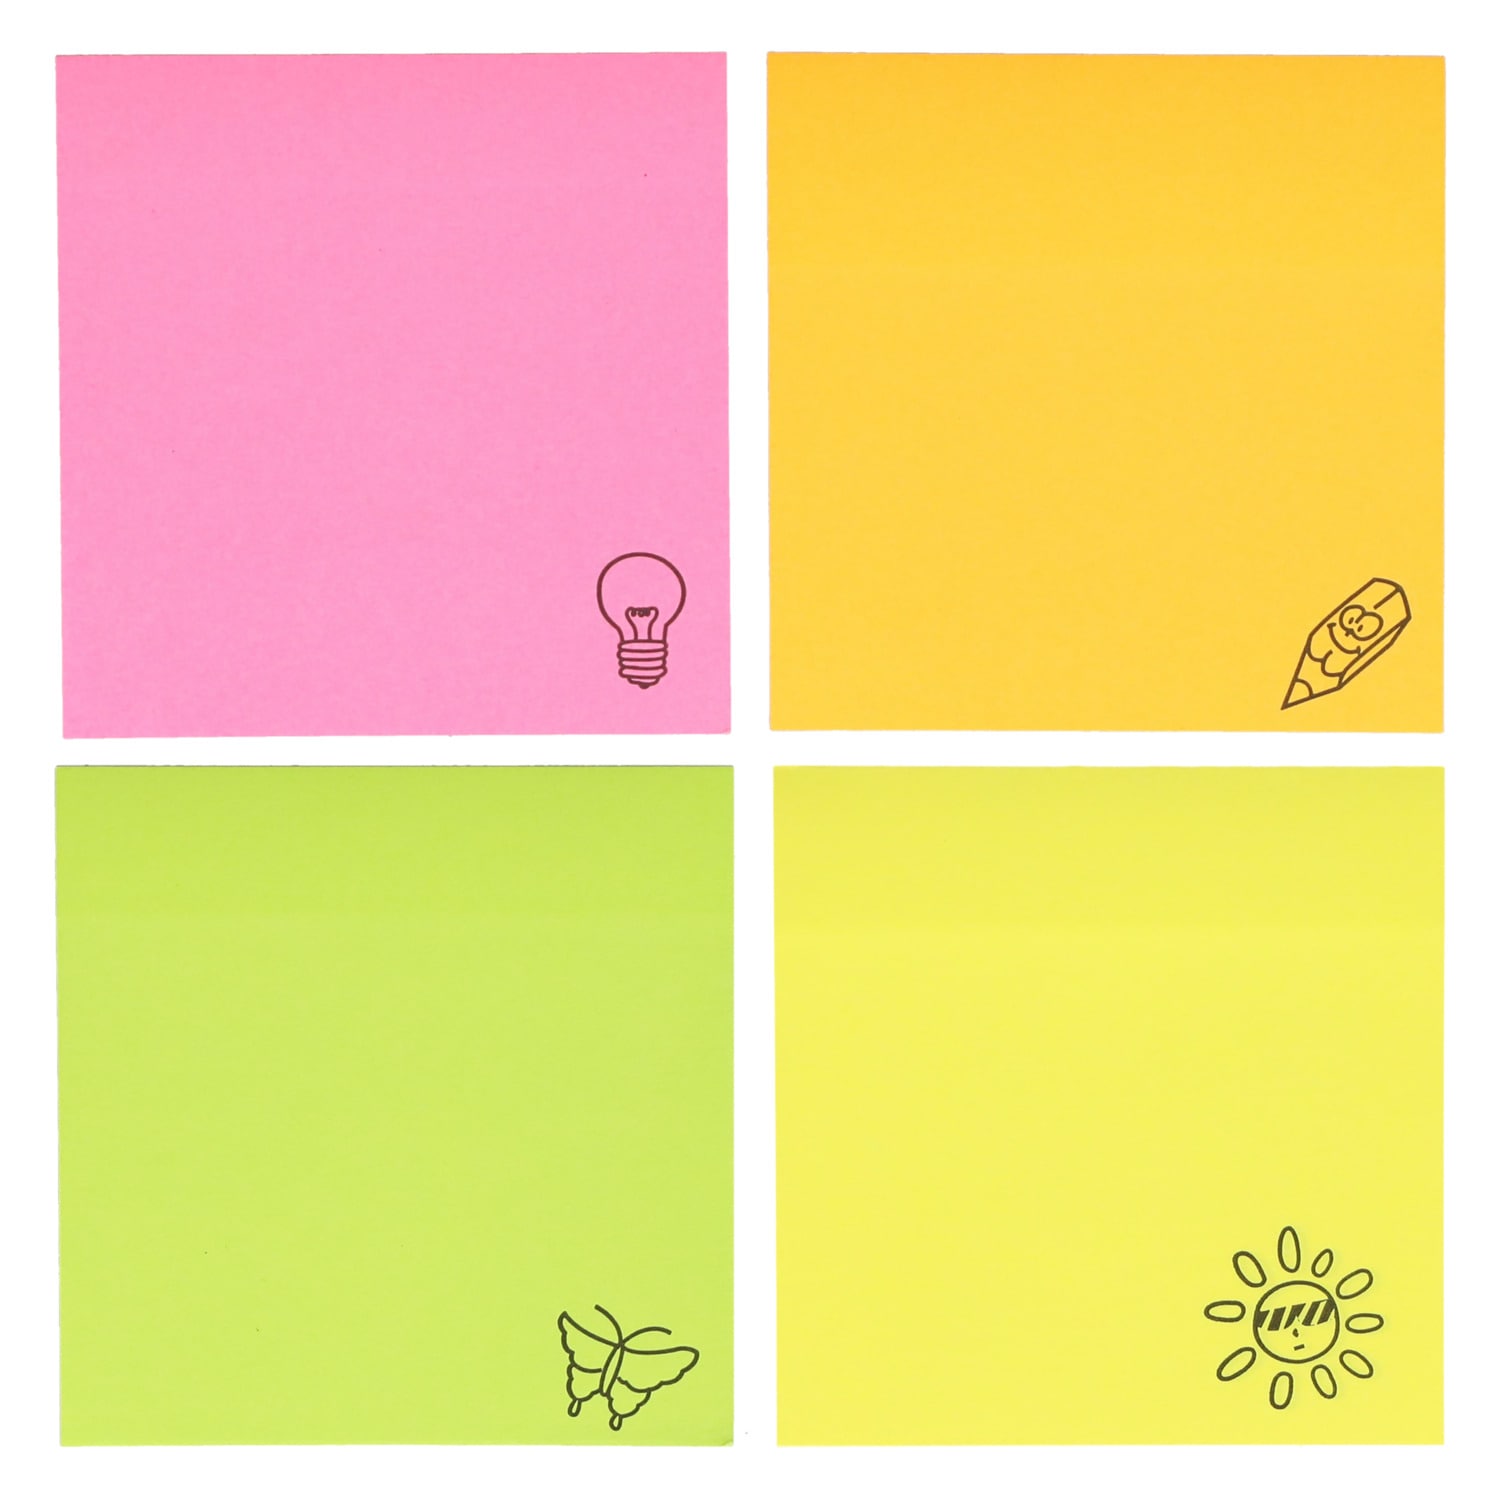
View Jot Neon Icon Sticky Notes,
By Jeanette Cobb

Sunday, May 19, 2019

Favorite Teacher Appreciation - Part Two - Basket and Cards

Hello, Crafty Peeps!
Since we will not see Mrs. R. again, I decided to give her a second gift.  Throughout the school year, I would send cards from my stash that I thought she would like.   This time, I decided I would make cards just for her.  I started a few months back, so some of these you may have seen before.
Farewell Cards
It is amazing the effect you get from a little hand sanitizer!
 I blended distress inks to get my "ocean waters".
Gift Basket
These little gift baskets are a big favorite of mine.  They were designed by Grace Nywening.  I use them all the time to give small gifts like candy, soaps, candles, etc.  One great feature about these baskets is they can be made using one letter size sheet of paper.
I chose to use a woven basket EF on this basket but any EF design would work.  One year, I used a ruler and alphabet EF to create baskets.
Old Library Cards
Mrs. R. teaches Literature and Composition so I thought including an old library card with student signatures would be a gift she could appreciate.  I used Distress Oxide Inks to add color to the card and then used a stencil to add the silhouette of the children.  On the backside, I used a clock stencil and stamped an image and sentiment.  I also cut a strip from the bottom of one library card and used it to create a tasseled paper clip.  These library cards were a gift from one of my teammates at Shopping Our Stash and I use them sparingly. There was no doubt that they were the perfect element for this gift package to this particular teacher.
Expressions of Faith
 Knowing that Mrs. R.'s faith is a very important part of her life, I decided to create two faith-based cards using two hymns that were personal favorites of mine when I was a Christian minister.
I used the smooshing technique to create the background paper.   This corner die cut has become a "go to" die for my shaker cards!
I haven't used my border punches much since wafer dies became all the rage but 2019 is the year I pledged to reach back and use "old" things.  This butterfly punch is an old EKSuccess product that was in their "American Girl"™series.
 Tea Bag Caddy
I know this was a long post!  Thanks for making it all the way to the end!  I hope you found some inspiration here!
Hugz,


Thursday, May 16, 2019

Teacher Appreciation Gifts - Taylor

Hi, Crafty, Peeps!
I am so happy that I am really hitting most of my creative goals for 2019.
  I have significantly reduced my stash, played with inks, stamps, dies, and tools that have gone untouched for years. 
And so, when the time came to decide on appreciation gifts for my grandson's teachers, I reached back for an oldie but a goodie!

I absolutely love "construction" projects and I never use dies to create a project if I can do it with chipboard or card and build it from scratch.  There is nothing I enjoy more than building stationery boxes.  
This particular design is one of my favorite.  The template is the brainchild of a former Stampin' Up Demonstrator.  This design uses 8-1/2"x11.0" paper.  The original called for 12"x12" paper. 

I did not attempt to make new cards for this project.  I had used cards created for past challenges and/or my personal blog posts!

Thanks, Ms. Taylor!
Back
The original template has 1-inch  flaps that wrap around the back.  
I prefer this style
Side

This is a super fun project and a very impressive appreciation gift!

Sunday, May 20, 2018

Teacher Appreciation Gift

Hello, Fellow Paper Crafters!
Tell Your Story Journal Set
One school year of homeschooling and I have gained so much more respect for those amazing teachers who year after year strive to educate our youth.  Today I am sharing the appreciation gift created for my grandson's ELA instructor.  She is simply awesome!
Alert! Alert!  Photo Overload!  
Save those strips at the top of the single 12"x12" papers.  I used those to make the banners on my flower.  The "Daily Junque" is a different collection, but the banner worked for this journal. 
Because Ms. R. Teaches English Language Arts (in my grandson's case, 9th-grade Composition and Literature) I thought a journal would be a perfect gift for her.  I have been holding on to this Theresa Collins "Tell Your Story" Kit for almost three years and finally decided to cut into it.  I was impressed with her ability to get our seventh-grader to do ninth grade ELA work.  His writing is impressive and he has been introduced to Literature that I first encountered as a college freshman.
Sorry about the lousy photo
The "Button Hole Stitch" bookbinding method is fun and easy for beginners (like me) to learn.  Sea Lemon has a great tutorial.

I decorated the signature dividers with ephemera from paper collections related to writing, typesetting, etc.  Although I did not create pockets on these dividers, I have done so on others.   


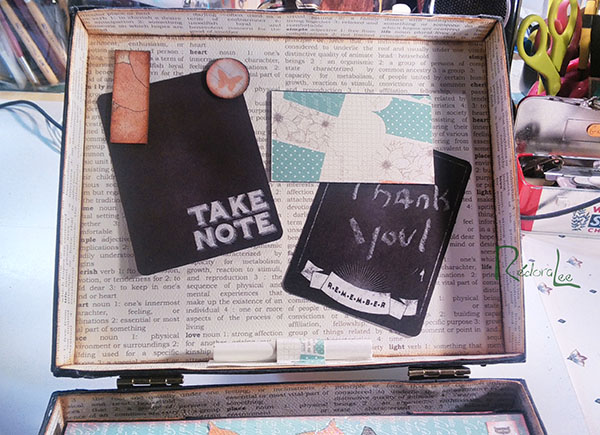
I did, however, include pockets inside the covers.  I added thank you cards, library cards, and a few envelopes.  I also found the perfect Washi Tape in my stash!


Lately, I want to deliver all my crafting gifts in hinged boxes.  
This one was super fun to create!
I created a note holder by lining the lid with business card magnets.

Thanks for stopping by!
Hugz,
Chana Malkah