Showing posts with label step tutorials. Show all posts

Thursday, May 21, 2020

Redora Lee Beginner's Series - Pocket Tag Card - Stash Party #19

Hello, Crafty Makers!
Recently, I decided to try adding content to my YouTube channel again.  I never really had that many followers, but I need the video making/editing practice and I like the idea of having videos to go along with my step tutorials.

I planned a series of videos that will help those who are new to cardmaking create simple cards using limited resources. I used the five (5) cards from one stamp challenge that I recently completed as the first tutorial of the series. These Pocket Tag Cards are the second in the series.  If all goes well, I will review products, talk about techniques, and money-saving hacks.  I have a long way to go but I believe I will enjoy getting there.

POCKET TAG CARDS
I created this Pocket Tag Card for a crafting friend.  I wanted to give her a charm and a clear stamp and I wanted to present them in a crafty package so I came up with this Pocket Tag Card Idea.  It is an original idea to me, but I imagine it has been done before.

I used a Heidi Swapp stencil and Ranger Distress Oxides to create the paper design for my Pocket Card.
I stenciled the word "Art" on the back After I applied Perfect Pearls to embossed design.
I had to get a new editing program and the ups and downs of learning how to edit necessitated the creation of three more Pocket Tag Cards.  The Hubster says I am getting better with each video, he is so well trained! :D)
Here are the results of my other efforts!
Baskin Robbinsesque
Sunshine Art
Tropical Punch

Thanks for stopping by.  
The Step tutorial and supply list can be found below.

Step by Step Tutorial
(Click on the images to see detail)
Cut a piece of cardstock to 4.5" x 11.0"
On the long side, score at 4.5" and 9.0"  
Trim 1/2" from the end of the 4.5" panel.  Burnish scorelines.
Begin applying your base ink to the back of your paper. Ink can be applied using either the direct-to-paper method (see Tropical Punch above) or by using blending brushes.  It depends on your planned design.
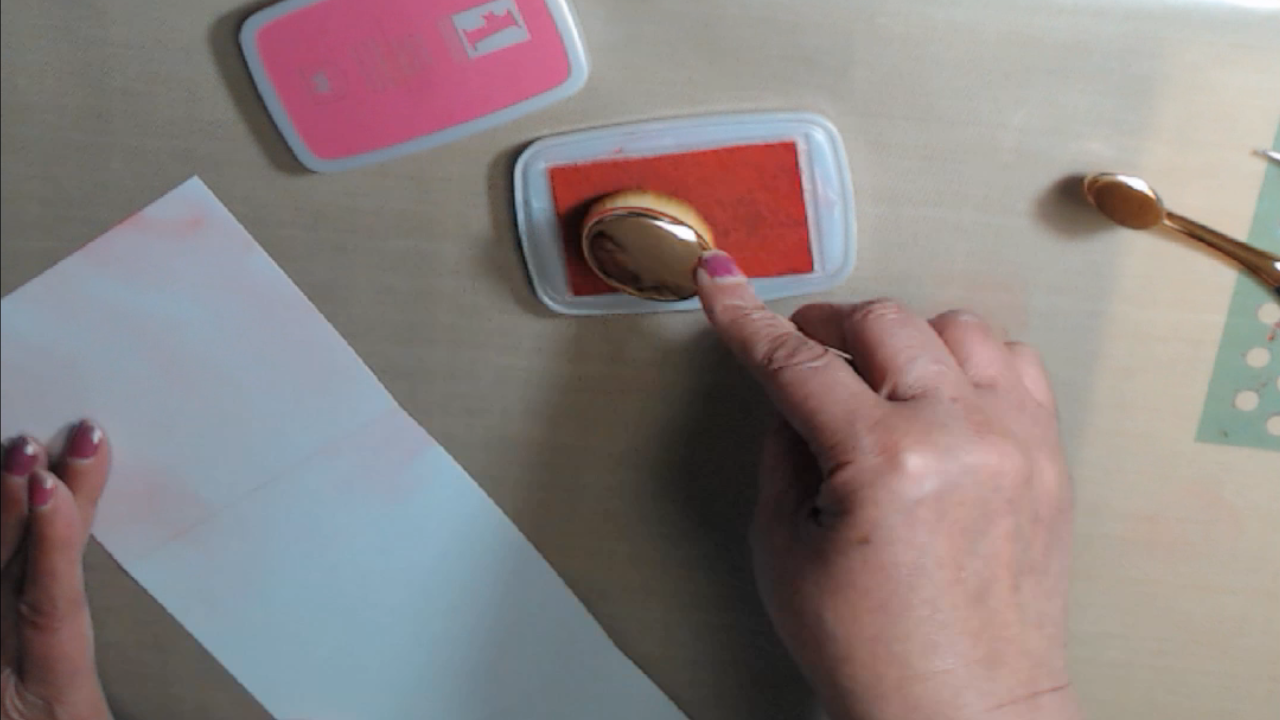
Use your anti-static on the surface of your card.
Position your stencil and secure with either scotch removable tape or Pixie Spray. Use the direct-to-paper method to press VersaMark embossing ink into the stencil.  Move stencil as needed to cover the paper.
Apply the clear embossing powder and use your heat tool to emboss the stenciled design
Apply your second ink color to your card!  The ink will only take in the places where the embossing powder did not adhere. I used Vintage Photo Distress Oxide.
Optional: Apply a coat of Perfect Pearls, "Perfect Pearl" to the embossed design. Use the misting technique to set the Perfect Pearls (Spray water into the air and pass your card through the mist. Do not spray directly onto the card.)
After the Perfect Pearls has set, your card should have a satin look.
On the 4.5" side, use a punch to cut a thumb slot.  Use a corner rounder to round the ends of the card.
Cut your decorative border or edge on the small flap.
Apply double-sided tape to the right and left edge of the bottom flap (the one with the thumb slot.) Stop just below the rounded corner.  This will make it easier to put your tag into the pocket card.  Remove the release paper seal your pocket.
Assemble the elements you plan to use for your tag.
Decorate your pocket and tag as desired.

Stuff I Used:


Friday, November 29, 2019

Quick Holiday Gifts for Teachers or Students

Hello, Crafty Peeps,
Here is an idea for quick gifts that take almost no time to create!  I find they make wonderful gifts and are fabulous stash reducers!  I am including a detailed step tutorial but there are several hundred videos on YouTube if that is your preference!
 Note Pad/Post It Note Holder

Supplies Needed:
1 8-1/2" x 11" sheet of cardstock (at least 110lb)
1 6"x6" Designer Pad or paper scraps cut to 
3-1/2"x3-1/2" and 2-1/2" x 3-1/2" 
3"x3" Sticky pad
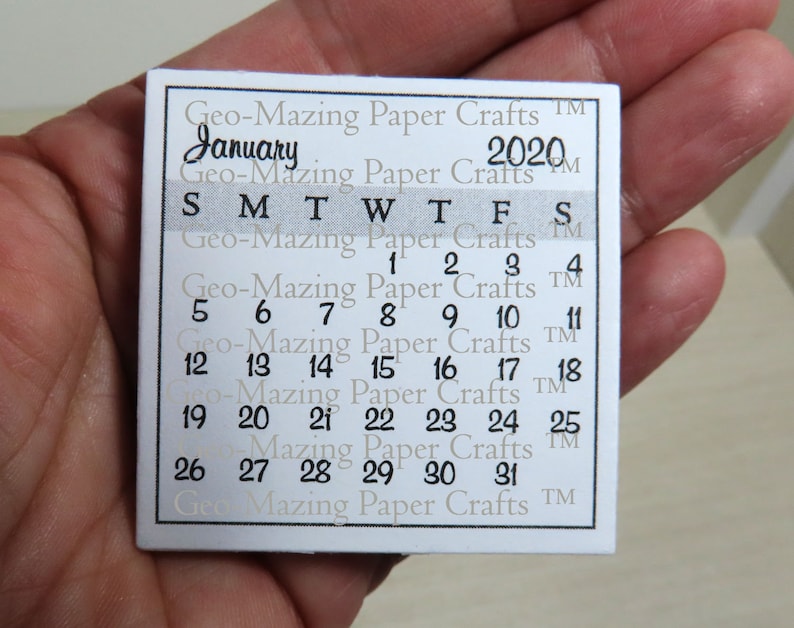
Tiny Calendar Sheets 
Small Ink/Gel Pen
Small Detail Paint Brush
Wet Glue (I use PH Neutral PVA)
(same consistency as Tombow Mono Glue)
Tools:
Corner Rounder (Optional)
Paper Trimmer
Scoreboard
Bone Folder

Cut cardstock to the following sizes:
  • 1 pc  -3-3/4" x 11"
  • 1 pc  -4-3/4" x 7-1/4"
  • 1 pc - 2-1/2" x 2-1/2"
Cut DSP to the following sizes:
  • 3-1/2" x 3-1/2"
  • 2-1/2" x 3-1/2"
The papers I use have been retired.  I am listing them in case you have them in your stash.
Card:  Bazzill Basics - Sea Glass
DSP:  American Crafts-Amy Tangerine " Sketchbook."

Mini Calendar:
If you decide to place the calendar on the front of your noteholder.
  • cut out your calendar pages and attach them to a piece of chipboard.  I covered my chipboard with a piece of my DSP.
  • Use clamps or alligator clips to secure your calendar pages.
  • Use a detail brush to apply glue to the calendar assembly.  Apply 2 or 3 coats.  Set aside to dry while you construct your holder.
Noteholder
  • Score the 3-3/4" x 11" card on the 11" side @ 4", 8", 9", 10"
  • Score the 4-3/4" x 7-1/4" card on the 4-3/4" side @ 1/2" then turn and score the other side at 1/2".  Turn to the long side and score @ 4" and 4-1/2"
  • Score the small 2-1/2" square piece at every half inch 1/2",1",1-1/2", 2"

  • Burnish the scorelines on the small piece (this is your pen holder).Apply glue to one end and join the two ends together to form a square tube.  Set aside.


  • Burnish the score lines on the 11" piece.  Make a valley fold on the three 1" scorelines.  This will form the standing base for your holder.  Apply glue to the edge of the valley fold and join with the flap.  Set aside.


This is my circus and these are my monkeys

  • Burnish the scorelines on the final card.  On each side, cut on the vertical score lines up to the horizontal scoreline.  Cut a small, angular slither to form your tabs.


  • Round the corners at the top of your holder (this is the long section.) Glue the large piece of DSP to the back of your holder.  The paper is smaller than the back, so make sure it is centered.  Add the smaller DSP to the front of the holder.


  • Fold your tabs in and apply glue.  Adhere them to the inside of the side pieces as shown below.


  • Next, apply glue to three sides of the pen holder.  Make sure the side without glue faces toward the sticky notes space as shown.


  • Now, apply glue to the bottom sides and adhere to form your pad holder. Apply double-sided tape and glue to the back of your holder and attach it to the standing base.

If you are adding the calendar, apply glue and d/s tape to the back of the calendar and then adhere to the base.

HAPPY CRAFTING!

~~~~~~~~~~~~~~~~~~~~~~~~~~~~~~~~~~~~~~~~~~~~~~~~
Jot Sticky Notes- Neon
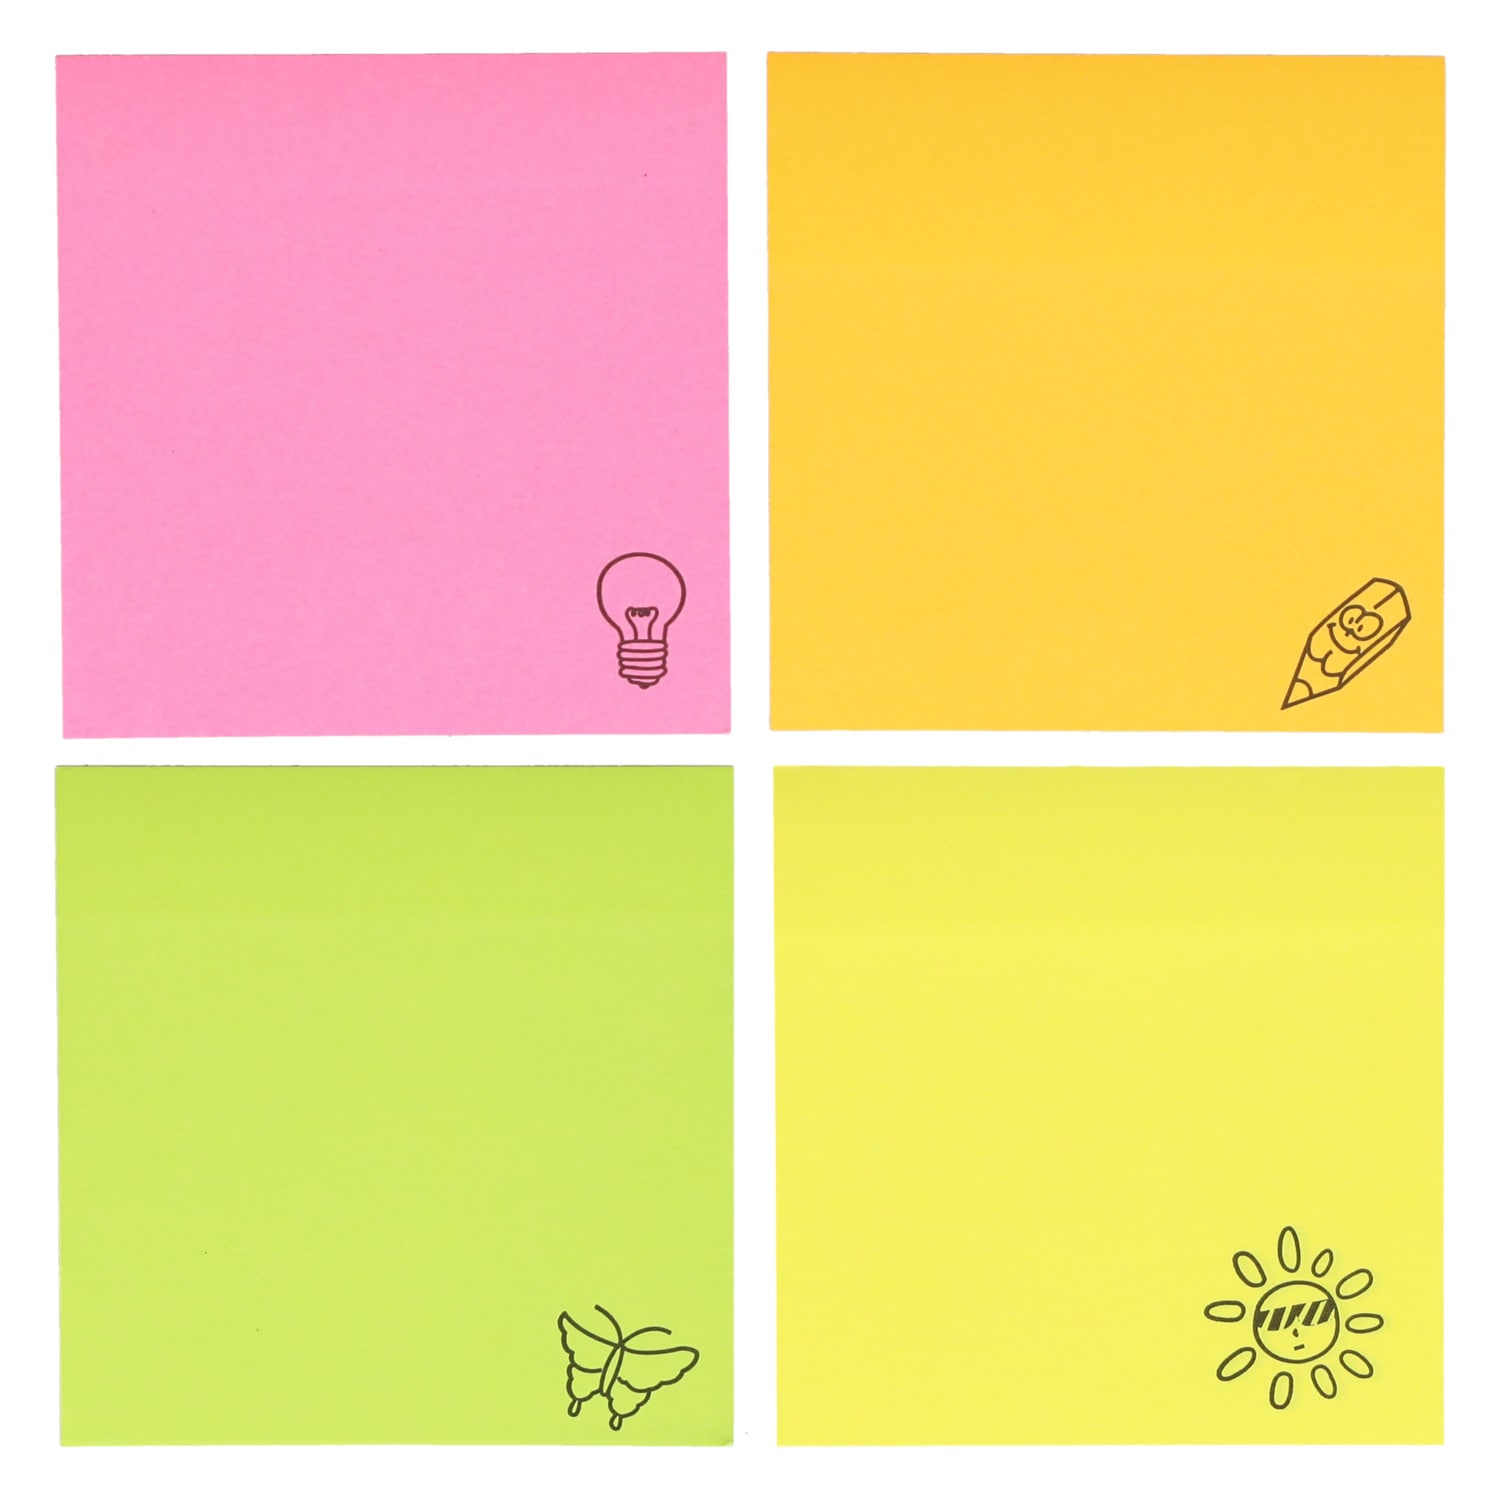
These are $1.00/ea @ Dollar Tree.  I buy in bulk (36 units/case.) If you divide them in half you can create 72 projects.  Each pad has 125 pages.
View Jot Neon Icon Sticky Notes,
By Jeanette Cobb

Monday, May 6, 2019

A Place To Start - Favorite Technique - Serendipity Squares

Hello, Crafty Makers!
is challenges you to show off your 
FAVORITE TECHNIQUE(s)
If you are like me, choosing one technique as a favorite is pretty difficult.  Fortunately, you can submit five entries to our challenge, so just pick your top five and let it rip!
If you need help choosing a technique, 
if you are a Newbie to crafting,
click the 1001 Techniques link above.   
~~~~
If this is your first time using a particular technique, we would also love to have you enter it into our
 Crafty Hugz!
This was my first time using the Serendipity Technique on a card.  I have used it a few times on mixed media projects and while a little time consuming, the results are well worth the effort.  I only used three square here, but my project actually yielded nine.
~~~~
How I Did What I Did

1.  I chose scrap papers that coordinate and tear into pieces and or strips.  I later added grey and blue polka dotted papers to the ones shown in this picture.  All of my papers were double sided so I got a lot of different colors and patterns.  Most will be hidden but the bits and pieces that show through will create a unique mosaic.
2.  I cut a piece of kraft cardstock to 5"x 5"(use whatever size and cardstock you wish for your base.) Just make sure it is card and not paper.  I glued the beige polka-dotted sheet (which I cut to 4.75" x 4.75" to create an eighth-inch border all around. This is not necessary, I just wanted my squares to have a lip) I stamped two images onto the paper.  I used a large background stamp and a smaller text stamp.  Once the image was stamped.  I colored in random parts of the flowers.  Then I began randomly gluing down my scrap papers.  I made sure that I left so areas of the flowers uncovered.
3.  Once the glue had dried (helped a little by my heat gun) I created a gold glitter wash and brushed it randomly over the paper.  I use DecoArt Metallic Paint "Splendid Gold", Glitter "Crystal", and Water to create the wash.
4.  I used Ranger "Wilted Violet" Distress Oxide Ink to color portions of my flowers and I knew I wanted to use a Lilac colored cardstock as my base so I decided to create a second wash using Inka-Gold "Violet Violet" Metallic Wax.
5.  Next, I repeated the stamping that I used on the first layer.  I stamped the small stamp first using black ink.  Then I stamped the larger image using embossing Ink.  I embossed the image with white embossing powder.
6.   Next, I cut my squares (1.50"x1.50").  I ended up with six even squares and three squares that are 1.50" x 2.0".  I used a cream card to cut three squares 1-5/8" x 1-5/8" as layers for my squares.
7.  I found a scrap piece of green card onto which I stamped my large floral background.  Again I heat embossed it using white embossing powder.  Using another piece of one of the scraps I used to create my serendipity design, I stamped my sentiment and cut it out with my circle punch.  I cut a piece of kraft card and colored it with Rangers Tea Dye Distress Ink.  A used my gold wash to give it a sheen. I used the Wilted Violet Ink to distress the edges of a piece of white card and then layered that onto the kraft card.  I had a thin strip of serendipity
left over from cutting my squares.  I added this to the center of the small layered card and attached my sentiment circle using double-sided foam tape.
8.  The final step was to add the elastic gold string and a small brad.
Thanks for stopping by!
Hugz,
Stuff I Used
Stamps:    Hero Arts™ "Flower Text"; LaBlanche Stamps "Transilvano Dialogo"
Papers:     Various scraps from my stash; Neenah® Classic Cream, Kraft Card
Inks:         Ranger® Distress Ink™"Tea Dye", Ranger® Distress Oxide Ink™ "Wilted Violet; Inka-Gold® "Violet Violet" Metallic Wax.
Product Links