
Hello, Crafty Makers!
Recently, I decided to try adding content to my YouTube channel again. I never really had that many followers, but I need the video making/editing practice and I like the idea of having videos to go along with my step tutorials.
Recently, I decided to try adding content to my YouTube channel again. I never really had that many followers, but I need the video making/editing practice and I like the idea of having videos to go along with my step tutorials.
I planned a series of videos that will help those who are new to cardmaking create simple cards using limited resources. I used the five (5) cards from one stamp challenge that I recently completed as the first tutorial of the series. These Pocket Tag Cards are the second in the series. If all goes well, I will review products, talk about techniques, and money-saving hacks. I have a long way to go but I believe I will enjoy getting there.
POCKET TAG CARDS
I created this Pocket Tag Card for a crafting friend. I wanted to give her a charm and a clear stamp and I wanted to present them in a crafty package so I came up with this Pocket Tag Card Idea. It is an original idea to me, but I imagine it has been done before.

I used a Heidi Swapp stencil and Ranger Distress Oxides to create the paper design for my Pocket Card.

I stenciled the word "Art" on the back After I applied Perfect Pearls to embossed design.
I had to get a new editing program and the ups and downs of learning how to edit necessitated the creation of three more Pocket Tag Cards. The Hubster says I am getting better with each video, he is so well trained! :D)
Here are the results of my other efforts!
Baskin Robbinsesque


Sunshine Art

Tropical Punch


Thanks for stopping by.
The Step tutorial and supply list can be found below.


Step by Step Tutorial
(Click on the images to see detail)
Cut a piece of cardstock to 4.5" x 11.0"
On the long side, score at 4.5" and 9.0"
Trim 1/2" from the end of the 4.5" panel. Burnish scorelines.

Begin applying your base ink to the back of your paper. Ink can be applied using either the direct-to-paper method (see Tropical Punch above) or by using blending brushes. It depends on your planned design.
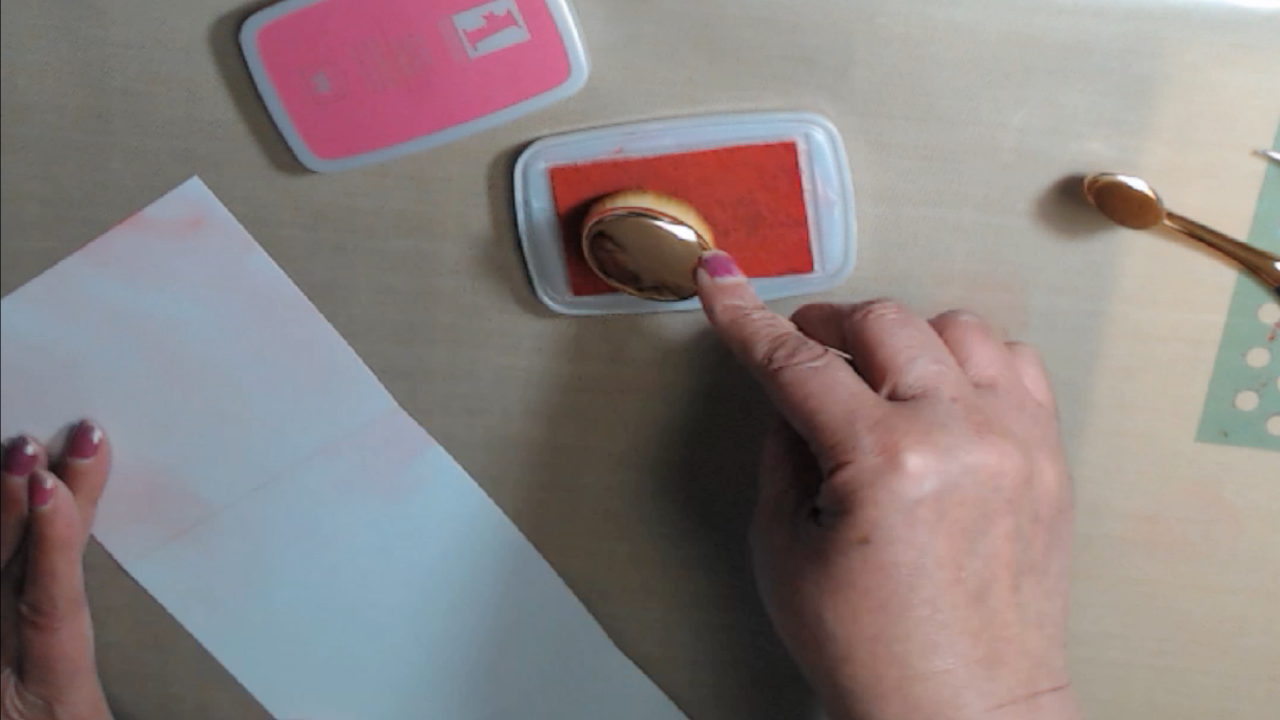
Use your anti-static on the surface of your card.

Position your stencil and secure with either scotch removable tape or Pixie Spray. Use the direct-to-paper method to press VersaMark embossing ink into the stencil. Move stencil as needed to cover the paper.


Apply the clear embossing powder and use your heat tool to emboss the stenciled design


Apply your second ink color to your card! The ink will only take in the places where the embossing powder did not adhere. I used Vintage Photo Distress Oxide.

Optional: Apply a coat of Perfect Pearls, "Perfect Pearl" to the embossed design. Use the misting technique to set the Perfect Pearls (Spray water into the air and pass your card through the mist. Do not spray directly onto the card.)


After the Perfect Pearls has set, your card should have a satin look.

On the 4.5" side, use a punch to cut a thumb slot. Use a corner rounder to round the ends of the card.


Cut your decorative border or edge on the small flap.

Apply double-sided tape to the right and left edge of the bottom flap (the one with the thumb slot.) Stop just below the rounded corner. This will make it easier to put your tag into the pocket card. Remove the release paper seal your pocket.

Assemble the elements you plan to use for your tag.

Decorate your pocket and tag as desired.
Stuff I Used:


