In my continuing effort to use my stash, I decided to use this fade-out stenciling practice panel. You can see the other project, FLAMINGO, (HERE). The great part was all I had to do was add ribbon, cord, sequins, and a brad. The oval sentiment was resting on the panel in my stash pile so I decided to use it. I originally mounted it on white card stock but the black is far more dramatic!
This month at A Place to Start, we are challenging our players to investigate new and exciting techniques for using stencils!
This watermarking with stencils and distress inks technique is a new one for me. So I get to check another box in my 2019 personal challenge. ~~~~~~~ "The Art of Silence"
"For The Love of Yoga"
Step Tutorial The supplies and tools listed are what I used. Please use whatever you have on hand. Please note that inks that are not reactive with water will not give the same result as Distress and Distress Oxide Inks. I have provided links to some products.
Supplies and Tools
Paper
1 pc white cs - 4.25" x 11.00" scored at 5.50" (A2 card base)
1 pc white cs - 4.00" x 5.25"
1 pc black cs - 4-1/8" x 5-3/8"
1 pc white cs - 4.50" x 5.00" (for window back panel)
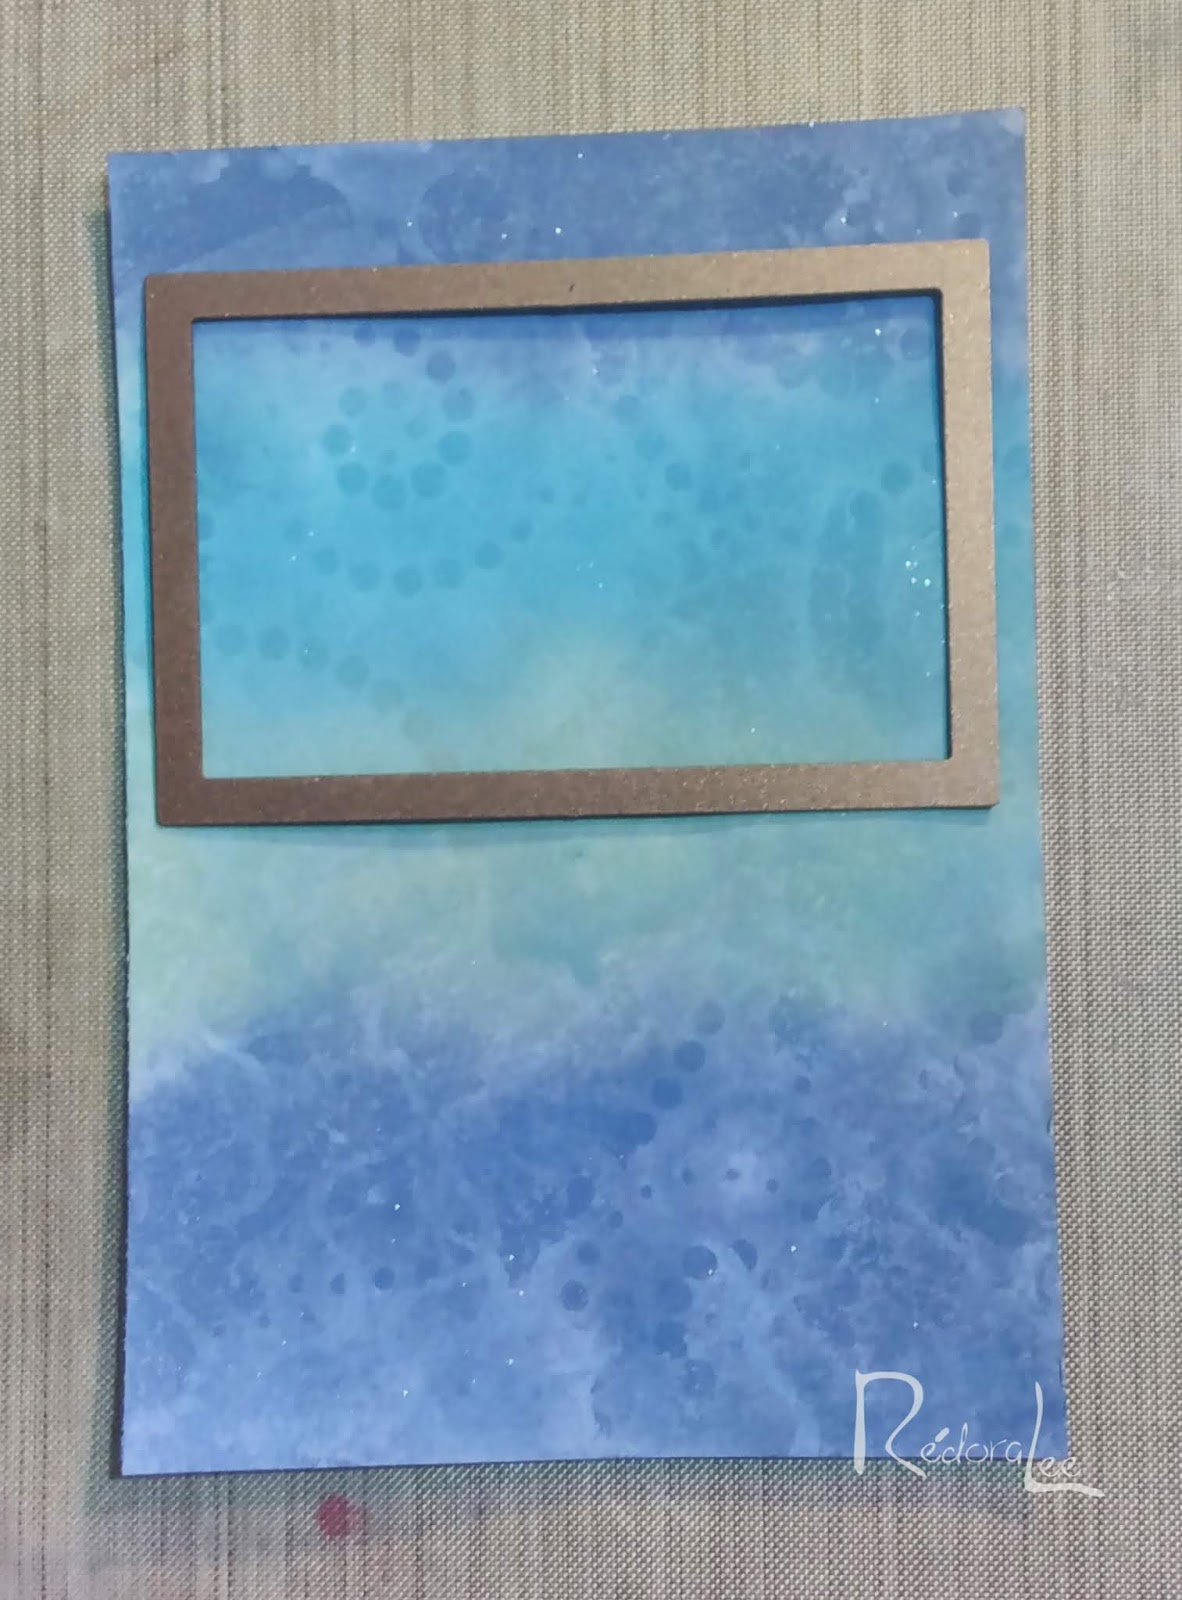
1. Using your blending tool, apply distress inks to the 4-1/2"x5.0" white cardstock. Note:The decorative back panel for your window will be cut from this card. Keep this in mind as you apply your ink and your stencil design. Set aside.
2. Bring your stencils and water mister to your work area. Select your first stencil and lightly mist it with water. You should have small, fine bubbles, not big ones.
When you are satisfied with your moisture level, place the moist side of the stencil over your inked panel.
Cover the stencil with a paper towel and slide your (in opposite directions) hands across the towel.
Remove the towel to reveal your design. Repeat the process with your second stencil. Set your panel aside to dry.
3. Create your card base. If you have not done so already, cut a piece of white cs to 4-1/4"x 11.00" and score at 5-1/2". Fold on the score line and burnish.
4. Cut a piece of Black cs to 4-1/8" x 5-3/8". Layer on top of the white card base. There should be a 1/16" border on all sides.
5. Cut a piece of white cs to 4.00" x 5-1/4". Select the appropriately sized rectangle die and use it to cut out the window section. There needs to be at least a 1/4" margin at the top of the window and on both sides.
6. Using the same rectangle die or a slightly larger one, cut a section from your colored panel. While my panel was still wet, I applied "Wink of Stella" for a little shimmer.
7. Position your decorative panel and face panel (do not adhere).
Determine where you will place your additional elements such as your flowers, images, and sentiment.
8. Using a tape runner and wet glue (placing wet glue over the runner lines will allow a little wiggle time) adhere the decorative panel to the base of your card.
9. Use your stencils and Distress Inks to decorate the white window panel. You may leave this undecorated if that works better with your design.
10. Stamp your image and sentiment onto the window panel and adhere any additional embellishments.
On the back of the panel, adhere a double layer of double-sided foam tape. I used pieces left over from two other projects.
After much cogitation, I have finally entered the Realm of The much touted "Mermaid/Toothbrush Blending Tool."
Hex Appeal
To color this stencil, I used three brush sizes (only two are pictured below). Additionally, to test and compare the two brands, I used brushes from both the Laromni and DSC Beauty brand. I was pleased with the performance of both brushes. I was able to control the ink application to achieve the look I wanted.
Ode To Jessie
For this project, I used the Laromni brushes exclusively. I must admit that the Laromni set is probably the better of the two. I just like the feel of these brushes in my hand when I am coloring or blending, the process seems smoother but, as I wrote previously, both do a good job of blending and coloring.
Two brushes were used to color this project. Because of all the tight spaces, having a thinner brush made it easy to get into all the crevices between the petals.Details for this project can be found here
Cleaning the brushes between colors is a simple matter of brushing them across a microfiber cloth. This takes seconds and speeds up the work process.
The DSC Beauty Brush Set came complete with 10 brushes and this handy drying/storage rack. I ordered a drying stand on Ali Express ($5.06 + $1.79 for shipping) for my Laromni Brush Set. These stands are convenient and reduce desktop clutter.
The only true difference I spotted in the brushes was the head size. The Laromni brushes are just slightly larger.
The Laromni Brush Set
Now that I am using these brushes on a frequent basis, I have taken this chart and fashioned one that helps me decide which type of brushes work best on my stamps and stencils.
For Example, the Hexagon Stencil would be 09, 05, and 04.
~~~~~~~
Why I switched to Mermaid/Toothbrush Blending Tools.