
Hello, Crafty Peeps!
The fortnight (two weeks) challenge at Shopping Our Stash is:
Fabulous February.
Make something inspired by February's stone (amethyst) or February's flowers (violet or iris)
~~~~~~~
I realized long ago that there were many fabulous card designers out there creating "floral" cards and it seemed dumb to even try to do the flower thing.
That was then, this is now. Facing serious health issues changes how one sees so many things in life. For the past four years, crafting has been a port in the storm for me. It has been my family's barometer for measuring how well I was doing on any given day. I have returned to the passion that made me fall in love with this hobby in the first place. I create for the pure joy of creating!
Violet Passion

I don't know why I haven't used this Sizzix Die over the years because it is one of my absolute favorites. For this challenge, however, I decided to continue my personal challenge of creating CAS projects, using "ancient" stamps and dies and learning at least one new technique each week. Using old stuff is the essence of SOS Challenges.
Personal Challenges Met:
1. CAS Design
2. New Technique: Splattering
3. Ancient Supplies: Sizzix Die, Hampton Arts Stamp, Vellum Paper, Purple Heart, Bling.
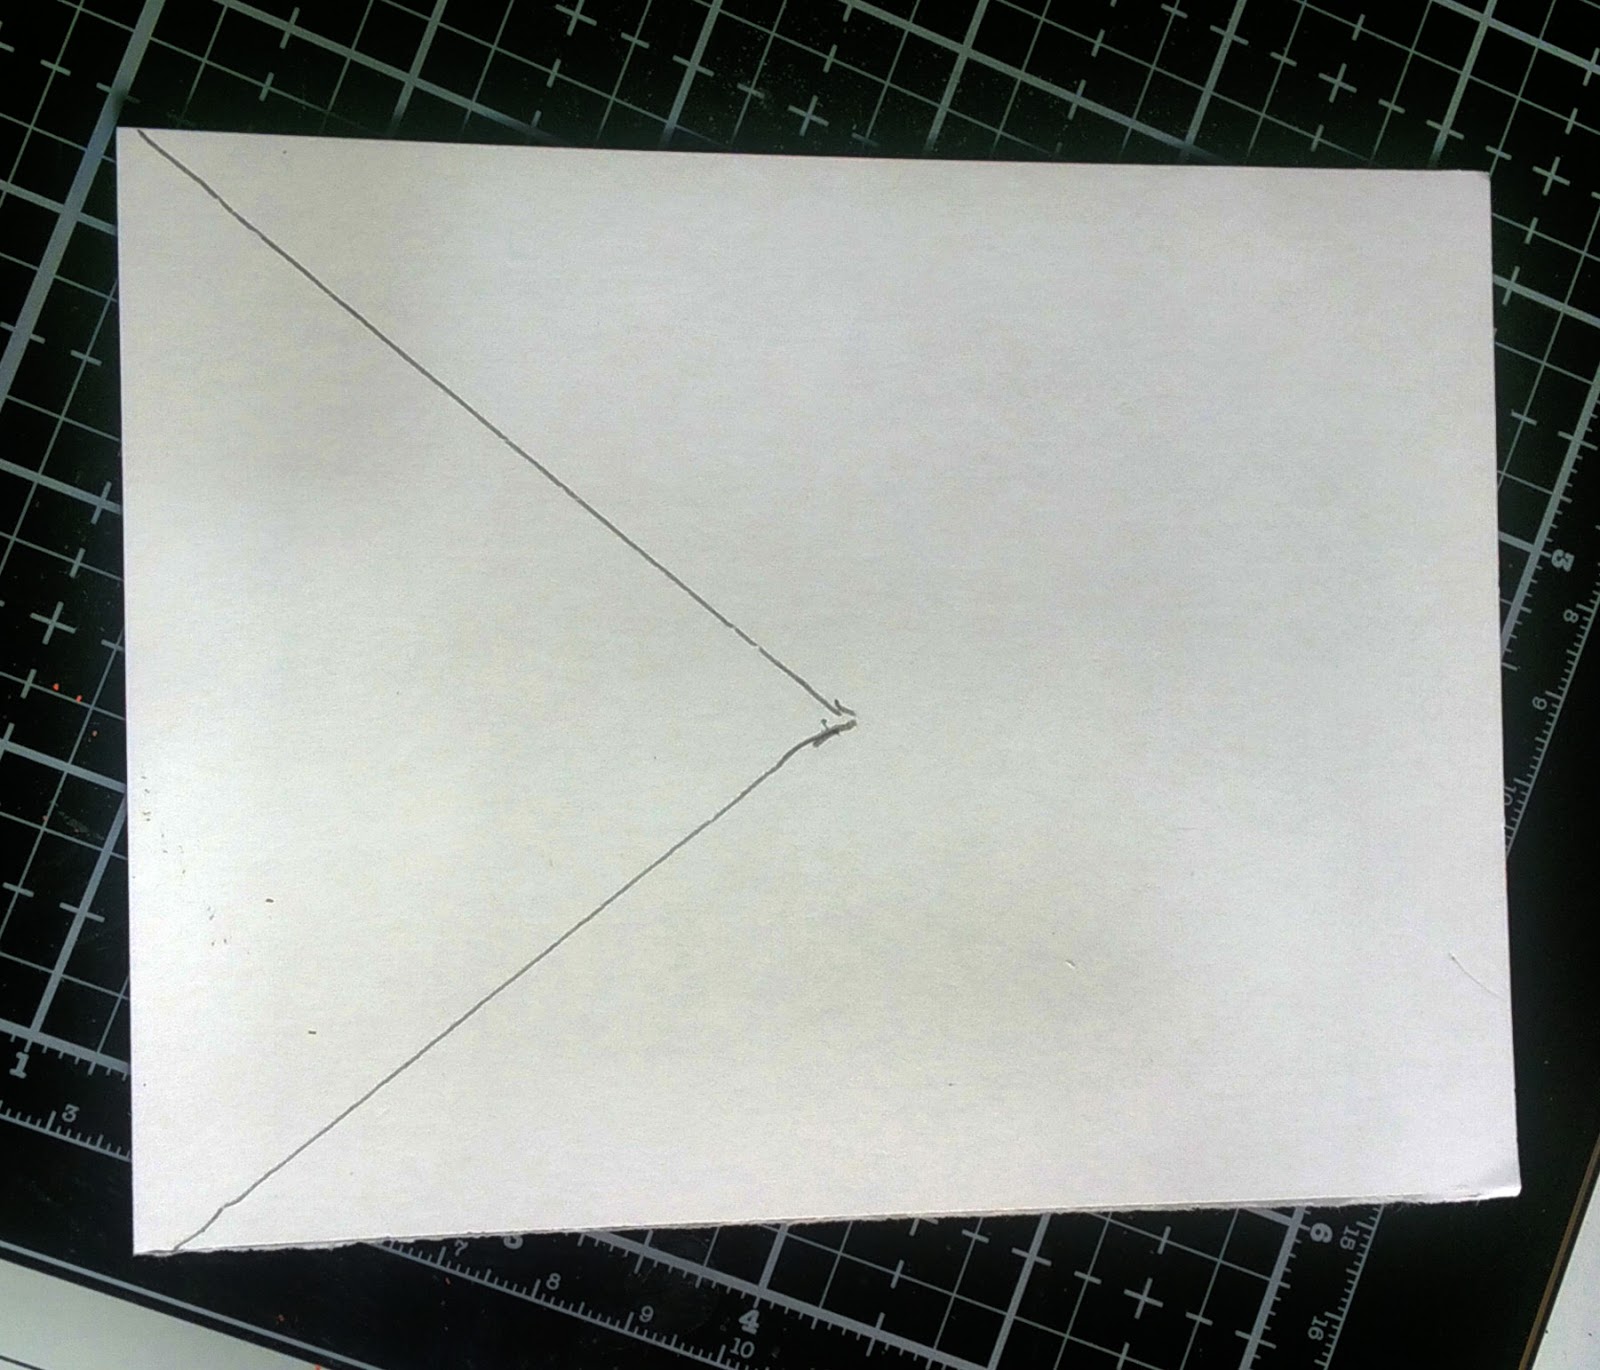
1. Cut a piece of heavy-weight white cardstock to 4.25"x11.50" (A2 card base)
2. Make a banner cut at one end of the paper.
3. Score at 5.50" and fold. Burnish with a bone folder.
4. Cut a piece of white cardstock to 4.25" x 5.50". Place this inside your folded base and trace the banner. Use your trimmer or scissors to cut out the triangle shape.

6. Repeat the embossing or die cutting on the small banner piece. Use double-sided tape to adhere the small banner to the back of the banner shape on your base. Make sure the embossed/die cut design is facing out. If you want to wrap ribbon or twine, attach it before you glue the banner panels together.


8. Cut a piece of white cs to a size that will allow you to place and cut your dies. Blend your inks to achieve an ombre effect. Splatter ink on opposing colors. I also added gold splatter. Arrange your dies on the sheet and cut.


I created a card box to avoid crushing my flower!

Thanks for stopping by!
Hugz!


Very interesting fold and a beautiful flower. Lovely card.
ReplyDeleteThanks, Barbara!
ReplyDeleteWell, you are back and it's like you were never gone! (Not to take away from your difficult past few years-- you're just such a natural in the craft room!) This is such a cool card. Love the card shape and that dimensional flower... and those awesome colors! Chana, I'm so inspired by your enthusiasm and personal goals in crafting. You go, girl!
ReplyDeleteThanks, Mimi! It feels good to be back! Thanks you for all the wonderful and inspirational cards and RAK you sent over the past few years...they kept me hopeful and in my craft room!
DeleteHugz!
Ohhhhhh Chana this is so gorgeous!
ReplyDeleteAnd it makes me so very happy that you are back to creating for all the reasons that you love!
Fabulous job my friend, this is so beautiful!
Thanks, Ms. Donna, I appreciate your kind words!
DeleteHugz!
Wow your cards is absolutely beautiful as always - thanks for sharing the tutorial. Love the layout - great creation!!!
ReplyDeleteThanks, Ms. Babs!
DeleteWhat a stunning card, Chana! Love the unique banner cut on your card base, and that flower is gorgeous!!
ReplyDeleteThanks, Chris!
DeleteGorgeous flowers Chana, love the gold splatter on them and the beautiful colors you achieved with your sponging.
ReplyDeleteThe design on your card is awesome, thank you for the directions on how to do it.
Beautiful card!!
XO
Oh wooow the Background white paper looks adorable Chana
ReplyDeletelove the shape too and the flowers looks beautiful there too
fabulous Made
I am sorry I just visiting you again
big hugs
Monika
Thanks, Monika!
Delete