
Hello, Crafty Makers!
I created this project for the Inspiration Challenge at
This challenge presented the perfect opportunity to work on my CAS design skills. Although the design is CAS, I don't know if creating multiples of this design would be so easy.
 |
| I based the focal grouping on a sketch from CAS Colour |
Step Tutorial
Supplies:
1- piece White cardstock cut to 4.25" x 11" scored at 5.50"
2- pieces white watercolor paper cut to 1.75" x 1.75"
1- piece Plum cardstock cut to 4.00" x 5.25"(or color of your choice)
2- pieces of gold foil cut to 2.00" x 2.00"
1- piece green vellum (or color of your choice)
Distress or Distress Oxide re-inkers (other re-inkers will work, too)
Wink of Stella
Watercolor brush
Craft Foam or Foam Dots.
Double-sided tape
Regular adhesive tape
Wet Glue
Water
Kosher Salt and/or Fine Pickling salt.
The Salt Technique
 |
| I used Cracked Pistachio, Wilted Violet, and Squeezed Lemon |
1. Using a water brush, apply a small amount of water to the back of one of the watercolor paper squares(this will keep your paper from curling). Turn it over and thoroughly wet the front of the square, this time using more water.
2. After the cardstock is sufficiently saturated, add a drop of ink from one of your re-inkers. Use you watercolor brush to direct the color to the areas you wish to cover. Repeat this process with your chosen colors until you have the desired result/pattern.

3. Once you are satisfied, sprinkle a small amount of coarse Kosher salt onto the square. Set this aside to dry (approximately 45 minutes).
4. Repeat steps 1-3 with the second square.
5. After your watercolored squares have dried, use foam tape or dots to adhere them to the gold foil squares. This will create a 3-D effect.


6. Next, arrange your squares as you plan to have them on your face panel. Secure the arrangement with a piece of adhesive tape. Put this aside while you assemble your base and card front.

7. Cut a piece of white craft foam about 1/4 inch smaller than your face panel (your colored cs) and attach to the panel using double-sided tape and wet glue. When done, use the same process to attach the colored cardstock to your white card base.


9. If you plan to decorate the inside of your card, that should be done now. I used green vellum and a stamped sentiment.


8. Apply double-sided tape and wet glue to the back of your watercolored squares and position them on your card. Depending on how you embellish your card, it may be easier to place your embellishments before


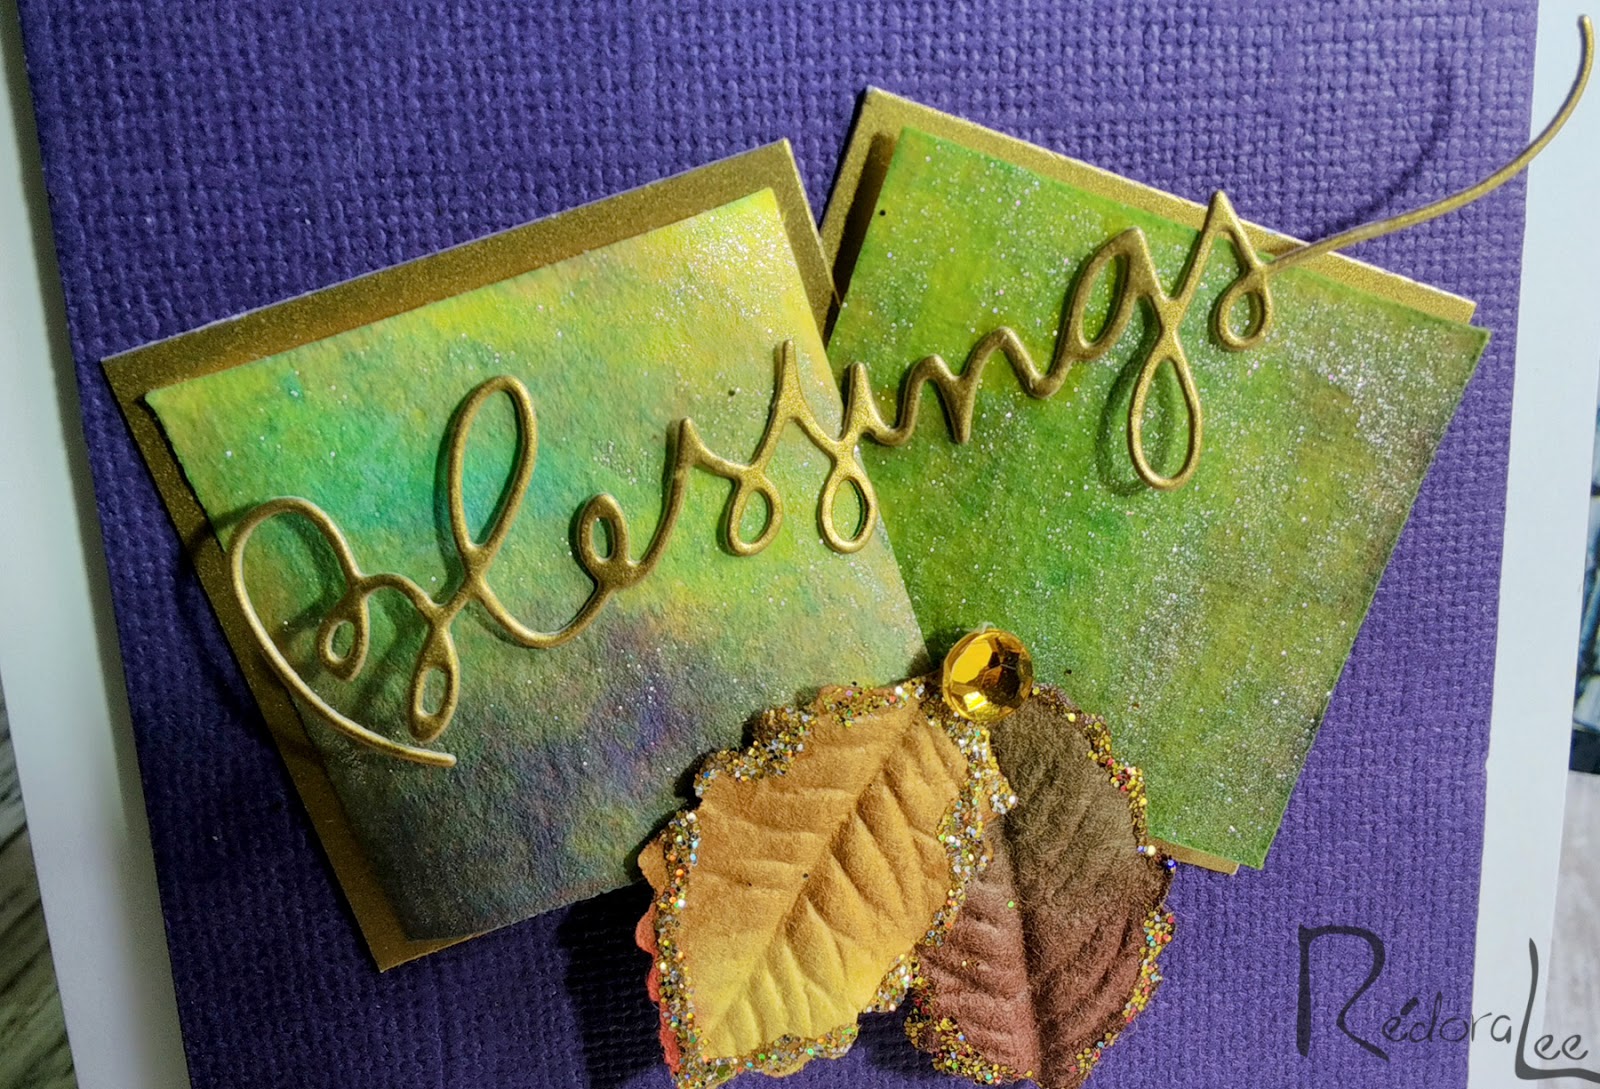
I added Wink of Stella to my squares for extra shine.

Hugz,

Challenges Entered:


