Showing posts with label Prima Stencils. Show all posts

Thursday, November 5, 2015

Earth Safe Finishes - Reverse Canvas Mixed Media Shadow Box Project

Hello, Crafty Peeps!
Wow!  It is so nice to be back in my studio! 
Today,  I am sharing my DT project for Earth Safe Finishes.  If you are not familiar with this company, please visit our site and find out who we are.  
For those of us with compromised immune systems, VOC*** free products are a crafting godsend.   

A ROMANTIC THANKS TO MY HUBBY!

This is my first Reverse Canvas Shadow Box Design project!   I wanted to showcase the Ann Butler™ Iridescent line and a shadow box frame seemed the ideal vehicle. 
Hubby was at the Goodwill store, again!  He came home with a bag full of these wonderful glass beads.  He was so excited to once again assume his role as my chief enabler, I simply had to build a project around his latest purchase.  Hubby even brought in a small branch from the back yard!  What A man!
BEFORE

DURING

DONE
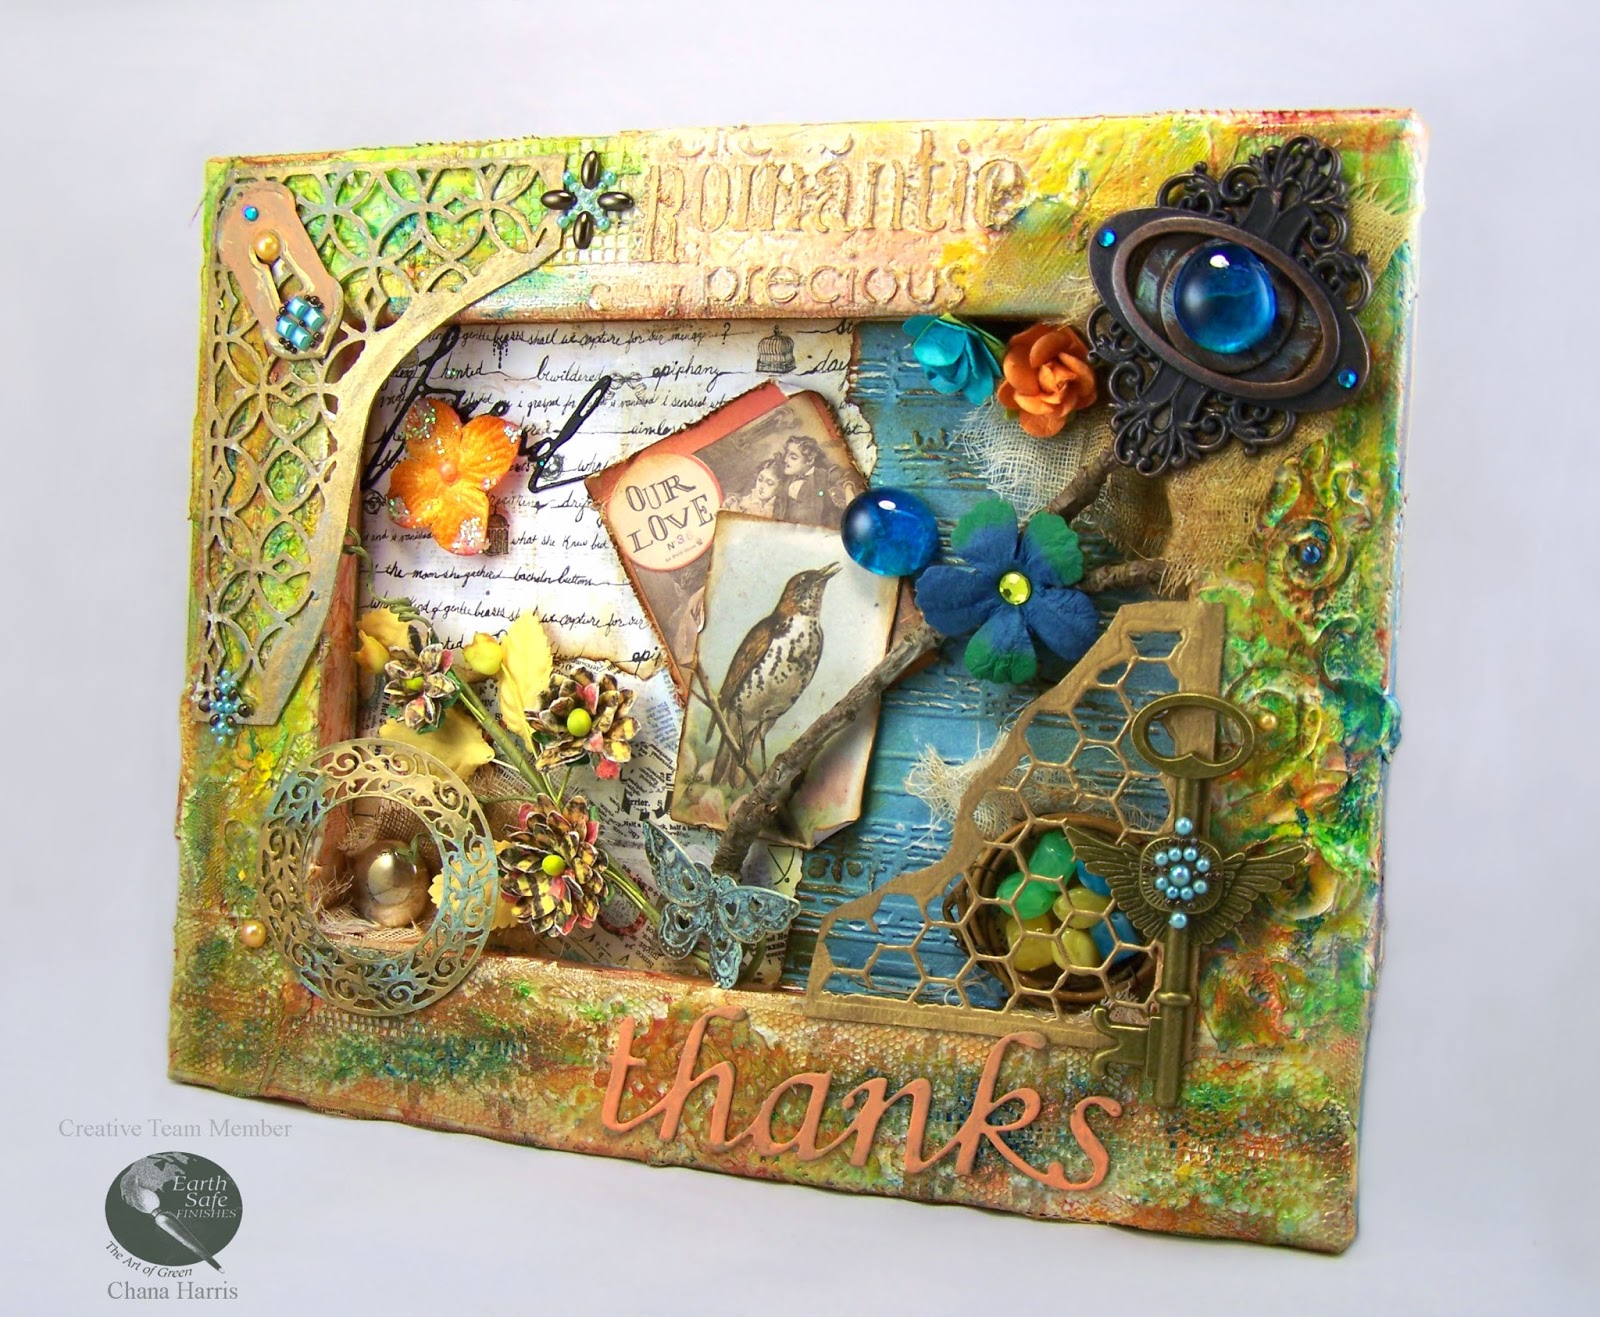
 I love the lighting on this shot, it shows the beauty of the Ann Butler™Iridescent paints and powders.  Iridescents enhance projects and surfaces, are versatile and easy to use. Use one color or several colors for an interesting shimmer effect. 

Paints/Glazes:  Ann Butler Designs™ Iridescents
Earth Safe Finishes® Chalk it Up™ - Blood Orange Sorbet (used on sentiment)
Dies:  Sizzix Thinlits™ 4 Pc Mixed Media,  Memory Box® "Thanks"
Stencils: Prima Marketing®
Embossing Folder:  Tim Holtz® Texture Fades™ Post Card and Sheet Music Set
Ephemera: Tim Holtz® Idea-ology™ Thrift Shop

~ ~ ~ ~
***VOCs are solvents that are released into the air as paint dries. Known as offgassing, this process may continue for months or even years after the liquid products have dried.  VOC stands for Volatile Organic Compound. VOC’s are present in many home products including:  paints, paint strippers, and other solvents; wood preservatives; aerosol sprays; cleansers and disinfectants; moth repellents and air fresheners; hobby supplies; mineral spirits, alcohol, nail polish and more. 
(excerpt from the ESF web page)

Thanks for Stopping by!


Sunday, January 25, 2015

IDEA BOOK - Sketches and Ideas .


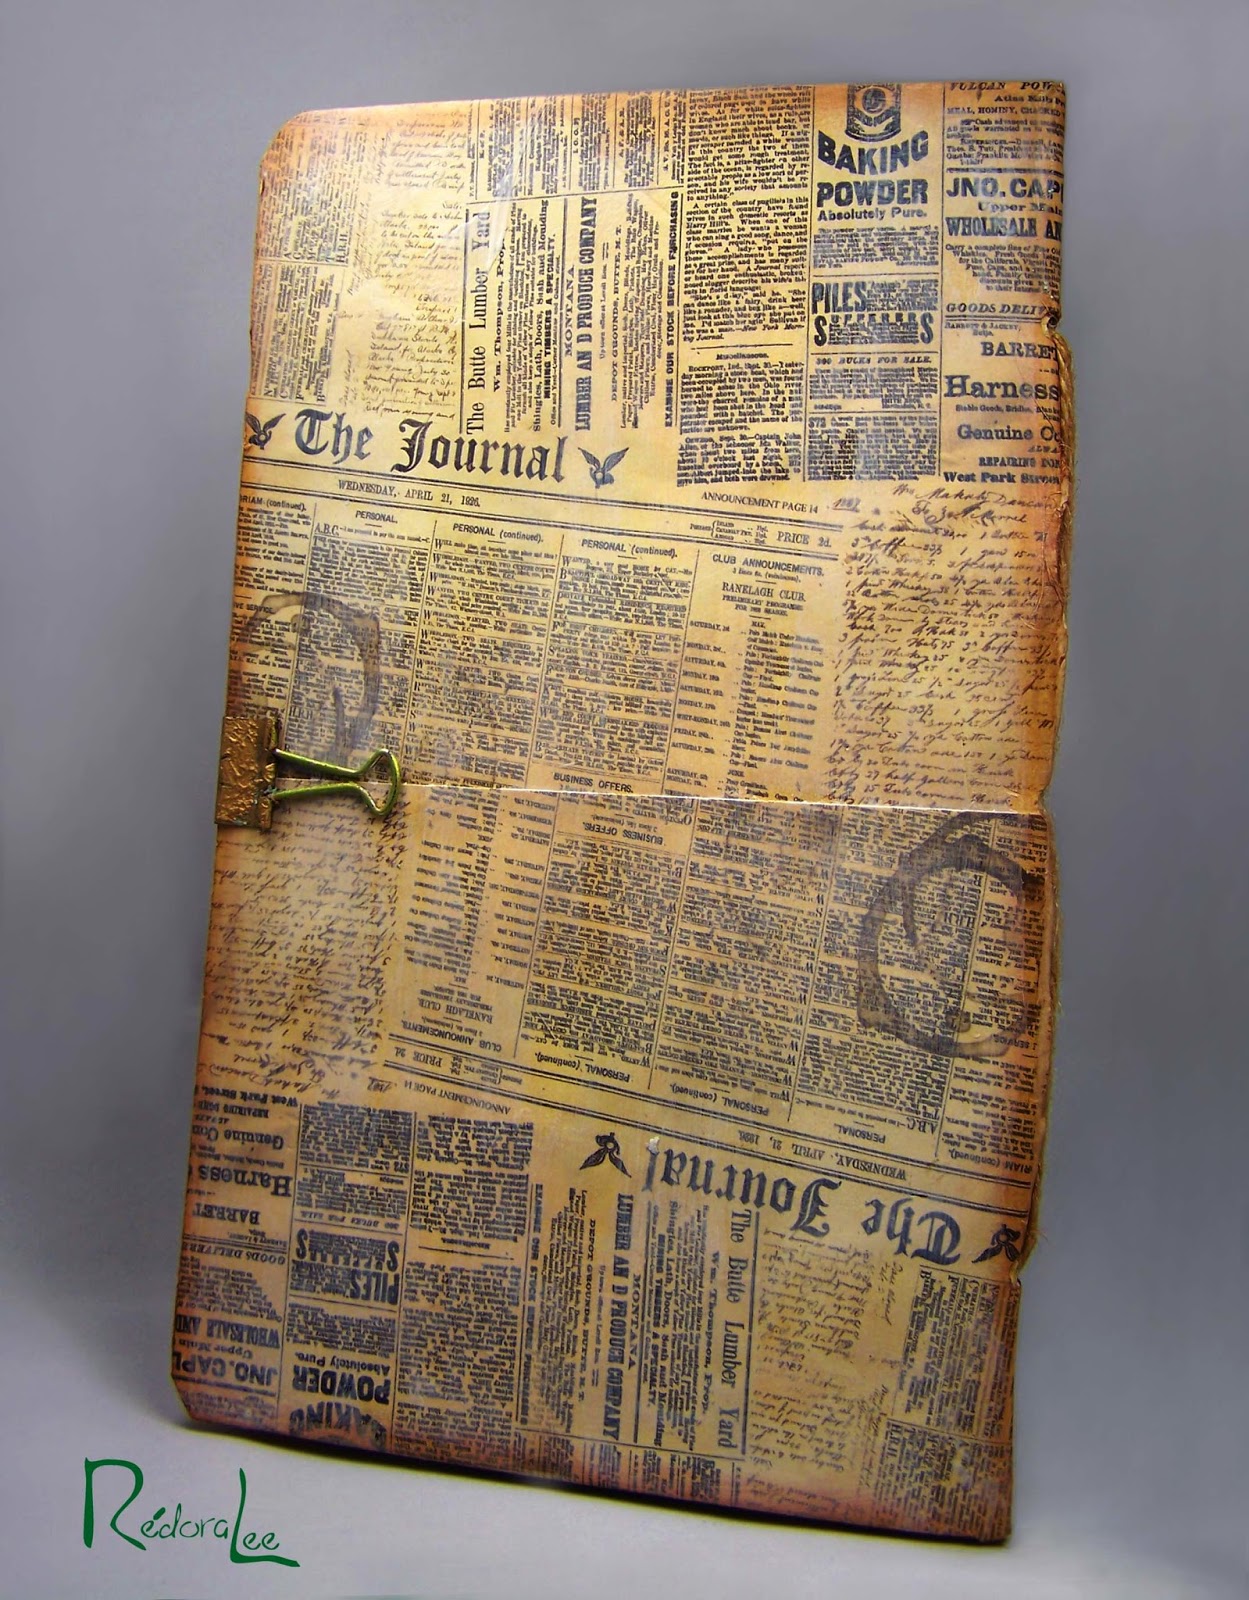
I spend a lot of time in the offices of physician's offices and radiologists, not to mention the six to eight hours hooked up to an IV once a month for my infusion therapy. Like most crafters, while sitting there, I am thinking about projects on my board for DT assignments or other challenges.  I usually take a book to read but it occured to me that I should have in my purse at all times a mini sketch book.  I didn't want anything fancy and this is a long way from fancy.


STEP ONE
I began the design using an empty Frosted Flakes Carton.
  You may use chipboard, corrugated cardbord or other material.  
  Empty cartons are a staple in my studio.  I substitute this for chipboard on many projects. 
It also makes a pretty sturdy tag.

STEP TWO
Cut cardboard to the desired size 
I planned to use 8.5" x 11" Paper, so I cut my cardboard  9" x 11.5" 

 STEP THREE
Glue your cover to your design paper.
I used my scoreboard to determine the center crease.  
Then, using my Tim Holtz ruler, I marked the location of my holes.  
I punched the holes using my Big Bite!
I used Bo Bunny et cetera papers
Add inside cover paper
I chose to add my inside cover as two individual panels after adding my paper. 
 I do not reccomend this approach.

STEP FOUR
Align Papers.


STEP FIVE
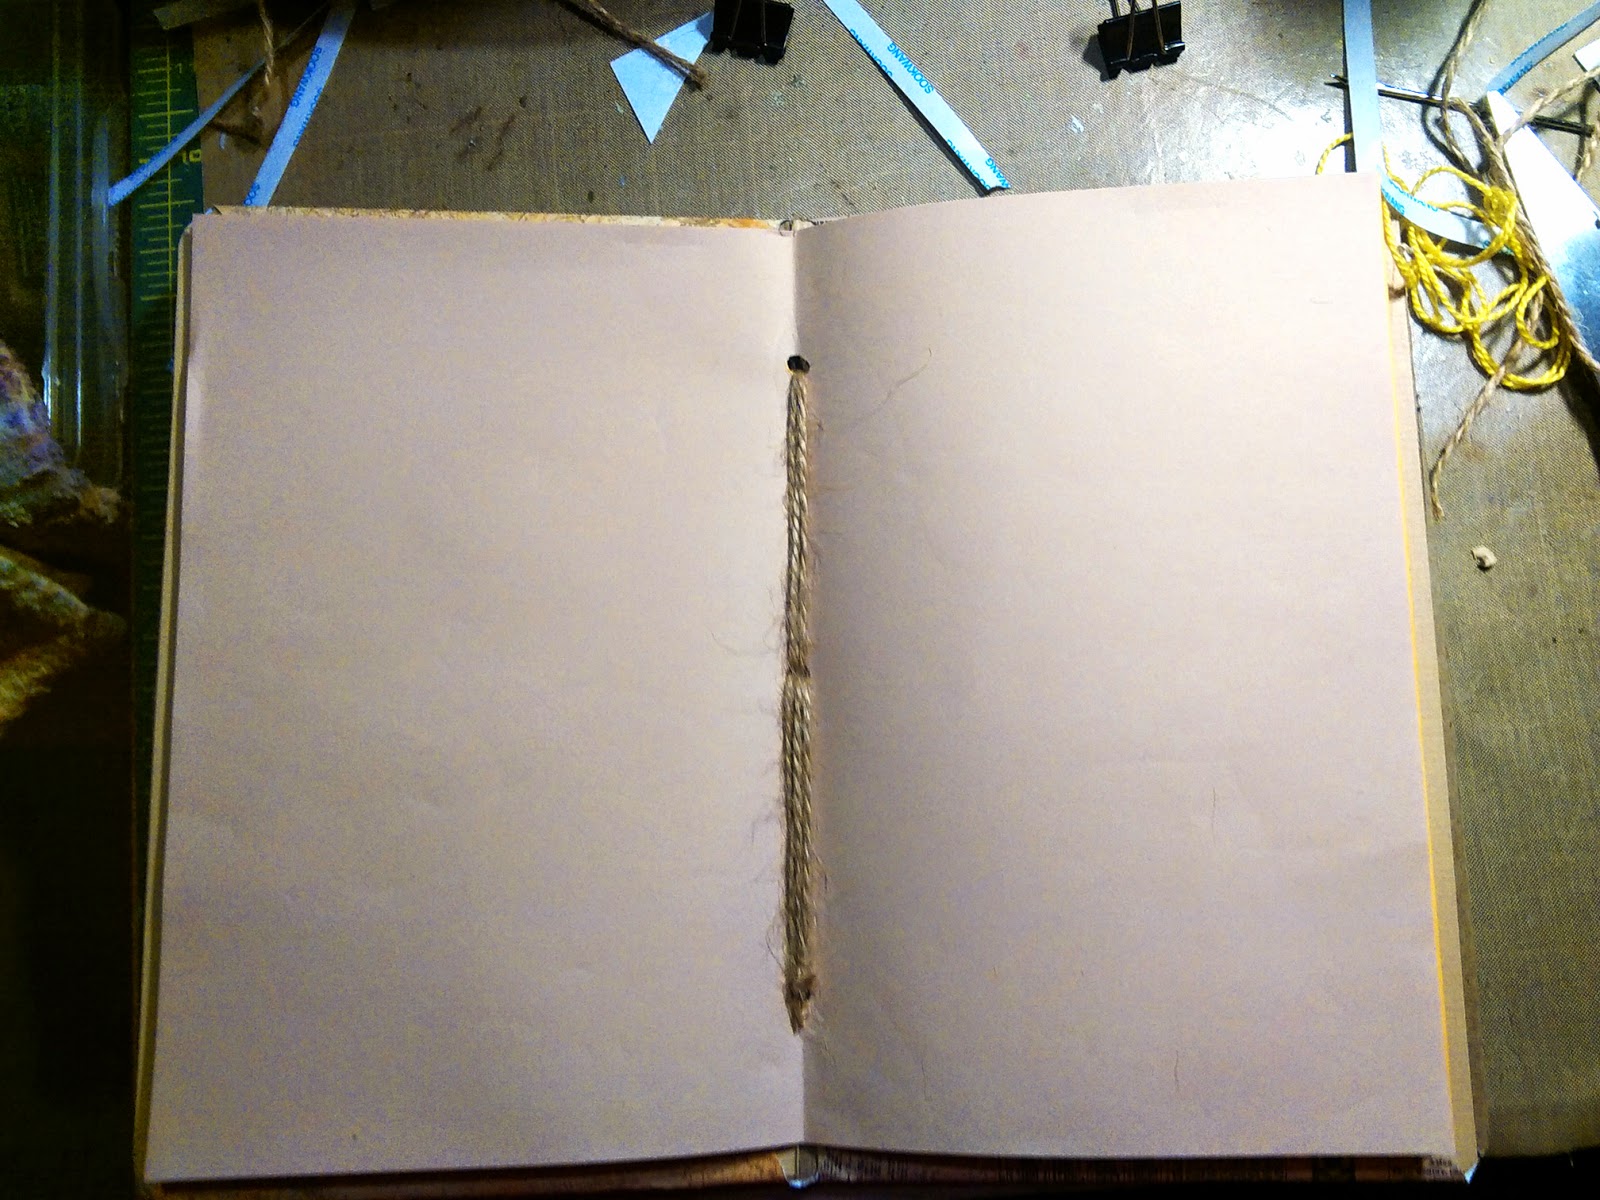
STITCH COVER


STEP SIX
EMBELLISH AS DESIRED
For my closer, decided to use a binder clip. The clip is also used to hold the pages while the book was in use.  I used  Rub'n Buff to change the color and give it an aged look!

To Apply the Dina Wakley Stencil, 
I used TH Distree Inks: Vintage Photo and Peacock Feathers


I also added a scrap strip of drywall tape and a Petaloo Glass Flower

On the inside front cover, I used The Gardenia Stencil from Prima's Bloom Collection