Showing posts with label Bo Bunny. Show all posts

Sunday, January 25, 2015

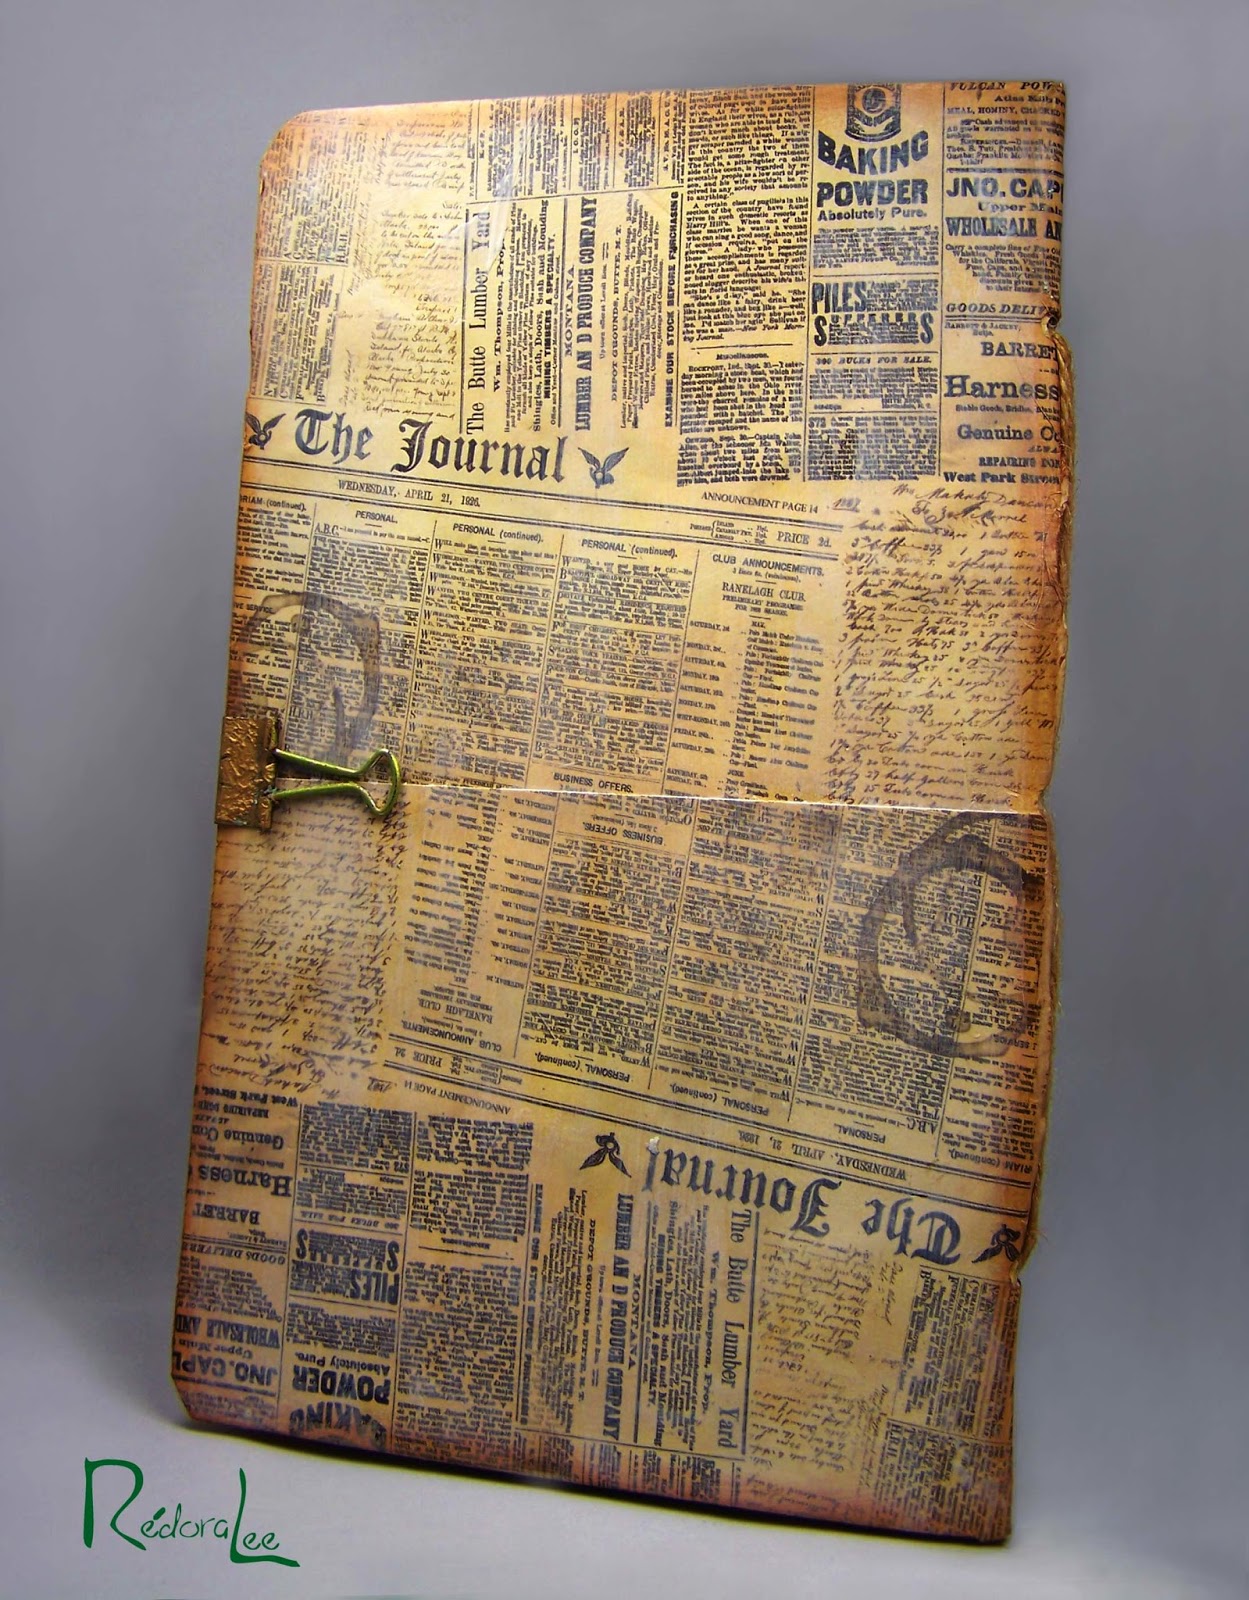
IDEA BOOK - Sketches and Ideas .


I spend a lot of time in the offices of physician's offices and radiologists, not to mention the six to eight hours hooked up to an IV once a month for my infusion therapy. Like most crafters, while sitting there, I am thinking about projects on my board for DT assignments or other challenges.  I usually take a book to read but it occured to me that I should have in my purse at all times a mini sketch book.  I didn't want anything fancy and this is a long way from fancy.


STEP ONE
I began the design using an empty Frosted Flakes Carton.
  You may use chipboard, corrugated cardbord or other material.  
  Empty cartons are a staple in my studio.  I substitute this for chipboard on many projects. 
It also makes a pretty sturdy tag.

STEP TWO
Cut cardboard to the desired size 
I planned to use 8.5" x 11" Paper, so I cut my cardboard  9" x 11.5" 

 STEP THREE
Glue your cover to your design paper.
I used my scoreboard to determine the center crease.  
Then, using my Tim Holtz ruler, I marked the location of my holes.  
I punched the holes using my Big Bite!
I used Bo Bunny et cetera papers
Add inside cover paper
I chose to add my inside cover as two individual panels after adding my paper. 
 I do not reccomend this approach.

STEP FOUR
Align Papers.


STEP FIVE
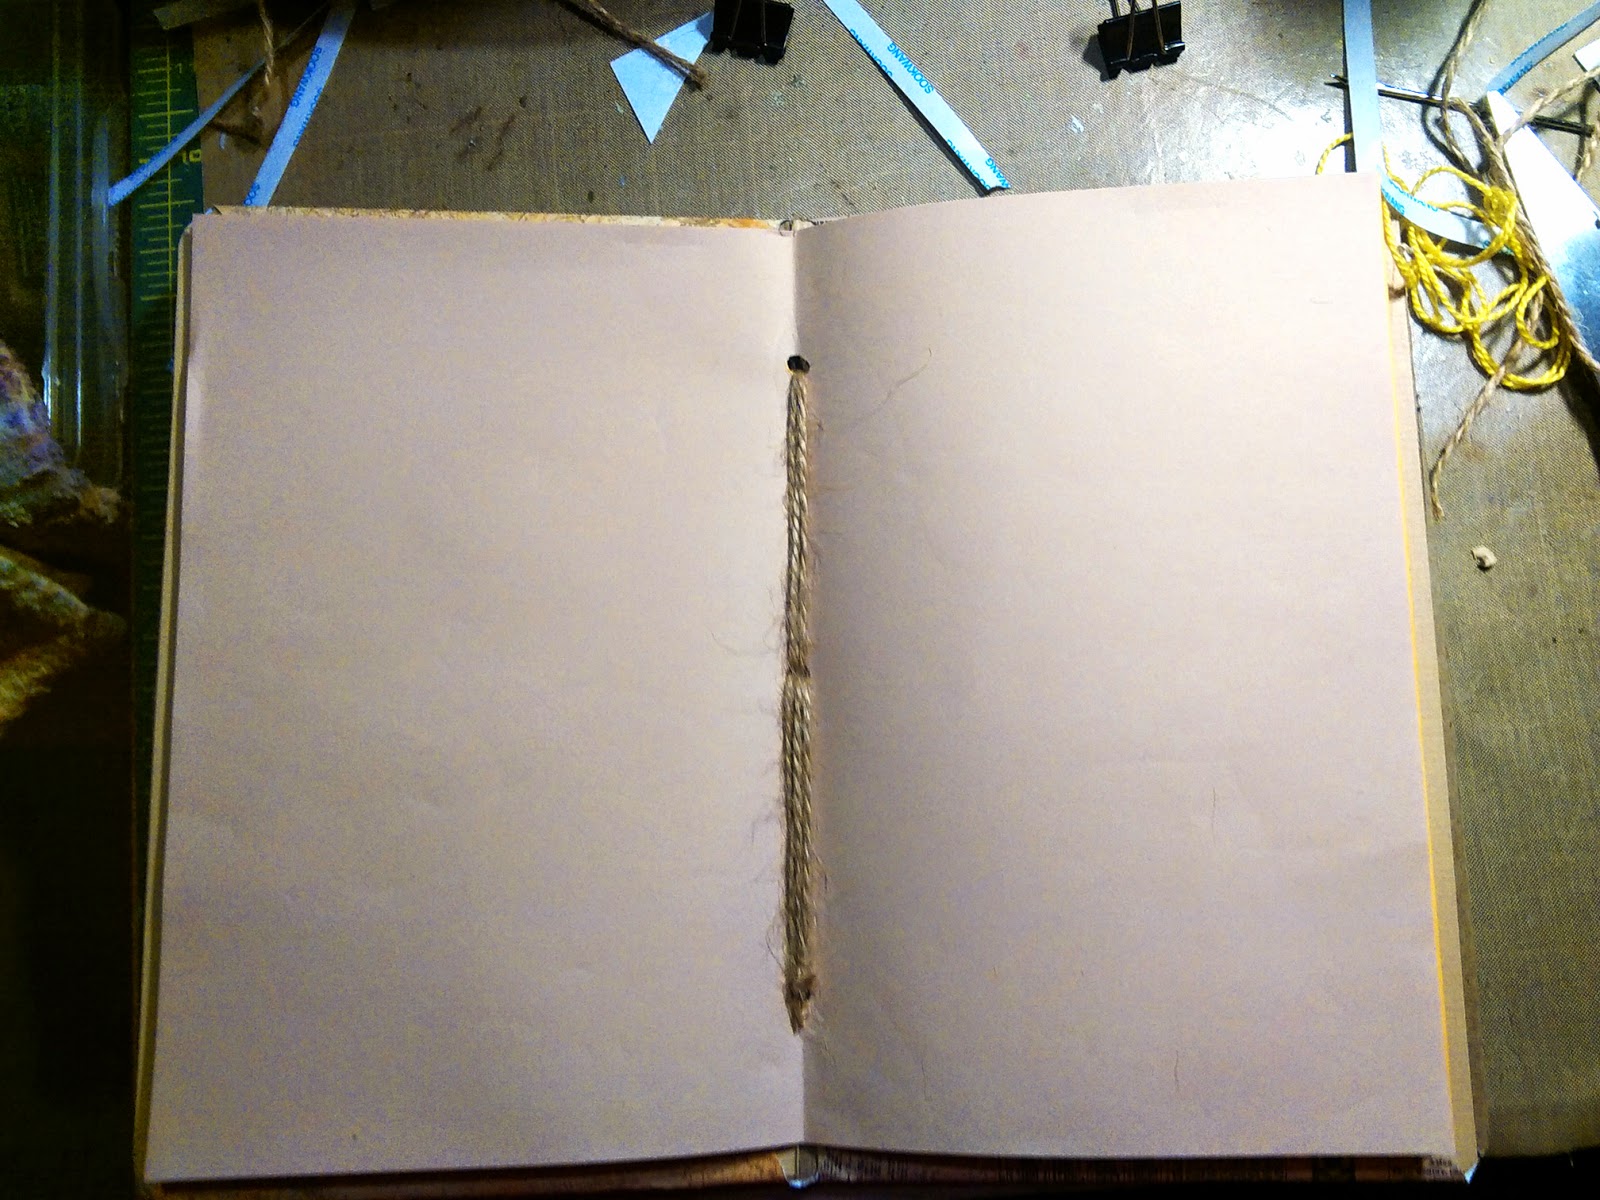
STITCH COVER


STEP SIX
EMBELLISH AS DESIRED
For my closer, decided to use a binder clip. The clip is also used to hold the pages while the book was in use.  I used  Rub'n Buff to change the color and give it an aged look!

To Apply the Dina Wakley Stencil, 
I used TH Distree Inks: Vintage Photo and Peacock Feathers


I also added a scrap strip of drywall tape and a Petaloo Glass Flower

On the inside front cover, I used The Gardenia Stencil from Prima's Bloom Collection


Wednesday, November 27, 2013

Today Is A Good Day

Hello, Crafty Peeps

This project began life as an entry into the Kraft Challenge Journal Challenge, but then I realized their theme is "Thankful" and my card does fit the challenge.  So, I had to change direction.  I ended up using pearls again because I needed to use the loose pearls that I "lost" while working on other projects.  Sometimes it is fun just to make a card because I want to.  This is one of those times!
Hugs,
Chana

The Prima Flower was a nice find in my stash.  I don't know about anyone else, but I have a little happy dance that I do when I find the "perfect" embellishment or paper in my stash!

This wonderful cut a part came from Graphic 45's Typography Collection

The Back Story
Card Stock: Recollections Kraft CS and Recollections Black CS
Designer Paper and Cut A Part: Graphic 45 "Typography"
Embossing Folder: Craft Concepts "In Stitches"
Stamp: Bo Bunny Stamps - "Love Letters" Clear Stamp
Punch: Fiskars Squeeze Punch - Postage Stamp
Pearls: Want2Scrap Adhesive Back Mini Pearls
Misc.: Fiber Ribbon; Prima Flower

Sunday, May 12, 2013

613 Avenue Create - Make A Shaped Card - "Isn't She Lovely? Isn't She Beautiful"

Hi, Crafty Peeples!  How would you like to win 3 Free Rick St. Dennis Images? 


This week at Avenue 613 Create, we are challenging you to make a shaped card.  Because of all the wonderful Decorative Dies, shaped cards have now become more and more popular!  Rick St. Dennis gave me this awesome image as a gift! I had several ideas on how to present this image, and, as usual, my final design does not reflect any of those ideas.  Ah, Creativity, thy name is Uncertainty!

 "Sunflower" by Rick St. Dennis
I don't use a lot of crystal, but I have lately been drawn to the wonderful border bling at Want2Scrap.  I was so disappointed that I had spent my craft budget for the month by the time I found out W2S was having a 50% off sale.  I like to keep a fairly large inventory of pearls and rhinestones on hand.  Sometimes just flipping through my inventory, I will be inspired

The Center Step Cut is the perfect easel for many of the Fancy Dies.  Not only do they provide wonderfully decorative edges for your frame, but also you can layer them, insert fabric/textures behind them, and you can use different orientations.

Supplies:  
Designer Papers:  G45 A Ladies' Diary, My Mind's Eye - Indie Chic "Saffron" 
CS-Bazill - Textured Peach, The Paper Company Kraft CS Sheets.  
Embellishments: Prima Flowers - Engraver Collection;  Brads: Bo Bunny - Timepiece; Ticket: Prima Wood Tickets - Cherished Moments
Large Tag:  Office Depot Regular Item Tag (Distress Paints: Tarnished Brass, Brushed Pewter, Antiqued Bronze; Small Tag: G45 A Place In Time (the tag was swiped with Tim Holtz Vintage Photo Distress Ink)
Violin/Script Stamp: LaBlanche Stamps. (The image was stamped on a piece of Neenah Classic Cream CS using Vintage Photo Distress Ink. I then tapped lightly and randomly with Vintage Photo DI
Bling: Want2scrap Beautiful Bling-Chevron, Stickles
Fabric: Cheesecloth

Challenges:  
LacySunshine Challenge - Anything But A Square
Scrappy Frog Challenge - Free Choice (Anything Goes)
Cupcake Craft Challenge - Lots of Layers
Fashionista Challenge - Vintage or Shabby
Lawnscaping Challenge - Bling
Make It Monday - Always Anything Goes
Penny's Paper-Crafty Challenge - Step or Easel Card
The Paper Shelter - Anything Goes
Stampotique Designer's Challenge - Anything Goes
Stamp n' Doodle - Anything Goes


Friday, March 22, 2013

Tim Holtz - Tattered Florals Challenge= It's About Time

 Hi, Crafty Peeps,

I created this project for the Tim Holtz Blog Challenge - Tattered Florals.
 The Tattered Florals were cut from Crinoline and sponged with Tea Dye Distress Ink.  Originally, I planed to moisten the crinoline and crinkle my flowers, but I was so pleased with how they opened up after I balled them up dry, that I decided to leave them alone.

I had some strips of kraft paper left over after cutting my card size, and to remain true to my pledge to use up my "leftovers", I decided I would use one piece for a belly band.  I used my scor-bug to pierce it and punched the holes through with my Tonic Pick.  I used Sew Easy floss for the stitching.   The Clock face beneath the flower was cut from my 6x6 pad.  After all the embellishments were on, I had this negative space in the upper left hand corner .  I tried a lot of things but was not happy.  Finally, I decided that what this composition needed was a piece that was complimentary to the belly band.  So I stitched a shorter piece, attached a Bo Bunny Time Piece Brad and secured it to the card with Scor Tape and Foam Squares.

The interior was photographed on it's side, intentionally.

Supplies used for this project:
Dies:
TH Alterations Tattered Florals
TH Alterations Weathered Clock 
Design Papers:
Theresa Collins Now and Then
Card Stock:
Reflections Kraft 
Neenah Classic Crest Natural White
Crinoline
Purchased from Joann
Brads:
Clock - Bo Bunny Timepiece Brads
Round _ Bo Bunny Timepiece Brads
Embossing Folder:
Couture Creations - Timepiece
Stamp: Inside bottom right
Weathered Clock - TH Visual Artistry Collection - Life Possibilities
Distress Ink:  
Ranger Tea Dye
This project will be entered into the following challenges:
Tim Holtz - Tattered Florals
CCEE Stampers - Color Challenge
Shelly's Images - Anything Goes Show Us What You Got
Whimsey Stamps Challenge - Stitch It - Real or Faux