I spend a lot of time in the offices of physician's offices and radiologists, not to mention the six to eight hours hooked up to an IV once a month for my infusion therapy. Like most crafters, while sitting there, I am thinking about projects on my board for DT assignments or other challenges. I usually take a book to read but it occured to me that I should have in my purse at all times a mini sketch book. I didn't want anything fancy and this is a long way from fancy.
STEP ONE
I began the design using an empty Frosted Flakes Carton.
You may use chipboard, corrugated cardbord or other material.
Empty cartons are a staple in my studio. I substitute this for chipboard on many projects.
It also makes a pretty sturdy tag.
STEP TWO
Cut cardboard to the desired size
I planned to use 8.5" x 11" Paper, so I cut my cardboard 9" x 11.5"
STEP THREE
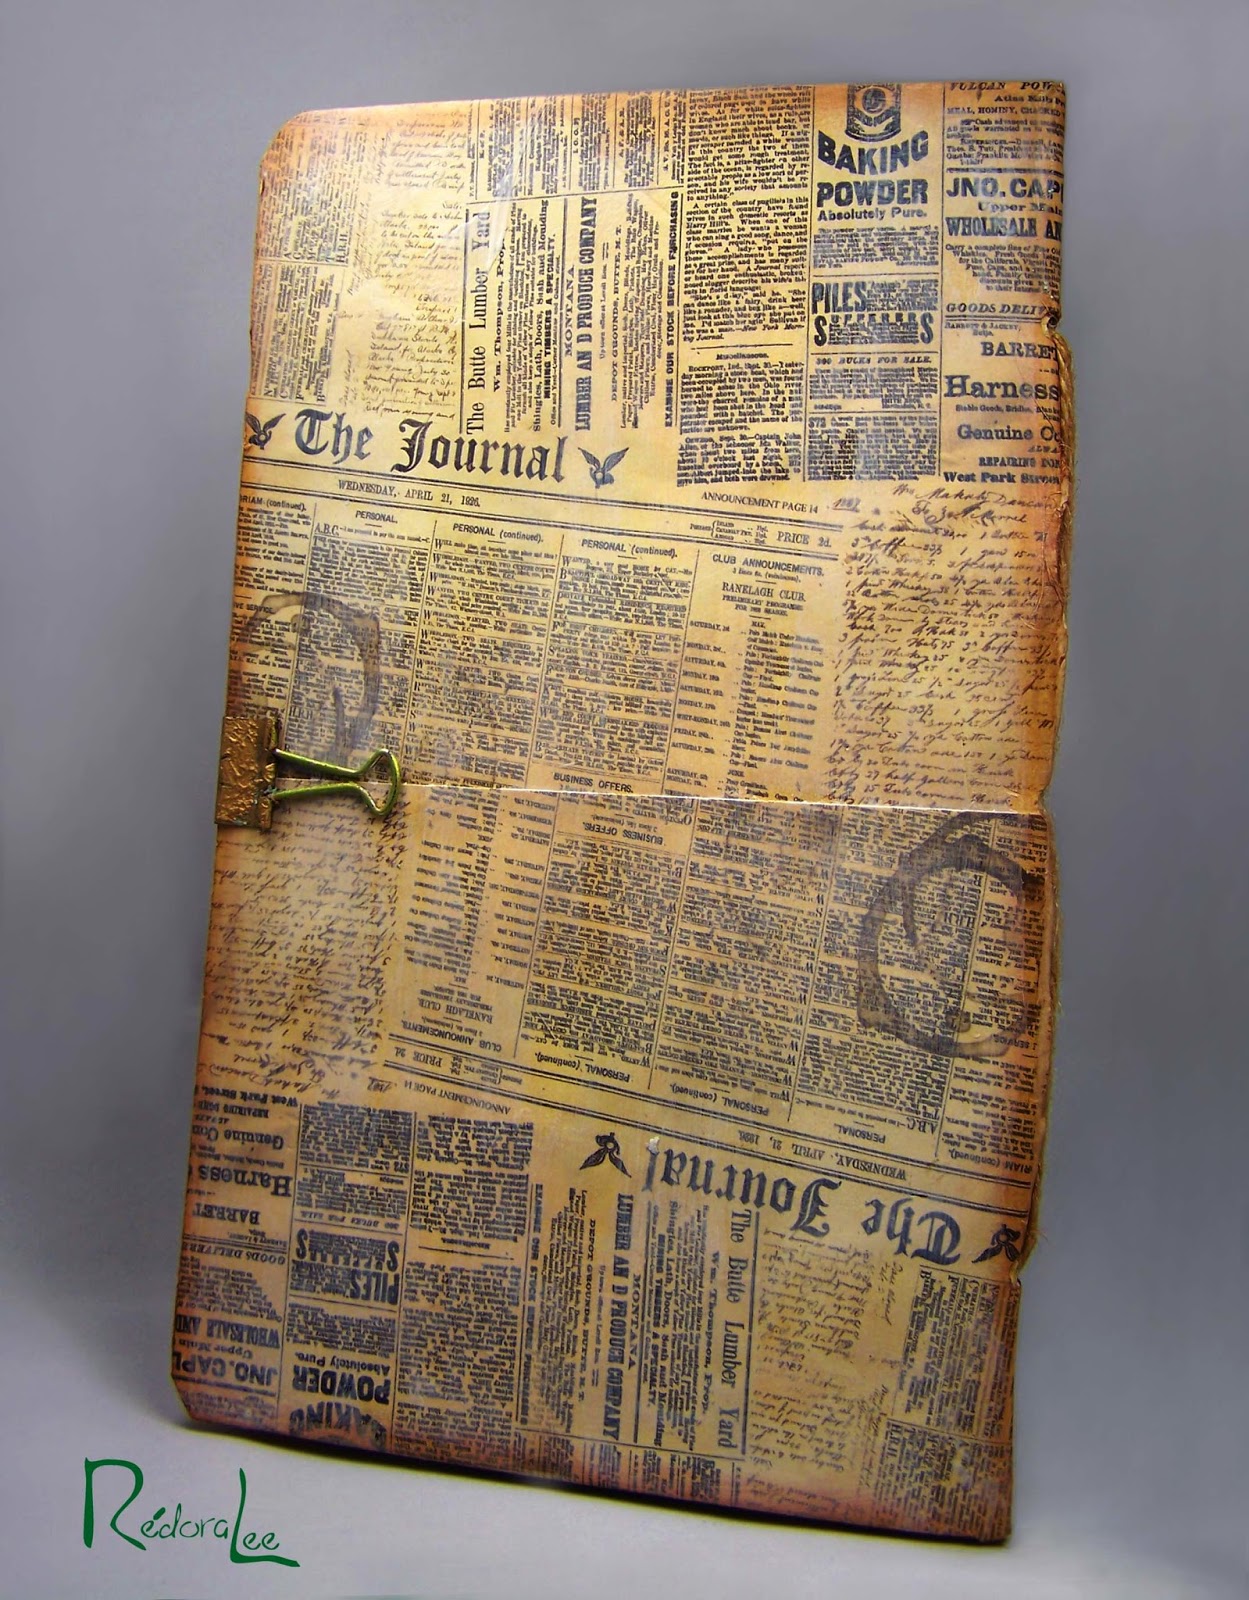
Glue your cover to your design paper.
I used my scoreboard to determine the center crease.
Then, using my Tim Holtz ruler, I marked the location of my holes.
I punched the holes using my Big Bite!
I used Bo Bunny et cetera papers
Add inside cover paper
I chose to add my inside cover as two individual panels after adding my paper.
I do not reccomend this approach.
STEP FOUR
Align Papers.
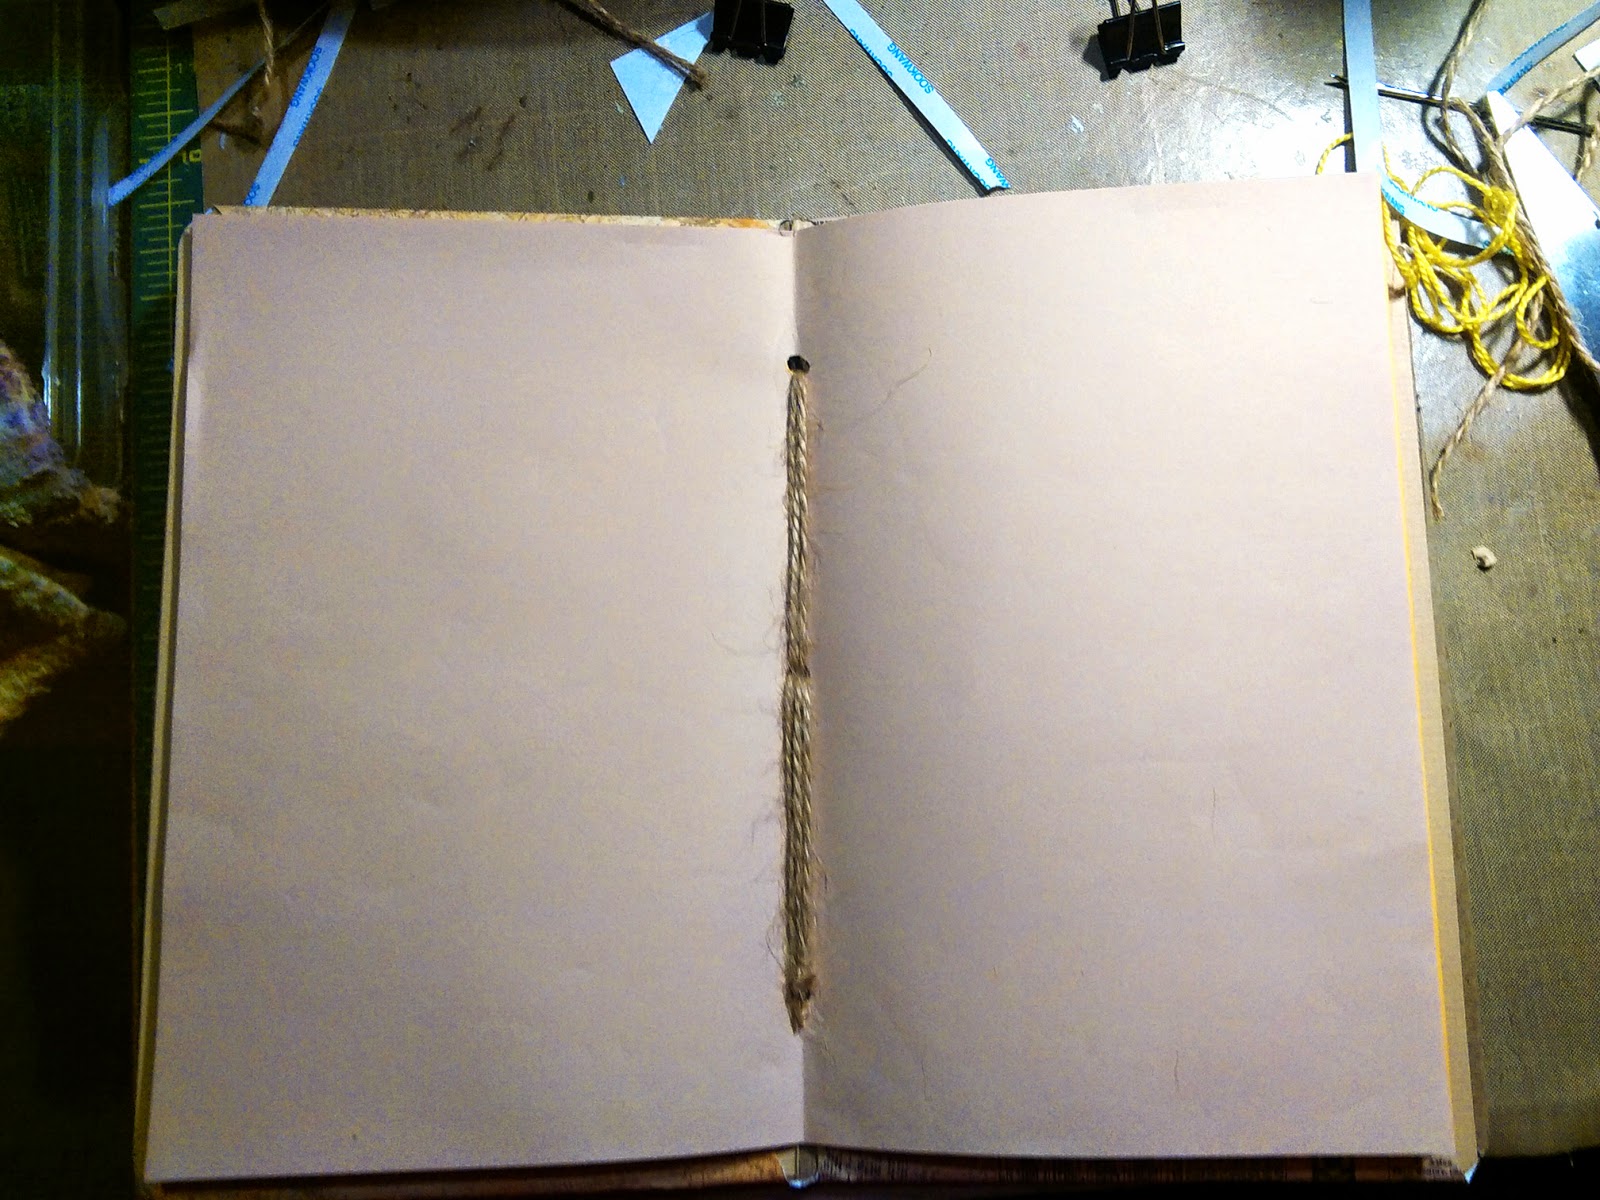
STEP FIVE
STITCH COVER
STEP SIX
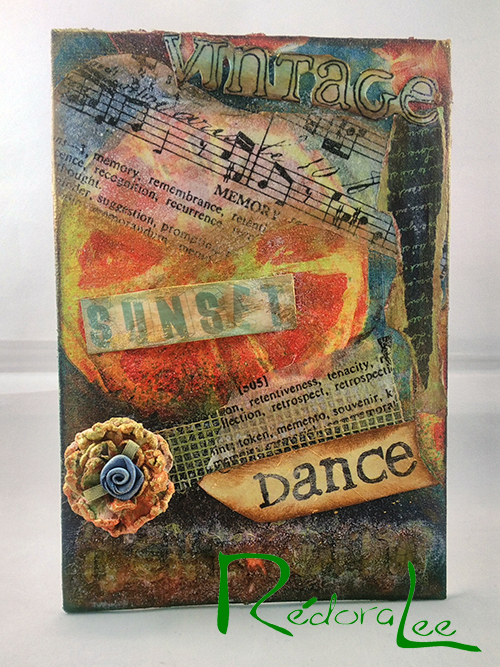
EMBELLISH AS DESIRED
For my closer, decided to use a binder clip. The clip is also used to hold the pages while the book was in use. I used Rub'n Buff to change the color and give it an aged look!
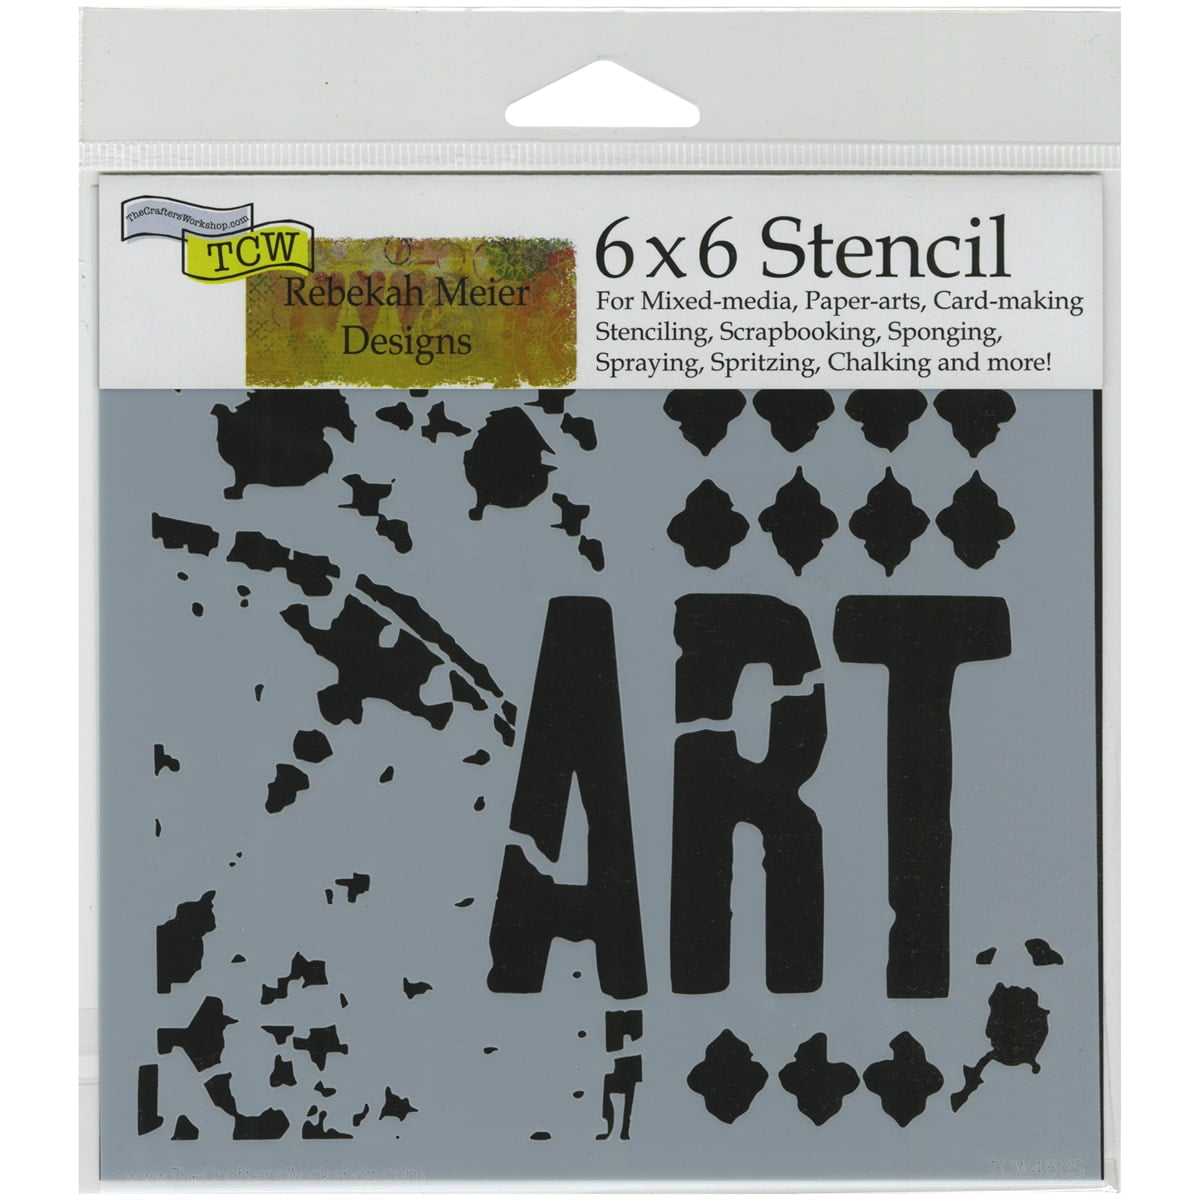
To Apply the Dina Wakley Stencil,
I used TH Distree Inks: Vintage Photo and Peacock Feathers
I also added a scrap strip of drywall tape and a Petaloo Glass Flower
On the inside front cover, I used The Gardenia Stencil from Prima's Bloom Collection


.jpg)