Sunday, June 28, 2020

2020 Stash Party #29 - Gold and White Embossed Sympathy Card

Hello, Crafty Makers!
Whew!  I have completed four of the five sympathy cards that I need for my SIL's order.  I actually made this card first but I have held off on it because I questioned my taste level with this one.  I like the card.  The gold embossing is pretty and the Irises are perfect still I wondered if the gold was a bit much.  In the end, I decided to include it and if she doesn't like it, I will create another card to replace it!
"Jeweled Gold"
Once again, I used my mini clinging vine stencil for the background.  I did not iron off the gold embossing powder for this project, instead, I went with the standard heat embossing.
I wanted you all to see the different colors that are in this embossing powder. The mfg. calls it Jeweled Gold. Unfortunately, the company that made this product is no longer in business and I have not found a comparable gold EP with which to replace it.  The great thing about EP is that one container lasts for years. I have had this EP since 1999.  If you overheat embossing powder, you can literally brush it off your project and reveal a softer color underneath (the concept behind the iron resist technique.) On this project, I intentionally overheated some areas and then brushed away the powder. The depth and texture it adds to the card are amazing.
My daughter gifted me this Iris Stamp and Die Set and it has become one of my favorites.  I have used it to create vellum flowers, I have stamped it on acetate and I have even cropped off the stems and simply used the blooms.  For this iteration, I use three layers of die-cut and one layer of die-cut fun foam to add dimension and increase the visual interest.  I also wanted to create a little distance between the Irises and the white leaves beneath it!

Hugz,


Friday, June 26, 2020

2020 Stash Party #28 - An Art Card

Hello, Crafty Makers!
Today, I thought I would take a break from sympathy cards and share one of my Art Cards!  I don't know if that is really a thing but we will declare it a thing for my purposes.

 A long time ago, I tried my hand at Finnabair.  I simply couldn't get the hang of it because I was still stuck in my lane and my creative mind put up a valiant struggle against any lane changes.  Still, like most crafters, I purchased oodles and oodles of Prima Finnabair Stamps which lay idle in my stamp file until I used one of them a few weeks ago for my " I Can't Breathe" project.
Polish mixed media artist Finnabair (also known as Anna Dabrowska) puts together these richly-textured collages of salvaged tech parts along with other finds like dead moths, fabric, buttons and paints them to make dreamlike landscapes with a deeper significance. © Finnabair.Feb 21, 2013
I haven't quite made it to the feathers and dead moths (note:  I don't do dead insects or live ones for that matter)but I decided that I would play with my Viki Boutin Art Crayons and a few stencils and one of my Prima Finnabair Stamps.  I recently started a class that teaches "Stamping without Stamps" and one of our assignments was creating a background using our crayons.  Once my background was done, I wanted to put a stamp on it!  I'll make another one for the class. 
I added Gesso to an 8-1/2" x 11" piece of 110lb CS.  After it dried, I cut it into four 4-1/4" x 5-1/2" panels.  The crayons work better, I think when Gesso is used.  I plan to use watercolor paper for my next project.  I experienced more curling than I like but that could have been caused by me over-wetting my paper.
I used a wine cork to create my circles.  I stamped them first with black ink and then lightly stamped them with gold pigment ink.  I heat set the pigment ink.  I really like the effect I achieved using my white crayon through a stencil.  I scribbled in the opening and then use a damp paper towel to remove most of the crayon color from the center of the wonky diamond shape.  Not only does this add visual interest to the project, but it also adds texture.
 I created thin straight lines using the edge of a credit card.  And I added the metal corners.  There is also some gold splatter on the project and a few half circles that I made using a plastic bottle cap.
I only have a very thick white EP.  I really need one that will give me the "fine" texture.  I am still on my crafting budget and trying to use what I have but I want my embossing to be a bit sharper than it is on this project.

I have a bunch of these art stamps, so brace yourselves!😀  I will be back later today or tomorrow with my third sympathy card!

THANKS SO MUCH FOR STOPPING BY!
Stuff I Used:
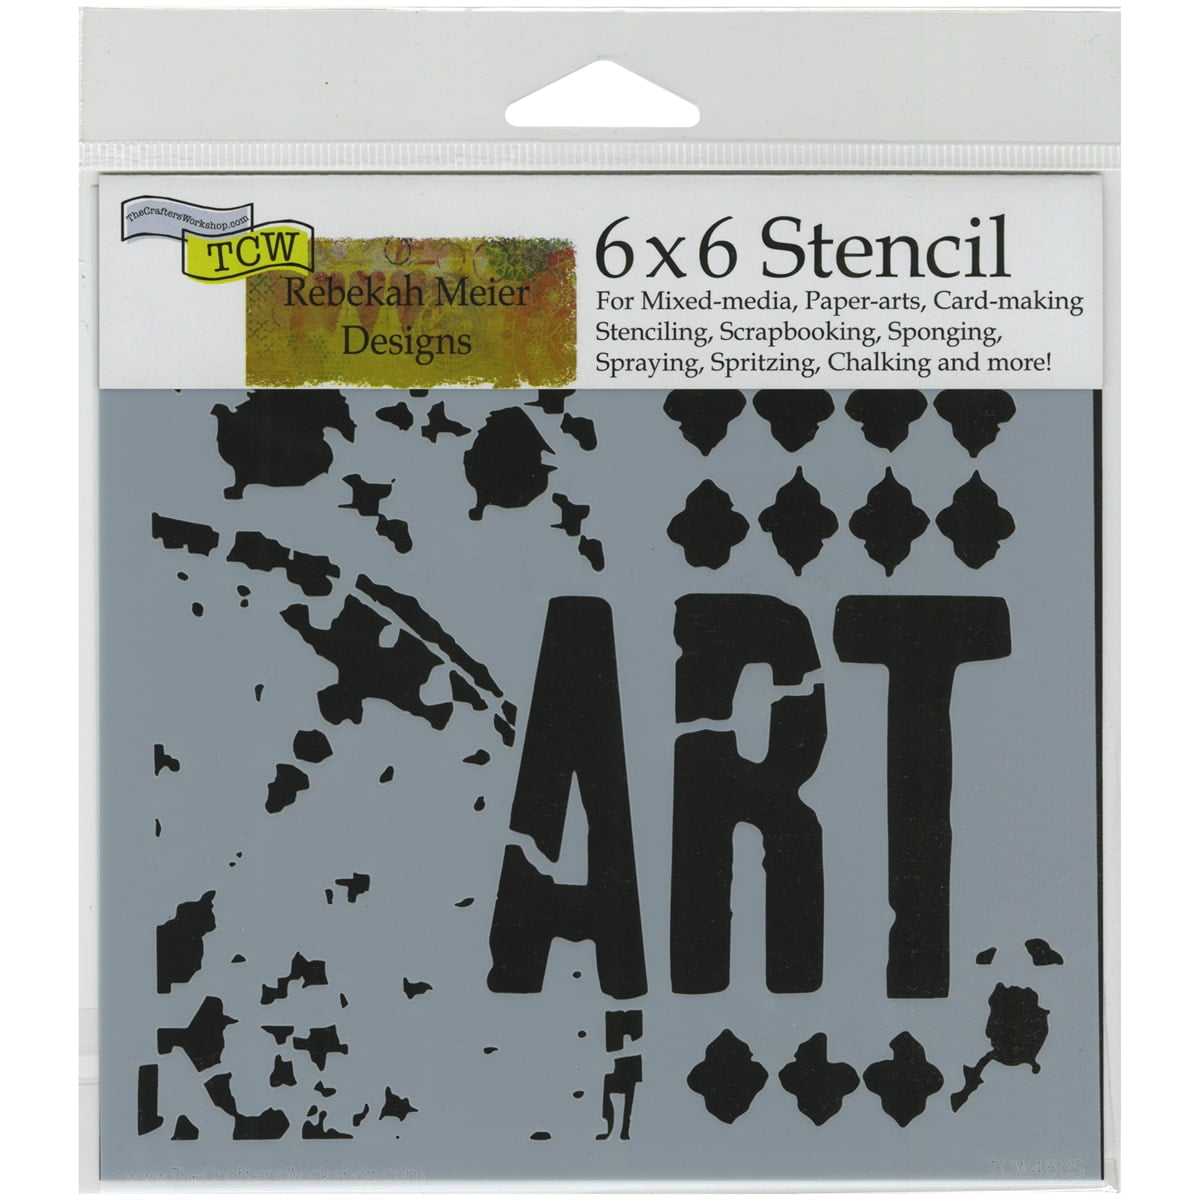
TWC Mini Viva La Art
Crafter's Workshop Template 6"x6"-viva La Art - Walmart.com

Thursday, June 25, 2020

2020 Stash Party #27 - In Sympathy and Friendship

Hello, Crafty Makers!
I have actually completed three of the five sympathy cards I need to make for my SIL's order.  One of the cards is still on my questionable list so I am holding off on publishing it right now.  This card however was easy.  I was asked by a few people to show how to "iron off" embossing powder so I made a quick video.  I used the same stencil and embossing powder that was used in my first sympathy card.  It just seemed so easy to create a second card with that background but using a different orientation.


Here is the video showing how to do the background stenciling,
 embossing, and iron off.


Hugz,


Wednesday, June 24, 2020

2020 Stash Party #26 - Thinking of You - A Sympathy Card

Hello, Crafty Peeps!
I rarely create sympathy cards.  For one thing, they are not a part of the expression of sympathy in my faith and for another, It is difficult to strike just the right balance in the tone of the card. I want my cards to be an elegantly clean and simple expression of sympathy.  I never ever put stamped text on the inside.  This card was ordered by my SIL.  She asked for something "different."  I hope she likes this when she sees it!  I am creating these as a set but each one will have a different background color.  I may post the companion pieces later in the week.
~~~~~
Thinking of You
Once again, I found a treasure in my stash.  When I purchased this stencil so many years ago, my plan was to use it on my Gelli plate.  But my Gelli plate enthusiasm waned when I got a look at the amazing work that was being done by mono-printing enthusiasts!  There are so many interesting ways to use this stencil but I decided to use it in the most traditional style.

After taping the stencil to my card, I pressed VersaMark Embossing Ink onto the stencil.  To ensure complete coverage, I made two or three passes over the entire design.  I then covered the stencil with Purple embossing powder and heat embossed.  I used copy paper (you can use a phone book or tissue paper might work) to cover the stencil (I used two sheets) and I ironed off the shiny layer.
I wish my photography skills were better and I could show you the satin finish that this ironing technique gives the ink. This card background was a deep, deep, purple but after ironing, I was left with this soft lavender color!
The ironing process also created this wonderful splattering of dark purple throughout the card. I added a little splatter around the area of the ribbon just to introduce a little more interest in the focal area. I still needed a bit more balance in the design so I finished off by adding the three sequins.

HUGZ,
Stuff I Used: 
Stamp'n Stuff - Violet Opaque Embossing Powder (no longer available)
Really Reasonable Ribbon -Diamond Satin Pastel Green
Diamond Satin Pastel Green

Tuesday, June 23, 2020

Shopping Our Stash Challenge #423 - You're So Sweet

Hello, Crafty Peeps!
It is time for a new fortnight challenge at Shopping Our Stash!
Our theme is "You're So Sweet"
We want to see something sweet on your card.  It could be a sweet treat, a sweet baby card, interpret it as you like!
"Little Moments"
I created this card in about half an hour.  I had written down the wrong theme!
I was out of the gray Copic ink I like to use on this elephant so he is a little spotty.
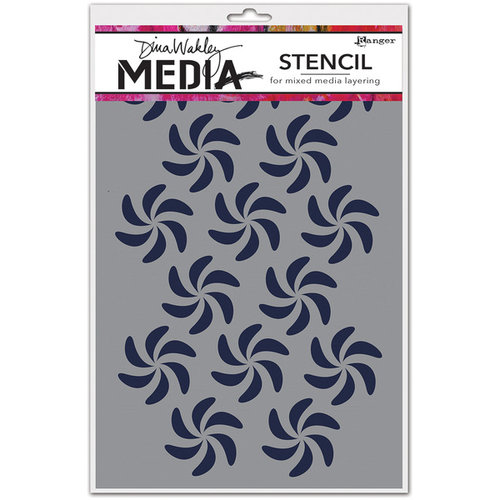
I love this elephant stamp/die set.  I use it a lot for birthday cards.  I decided that I would continue working on my background blending and stenciling technique.  The pinwheel stencil has been in my stencil drawer for around six or seven years but had never been used.  It seemed perfect for this general special occasion card.

I heat embossed the stenciled image with clear embossing powder.  I then folded two sheets of copy paper in half and placed the embossed panel inside. I used a hot iron to remove the embossed color from the stenciled image. This process creates a less shiny image.  The look will be more like satin.  I added a little yellow splatter but it does not show well in the photo. I used my blending brush to add a little Squeezed Lemonade distress oxide ink to the edges of the panel.

One thing I forgot was that embossing is like a resist and so when I stamped my sentiment and then heat embossed it, the sentiment was basically pushed behind the stenciled pinwheel images.  It is really a neat effect when done on purpose.  I stamped my sentiment after my panel was assembled because the card looked unbalanced.  My original intention was to stamp a large sentiment on the inside.

My teammates have created awesome projects for this challenge!
Please stop by SOS and have a look then come back and share your sweet creation with us!
Hugz
Stuff I Used:
Ranger Ink - Dina Wakley Media - Stencils - Bendy Pinwheels

Sunday, June 21, 2020

2020 Stash Party #25 - A Simple Hello

Hello, Crafty Peeps!
This practice sheet was actually my first.  I put it aside to allow the Glossy Accents™ on the flowers to dry and then promptly forgot about it.  Today, when I went to box up some completed cards I rediscovered my little orphan practice panel.


THIS IS A HAPPY, CRAFTY HELLO TO
CRAFTING QUEEN
DAFFODIL CARDS
MARIA
Thanks, Ladies, for keeping me encouraged!
Chana Malkah
~~~~~
I used a smokey ink to stamp a shadow image of my flowers.  It is very faint but makes a great impact, I think.  Trying to color my flowers with my oil crayons proved to be something of an adventure.  Of course, had I just used my watercolor crayons my task would have been less frustrating.  In the end, I decided to use the Glossy Accents™ to cover up the uneven coloring.  It sorta kinda worked!  My SIL loves it and so it is now included in an order she just placed with me.  That woman is my best customer and so easy to please.  I love her!
I purposely colored the flowers on the inside in different hues than the flowers on the outside.  The card front is a bit dark and I thought the brightly colored flowers on the inside would lighten the feel of the overall project!
Stuff I Used:
Inks:  
Distress Oxides: Wilted Violet, Evergreen Bough
Die: Hero Arts


Friday, June 19, 2020

2020 Stash Party #24 - I Wish

Hello, Crafty Peeps!
This week, I opened a gift bag that I won at Bella Crafts.  There were a bunch of stamps in the bag and two became immediate favorites.  The "Best Day Ever" stamp that I used earlier in the week and the stamp I am using on this project.
~~~~~
 "I WISH!"
This project is another one of my blending practice sheets.  To create this panel, I actually applied gesso to the CS before adding the inks.  I had created the panels to use with my Gelatos but it occurred to me that the technique might work with oxide inks as well.   I wanted so badly to use this simple stacked stamp and after this practice sheet was done, I thought it would be perfect.

Working on blending and stenciling has also given me the opportunity to work on my "splattering" techniques.  I used Ranger's Picket Fence Paint for my white spatters!  In the next week, I plan to drag out all my metallic paints and have myself a spattering good time. I also mixed up my sequins on this using both berry and iridescent.  I was also looking for a different way to use up some of the gold cord I have amassed over the years.  Do you agree that my gold scribble is a nice addition?

I have more practice panels so you may see a lot of these in the coming days!
Hugz,
TCW Mini Viva La Art             TCW Mini Window Screen
Crafter's Workshop Template 6"x6"-viva La Art - Walmart.comJoan's Gardens: New Crafters Workshop Templates

Thursday, June 18, 2020

2020 Stash Party #23 - Thinking of You - More Stencil Fun!

Hello, Crafty Peeps!
Well, I am having more fun than I ever imagined I could have as I work with stencils and practice blending inks and other mediums.  And, huge surprise, The Hubster was in Dollar Tree and noticed that they had a newly renovated craft section.  He came home with paints, paintbrushes, and planner stickers.  He is going back to grab some gelatos (he had no idea what they were) and a few more tubes of paint.  This, from a man who each time Amazon shows up asks, "Don't you think you already have enough stuff?"

DO YOU FLAMINGO?
This practice session was really all about my Lotus flower stencil.  It has been in my stash for over six years and this is the first time I have used it.  I was also practicing my fade out background stenciling.  I added Glossy Accents ™ to the beak and eye of my flamingo.  It is a little rough but it was a practice sheet so I was pleased with the result. 

Once the practice panel was completed, I decided it would be okay to use it as a card front.  I have a number of Flamingo stamp and die sets and I knew I didn't want to use a layered set because I felt it would distract from the flower.  In the end, I went with the Echo Park Flamingo Die and sentiment stamps by Heidi Swapp.  A few sequins finished off the design!

HUGZ,
Stuff I Used:
Heide Swapp Stencil (2 stencils and 1 mask)

Wednesday, June 17, 2020

2020 Stash Party #22 - Best Day Ever

Hello, Crafty Peeps!
My stash party continues and the great finds continue, as well.  The stamp I am using today was included in a prize package from a drawing at  Do You Love To Craft!  
I had a little problem trying to freehand some additional petals on my flower but I was pleased overall with the outcome of this project.  I used six different stencils.  One almost disappeared entirely but you can see a bit of it behind the flower in the upper right-hand corner. I plan to spend the rest of this week trying to improve my blending and stenciling techniques.

Thanks for stopping by!

Friday, June 12, 2020

2020 Stash Party #21 - I CAN'T BREATHE - Crafting for Peace of Mind

Hello, Crafty Peeps!
Today, as I looked through all the stamps that I have never used, I came across this Prima™ stamp. 
As an American of African descent, it was impossible for me to not think about the tragic deaths of 
  Eric Garner and George Floyd.
~~~~~~~
In the past two weeks, I have realized that those three words
I CAN'T BREATHE

are the very words I searched for but could never find.  The words that explain how I've felt so many times in my life.


The first time someone called me the infamous "N" word.

The first time I realized I was being followed by security while shopping in a department store. 

At work, every day on every single job I have ever had!
Because:
I was the only American of African Descent
On my team
In my office
In management
Because:
Of bad, really bad racists jokes
Because:
I didn't fit the stereotype of
Prissy
Florida Evans
Florence
Weezy
Single Welfare Mom

Because:
My husband earned more than many of my supervisors!


The simple tasks of trying to choose a doctor, or dentist, or a school for my children, stressful in and of themselves, were made even more stressful because they were overlayed with anxiety at the prospect of encountering ugly, mean, and purposeful racism.

On the inside, I added the single word "truth." I can't breathe is the truth of being an American of African descent in this country.
     

I wanted grandkids so badly and now that I have them I spend my time being afraid. Waiting to exhale.  When I think of what America has become I am afraid that my son or one of my grandsons might one day "fit the description."  I am afraid that my daughter or one of my granddaughters might get pulled over for a simple traffic violation and end up "dying in police custody."  The sad thing is my fear did not start with the death of Eric Garner or George Floyd.  I have lived with this gnawing fear since my son was born 49 years ago.  I pray someday Americans of  African descent will finally be able to breathe. I pray they no longer live in fear for the lives of their spouses, brothers, nephews, and their children.  b'sd 

~~~~~~~~

Thanks for stopping by!


Wednesday, June 10, 2020

2020 Stash Party #20 - When You Know You Have Made An Ugly Card!

Hello, Crafty Makers!
This week over at Shopping Our Stash the challenge theme is
UFO (UnFinished Objects)
The idea is to use bits and pieces of projects you started but never finished.   We all have tons of those so no problem, except when those pieces don't come together.

I have noticed in a few FB groups new paper crafters are always asking about ugly cards.  Without fail, someone will say, "There is no such thing as an ugly card."  It is a nice sentiment but not a true one.  I have made my fair share of ugly cards.  Some I recognized right off the bat and others only after seeing them after days, weeks, or months have passed.  I still shiver when I think of a box of cards and stationery I once gave to my Rebbetzin. Oy Vey!

Anyway, I was already to use some "UFOs" for the SOS challenge.  In my mind, they worked together perfectly.  In reality, the project was a disaster and everything I did only made it worse.  Here it is for you to see for yourself!

The catastrophe began with my bright idea to use some practice blending sheets and a die-cut I leftover from another project.  I keep trying to make the design work.  I added bling, way too much bling.  I tried stamping a border in black to compliment the black ink of the sentiment.  I simply could not stop myself.  LOL!
This unfortunate heart was the result of a failed attempt to create my own stencil an mask.  Everything about this is just wrong!  Of course, afterwards I realized that I should have just used the die-cut and made a regular aperture card.  I should have left everything white.  Hindsight really is 20/20!

So there, the next time someone says there is no such thing as an ugly card, send them here so they can see just how wrong they are.

Needless to say, I did not use this as a DT card.  I decided to sit out this challenge!  This was not my first ugly card and it will not be my last.  It is however the first and last one I will ever post on my blog!

Thanks for stopping by!