Showing posts with label Gelli Plate Printing. Show all posts

Sunday, May 13, 2018

Traveler's Notebooks - My New Obsession

Hi, Crafty Peeps!
I recently reorganized my studio and vowed to either use, donate, or throw away all those things that have gathered dust, paint and who knows what else over the past year.
The glitter is actually green. I have no idea why it photographed blue.
I definitely wanted to keep the faux leather fabric that was left over from an upholstery project. Unsure of how I would use the fabric, I sought inspiration on youtube.  I was inspired by this video  ZucchiniKitty to attempt my first Traveler's Notebook Cover. 
Inside Cover TN #1-Muslin, Stamps, Copics, Ephemera
Curious to find out if the fabric would accept paint, I used my favorite Earth Safe Chalk paint and the result was fabulous!  

Inside TN Cover#2- Muslin, Stamp, Stencil, Copics and Acrylic Paint


I was able to use old Gelli prints to make insert covers. 


I've discovered the Planner community and there is an abundance of information, freebies, tutorials, and images available for newbies like me.   The most rewarding aspect of this new journey was finding so many African American images to use in my planner. I have long been frustrated by the lack of images of "people who look like me" to use in my projects, which is one of the reasons I moved away from creating cards. 
Super cute page marker.
All you need is a laminator.
I love this image! (minus the Starbucks Cup)

I rarely take a purse to the store or to doctor's appointments.  Everything I need is in my TN including credit cards, DL, and health insurance ID.   I love this 16 pocket card holder insert.  The tutorial was easy to follow.  This is a great way to reduce your paper scraps stash!  
Here is the link:  Crystal & Company
I also created this top-loading dashboard that holds planning supplies and can be used to hold cash, too.  Even when I carry my purse, I just drop my TN inside and my purse is always organized.
I find creating my own planner far more engaging (creatively) and I am pleased with my early efforts.  If you have never created or used a Traveler's Notebook (or Fauxdori) as they are sometimes called, check out the fabulous Youtube tutorials. 

Thanks for stopping by!
Happy Crafting
Chana Malkah


Tuesday, February 7, 2017

Shopping Our Stash - Winter Blues

Hello, Crafty Folks!
This week at Shopping Our Stash our Theme is:
Winter Blues
We want you to use Blue but DO NOT create a winter card!
Hey, don't blame me, this was not my idea!
But I do love this theme!
~~~~~~~~~~
Yes, I am playing with my homemade gelli Printing Plate again!  I am simply addicted and there is little need to try and pretend that I am not. Especially since week after week you poor people will be subjected to my amateur attempts to perfect, or at least to greatly improve, my skills in this new artistic discipline.
Click on Images to see Mixed Media Details!
Me, Myself, and I had a rather heated debate over the decision to distress or to not distress the edges.  In the end, "I" won out and left the edges of the border white.  In real life, the visual impact is awesome!  I took these pictures with my tablet and they are not the best.  Sorry!
I like the continuity I get using swatches of my gelli prints to embellish the card interior. 
~~~~~~~~~~
This was another stash clearing/using project!  I am slowly depleting my twelve-year-old cache of Neenah papers that were in inventory when we closed our Graphics business.
Stash Items:  
Neenah Linen CS - Solar White
Neenah Linen CS - Epic Black
Liquitex Acrylic Paint
DecoArt Acrylic Paint
Heidi Swapp Clear Stamp - "Cute"
Andy Skinner(for DecoArt) Stencils: Tread Lightly, Tornados, Children, Code Breaker
Tools and Supplies:
Gelli Plate, Brayer, Paintbrush
Crackle Medium
DecoArt Decoupage Sealer
Adhesive
Double-sided Foam Tape

Thanks for stopping by!  Please visit our challenge to enter your project and to see the fabulous creations of my teammates!
Hugz,
Chana Malkah


Tuesday, January 24, 2017

Shopping Our Stash - All That Glitters Is Gold!

Hello, Crafty Folks!
If it's Tuesday, and it is, then it must be Shopping Our Stash!
Our challenge theme this week is an easy one 
ALL That Glitters IS Gold
I am back with another one of my Gelli Prints!  I haven't had this much fun with manual printing since Mrs. Taylor let me run the mimeograph machine in the school office!  LOL! 
I am not really a glitter or gold kinda girl, but I am getting there! This challenge gave me the opportunity to work with another one of my Gelli plate prints.  I call this one Worlds because I love stories about alternate universes and non-linear existence.  I was watching "Fringe" while working on this print so I decided to create my own Alternate Art Universe!   The circles represent the earth and our parallel universes.  The glitter is a land mass and, of course, there is "My Art" in my world.


Stash Items:
Sentiment and Image:  Unity Stamps Itty Bitty "Little Moments"
Inks:  ColorBox® Pigment Ink-"Kismet"; Teresa Collins™ColorBox® Pigment Ink-"Gold Shine" and "Posh White."
Embossing Folder: WRMK Next Level Embossing Strip: "Thanks."
Stamp: Canvas Corp/Hampton Art "My Art"

Thanks for Stopping By!
Hugz,
Chana

Saturday, January 21, 2017

A Scrappy Little Tag! - Using my Gelli Print Scraps..A Salvage Operation

Hey, Crafty Peeps!
You have probably figured out that I am really into this Gelli Printing.  I made a resolution to use as much scrap paper as I could in my projects for 2017.  Gelli printing has helped me because not only can I print designs over old paper scraps or over designer paper that I do not like and will probably never use, I can also use the scraps for projects like this "cuffed" tag! 

Everything in this project, including the Eiffel Tower, was created using scrap papers.  

Who knows, this may be the year I become more proficient at creating collages.  Probably not but it is an encouraging thought!


To start my "salvage project,"  
I decoupaged a bit of script from a scrap napkin onto the tag.

To add shine to the edges, I used  ColorBox® Teresa Collins™ Gold Shine Pigment Ink Pad.

I embossed a scrap piece of Gold card stock and adhered it to the back of my tag!
An embossed scrap piece of Gold card stock and adhered it to the back of my tag added elegance!
To create the "cuff" I folded over a small back section. A piece of elastic gold cord was slipped through the fold to create the hanger.
I added the Eiffel Tower Die Cut and this tag was good to go! 
I am learning that not every project has to be super, super involved.  I have also learned that "forced" creativity can get your mojo back on track!

Thanks for stopping by!
HUGZ,
CHANA MALKAH


Tuesday, January 17, 2017

Shopping Our Stash -Fantastic Beasts

Hello, Ya'll!
Here at Shopping Our Stash, we are on the lookout for 
Fantastic Beasts: Unicorns, Dragons, Monsters...Et al!
This is Ms. London's SketchI
 I knew I had to craft a card using this fabulous Unicorn sketch by Ms. Tanya London.  Since I was playing around with my new gelli plate (made with my own crafty little hands) I decided to use one of my gelli prints as the background paper.
I chose a blue monochrome palette with gold and silver highlights.
I used a section of my gelli print to complement my sentiment!
I used Smooch™ Frost Glitz and Gold Lame on the horn.  (Unfortunately, the Frost does not photograph well.)
This background sheet is actually the paper I used to "roll off" paint from my brayer !
Creating gelli prints is a fabulous way to utilize paper scraps. Nothing is wasted and you can use any type paper to create your designs.

 Everything used in completing this DT piece is over 5 years old, except the paint which is only 3 years old.  And, of course, my Gelli Plate which I made last week!


Thursday, January 12, 2017

Thank You - Gelli Print

Hello, Crafty Peeps!
In accordance with my resolution to try new crafting techniques this year, I have entered the sphere of Gelli Printing and I must admit that I am hooked! 
As a beginner, I am mostly just playing around with colors, stencils, and a few texture pieces.  After a few more YouTube lessons, I might become more daring.

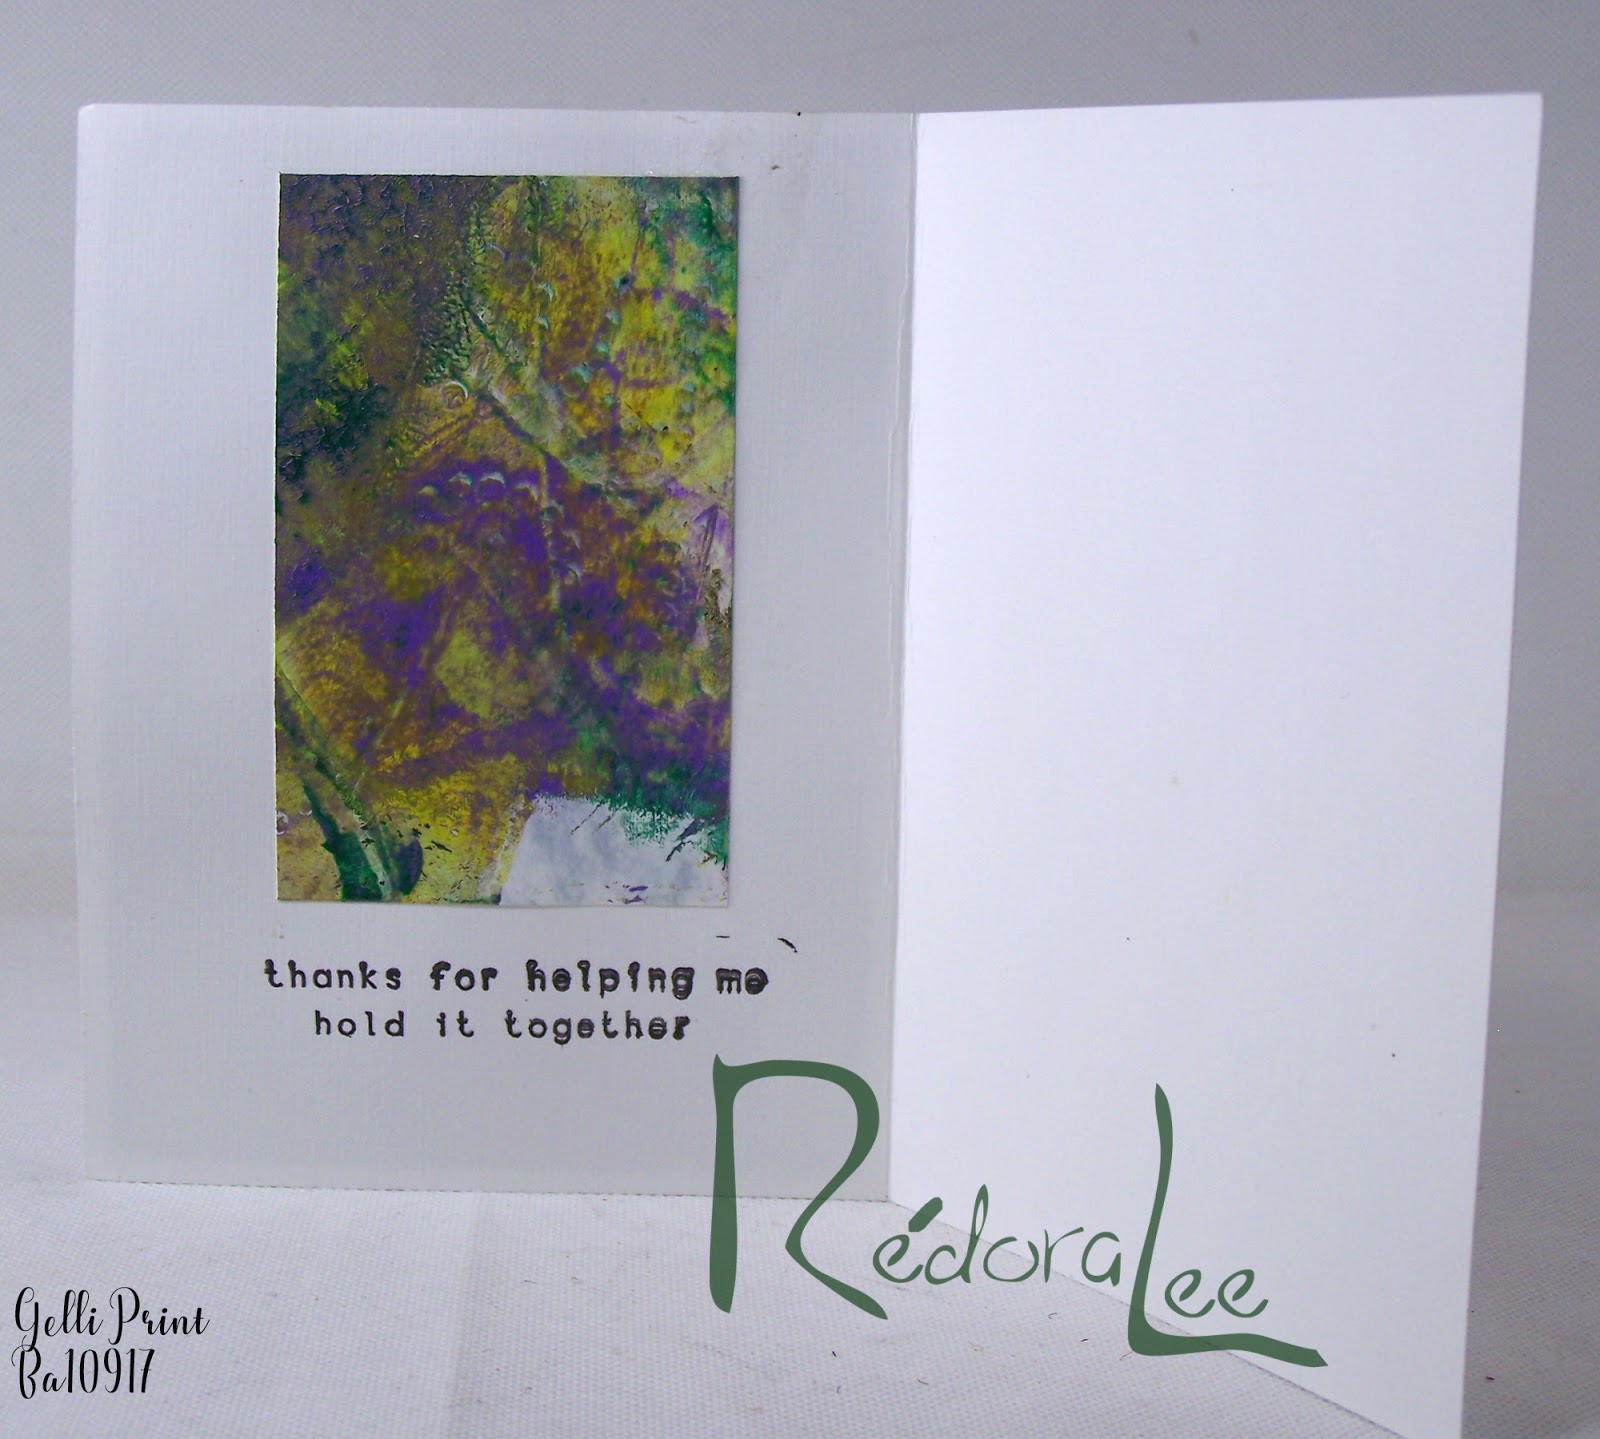
This is a thank you card I am sending to the lady who was the caregiver for my sister.  Last weeks, at age 96, my sister passed away.  Her caregiver shares in my family's grief and I just wanted her to know that her kindness is not overlooked in all of this.
I created this print using a mini Altoid tin.  
My photography does not do the print justice.
I used another scrap of the Gelli Print to anchor my sentiment!

 For my first plate, I used an Interdesign Makeup organizer tray.
This tray produced an 8" x 10"x 1/4" Gelli Plate
This plate has seen a lot of use.  I will melt it down and reset it!
My big new Monster Plate!  I doubled the recipe below to create what should be a 9"x12"x1/2" Gelli Plate when unseated!
You can use a plastic or metal tray.  The bottom must be smooth.
Here is my monster plate unseated!  A few small bubbles but this baby works like a charm. I plan to make one 8"x 8" plate and one 5"x 7" plate. In my OCD mind, if I have more plates, the less wear and tear I will experience on my main plate.

Are you adventurous?  Try making your own, here is the link to The Frugal Crafter.  The recipe is the same but her directions are for using a microwave. 
 I do not own a microwave, so I mixed all my ingredients in a stainless steel pot.

NOTE: Do not use alcohol it will cause your plate to develop mold. Gelatin, Glycerin, and Water are all you need.  Do not refrigerate!
Supplies:
Knox Unflavored Gelatin   Link to Amazon
Vegetable Glycerin  Link to Amazon

Here is the stove top recipe I used for my Monster Gelli Plate:
9"x 12"x 2" Pan
12 Tablespoons gelatin(14 packets)
  3 Cups cold water 
  3 Cups glycerin 
If you want to make the thinner Gelli Plate, divide the recipe in half!
I do not own a microwave, so I mixed all my ingredients in a stainless steel pot. 

STEPS:
Add cold water first then the gelatin, stirring after each packet to avoid lumping. Add glycerine and simmer until the mixture is clear.
If you are less cautious, you can just dump it all in stir it up and put it on your stove top.  I kept my heat low  
Do not over stir as this will cause your mixture to bubble.  
Place your container on a flat surface in a location where it will not be jostled. Pour your gelatine mixture into the receptacle and let set.  Use your finger or a toothpick to pop any small bubbles that may appear after you pour. 

I let my thin plate set up over night.  My thick plate has been setting up for two days (OCD.)

After Care:
If your plate gets too beaten up, cut or scratched (from use) just clean it and melt it for 1 minute in your microwave on high or on your stove top for 5 to 7 minutes (until it completely melts) and reset it. 

Cleaning Your Plate:
You can clean your plate with plain water, but I have found that hand sanitizer works best.  Baby Oil is also very effective for cleaning your plate.  Use a paper towel or baby wipe (cheap ones work best) to wipe away the sanitizer/oil.

HAVE FUN!
HUGZ!
CHANA MALKAH