Showing posts with label Shaker Cards. Show all posts

Tuesday, September 8, 2020

Look For The Rainbows - A Window Shaker Card

Hello, Crafty Peeps!

I originally created this project for the "Lets Get Messy" challenge at Shopping Our Stash.  But I accidentally posted in on FB yesterday so now I have to create another project for next week! Getting messy means using glitter, pigment ink, acrylic paint, you know, the kind of things that require getting your hands sticky, or messy!  I plan to break out my Geli Plate at some point!
Shaker cards are generally "messy" makes for me!  I use tons of glue and in this case a mix of Distress Inks on the outside and in my windows!  I used stickles and glitter, and glue to embellish cloud windows.  I had so much fun unsticking myself from my panels. 
I added a few sequins to the card face!  I smeared glue on my balloon and then sprinkled on some glitter.  I don't like glitter so much because it gets everywhere!  I used a mixture of stickles and glitter to create a rainbow background in my cloud windows!
I am so glad that I started using craft foam instead of double-sided foam tape on my window projects!  It has made the creation of the projects easier and more efficient.

Thanks for visiting!
Hugz,
Chana Malkah
Stuff I Used:

Sunday, August 30, 2020

2020 Stash Party #43 - Another Purple Shaker - Thinking of You

Hello, Crafty Makers!
I made a couple of die purchases this year that made it easier for me to create slimline cards.  In the past, I would simply use my geometric dies to cut my windows (and I still do for plain windows.) But I saw two dies that I really wanted to add to my collection.  

For this project, I decided to use only two of the windows instead of three.  I like it!
Thinking of You
Normally, I would have cut four panels and used three of them plus a layer of craft foam to create the wells for my shakers.  But I only used one layer of foam to create the wells and it seemed to work ok!  I was testing it because I want to make a shaker bookmark and need to be sure I would still get the shaker effect!
I added a die-cut to the interior.  I did not feel that an interior sentiment was necessary.


HUGZ,
Stuff I used:
PinkFresh Studio SLIM STITCHED SCALLOP CIRCLE PANEL Essentials Die Set pf032es Preview Image

Monday, August 3, 2020

A Place To Start - August Challenge - Create A Shaker Card

Hello, Crafty Peeps!
I am just delighted with the theme for our challenge this month at A Place To Start!  I love making shaker cards and this challenge gave me the opportunity to create a slimline shaker card, my first.

 GOOD VIBES
I have found it easier to use craft foam on my shaker card than messing around with the double-sided foam tape. I also used a single sheet of acetate. 
I forgot how acetate picks up shadows. That is not a defect in my top circle, it is a reflection from the light hitting the acetate. I simply could not take one more picture!😄 This is the first slimline card I have done in almost ten years.  When I saw the framework dies, I had to break my crafting diet and purchase two. I wanted them all but impulse control is a part of my three-year "no spending" challenge.
I did not want acres of white space on the inside of my card so I used my Mini Cubic Stencil to create a pattern that matched the face panel.  I added a touch of "Shaded Lilac" Distress Oxide Ink to the inside panel to create a little more interest.  I also added a think strip of cardstock along the edge to give the eye a little relief.


Thanks for stopping by!  
I look forward to seeing your entry!
A Place To Start

Challenges Entered:
Artsy Divas:  Always Anything Goes
The Corrosive Challenge: Always Anything Goes
Dragonfly Dreams: Anything Goes


Stuff I Used:
Framework Cutting Die


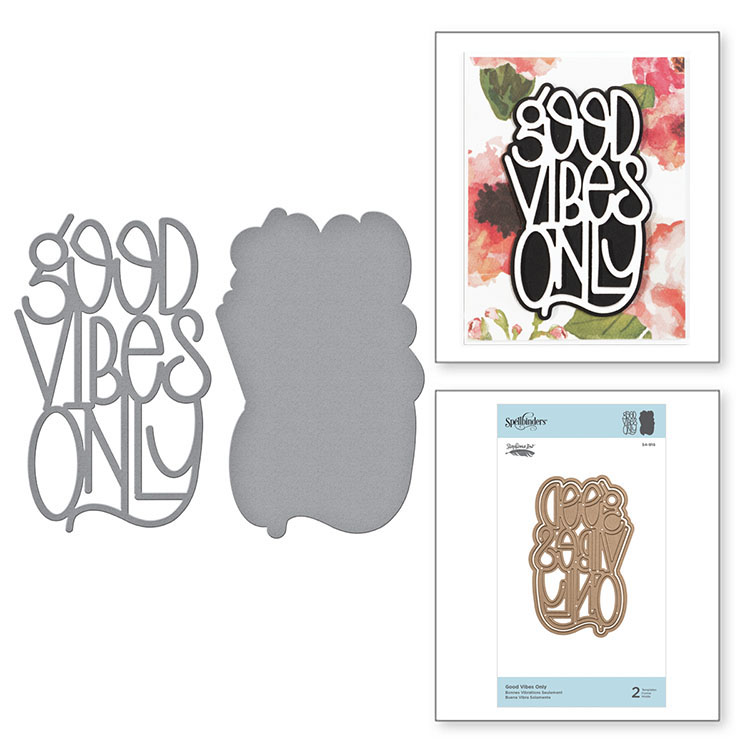
Spellbinders' Good Vibes Only

Memory Box - Sofia Heart
Sophia Heart Die - Memory Box - for Crafts :

Friday, November 8, 2019

Merry Christmas - To Shaker or Not To Shaker - A Step Tutorial

Hello, Crafty Makers!
As we near the end of 2019, I am feeling great about the progress of my 2019 self-challenge.  I successfully refrained from purchasing stamps, dies, etc., I have significantly reduced my stash, I have created cards that were out of my comfort zone, and I was able to relaunch A Place To Start, a challenge blog I hope to expand into a crafter's resource site.  This month, it seems that I am facing a different kind of challenge...Christmas Cards.
I normally don't make Christmas Cards.  Last year, I received a rather substantial order for Christmas Cards. This year, My sister-in-law has asked me to create custom cards for her church and for her personal use.  My supplies are limited but this image, I thought would work well as a generic holiday greeting.
Merry Christmas - The Tutorial
Shaker Version
Tools Needed
Die Cutting Machine or Circle Cutter
Metal cutting dies -Circle (2)
Blending brushes or other blending tools
Stamping Platform
Paper Trimmer
Craft Knife
Paper Piercer
Self-healing cutting mat
Small circle punch or die (3/4")
Supplies Needed
White Cardstock - 2 Sheets - 8.5" x 11"0
   Card Base - Cut to 4.25"x 11.0", Scored at 5.50" 
   Window Panel - Cut to 4.25"x 5.50"
   Image Panel - Cut to 4.25" x 5.50"
White Craft Foam
    1 pc cut to 4-1/8"x 5-1/4"  (you can use double-sided foam tape to create your shaker window if you do not have craft foam.) 
Distress Inks/Oxides (or other ink pads)
    Tumbled Glass, Iced Spruce, Stormy Sky, Salty Ocean, Blueprint Sketch, Faded Jeans, Squeezed Lemonade, Weathered Wood, Broken China    
Acetate - Must be large enough to cover the smallest circle size.
Sequins, Chunky Glitter or other shakers materials
Image Stamp or Die
Double-sided tape
Wet Glue
Wink of Stella (or some other glitter brush)
Stickles - Diamond
Image Stamp or Die
Post It Notes
White Paint Pen
Step--by-Step
Helpful Hint:  Before you start your project, create a template that can be used to make sure your image positioning is correct.  I used a scrap piece of Kraft card.  Use the smaller (window size) of your two circles.

Step 1
Cut your cardstock down to the proper sizes (See above).   Use your small die to cut a circle shape. This is your window.  Position your sentiment and stamp it onto your window panel.  (if you are making multiple cards, I would suggest cutting and stamping all of your window panels at this point.)
Step 2
Next, use the larger die to cut a circle in your craft foam. Later, this piece will be added to the back of your window panel.  If you place your craft foam on the back of your panel it should look like this.  Your craft foam may stretch a little when you run it through your die cutter.  Trim the excess.  It will also be flat but will regain its fullness. 
Step 3
Apply double-sided tape to the back of your window panel. Remove the release paper.   Adhere the acetate sheet to the back of the panel.  Apply tape to the back of the acetate sheet.  Now attach ds tape to the back of your craft foam.  If you are making the shaker version of the card, it is important to create a tight seal so that none of your shaker elements fall out.  

Your taped pieces should look something like this.


Remove the release tape from the acetate sheet and place the craft foam on top with the taped side up. This will be added to your card base.  For now, set this assembly aside.

Step 4

Use your remaining A2 panel to color your image.  If you are going to use watercolors, you will want to use the appropriate paper.
Snowdrifts
Create templates for your snowdrifts.  You can do this by tearing/cutting across the sticky edge of a Post-It note.  You may also used curved dies.
Use your 3/4" round punch or circle die to cut a circle from the sticky edge of a Post-It note.
Using your circle template, position your moon and the first layer of snowdrifts where you want them to appear in your card window.
Use removable tape to secure your panel to your work surface.
Begin coloring around your moon.  I used Weathered Wood to create my halo, however, Tumbled Glass is probably a better choice.  Work your way outward from light to dark colors.
I used Iced Spruce Distress Oxide to create my snowdrifts.  Keep positioning your templates until you achieve a pattern that you like! 
 Use your template to define the area that will be in the window of your card.
I stamped my image onto a scrap piece of paper to help me determine where I wanted to place my cabin.  If you are using a clear stamp, this step is not necessary. 
Place your stamp on your platform and position it.  
 Remove the yellow sticky and stamp your image with black ink. I used Momento Tuxedo Black.  Clean your stamp and then stamp the image again using Versa Mark Embossing Ink.  Heat emboss using "CLEAR" Embossing Powder.
 Decorate your image.  I added stickles to the trees, the wreath on the front of the house and the Christmas tree in the window.  I used "Wink of Stella" and Iridescent Watercolor Medium to add frost to my snowdrifts and the roof of the cabin.  I used a white Sharpie Paint Marker to color the snowflakes.
Next, apply double-sided tape to your card base. Add the image panel to the card base. If you are making a shaker card, place the shaker materials on top of your image before proceeding to the next step.
Remove the release paper from the back of your window panel and adhere it to your card base.  You are done.
Thanks for stopping by!  
Challenges Entered


Monday, May 20, 2019

A Place To Start Mid-month - "Showcase Your Favorite Technique"

Hello, Crafty Peeps!

The designers have designed a new batch of projects to inspire you to create projects using your favorite technique and showcase them in our challenge at A Place To Start!  
I chose to do a "Wet" Shaker Card! This is a fun technique.  
I colored the background and images with Copics.  This card is constructed the same as any other Shaker the only exception is that you do not have to put foam tape around the window.  You will, however, have to use foam tape on the back of your image and other parts of your frame just to create dimension.  I should have added a few more sequins, I think.
Don't you just love all the little bubbles!

Looking forward to seeing your creations in our challenge!

Hugz,

Saturday, May 18, 2019

Liquid Shaker Card - It Could Have Been Worse

Hello, Crafty Peeps!
Today, I am sharing a new technique I learned for creating a fun and unique shaker card.  This is my second "wet" shaker project and I am definitely hooked.  The other benefit of learning this technique was that I finally opened the Fuse tool that I purchased (or received as a gift) over 4 years ago.

I don't like this one as much as I did my first project (which will post here on Monday) but it is still a really cool card to give someone.  The Hubster and my grandson got a real kick out of pushing down on the "water" and making the sequins move around.  It is kinda cool, I must admit.  I still think I need to be more gen I ordered a few more aquatic-themed stamps and dies so I can vary my underwater scenes.  I need some little fish!

Stuff I Used:
Stamps: Sea Friends
Paper: The Paper Studio
Plastic: WRMK Plastic Sleeve
Liquid: Assured Hand Sanitizer
Misc: Distress and Distress Oxide Inks- Broken China, Weathered Wood, Stormy Sky
Copic markers


Sunday, May 5, 2019

613 Avenue Create - May Challenge - Shaker Cards - Friends

Hello, Crafty Peeps!
I had so much fun creating this shaker card.  I ordered a bunch of "critter" stamps and dies so that I could step "waaaay" outside my box and create a few whimsical cards.
  I think I may be hooked.
Anything Goes w/Optional Twist:  Shaker Cards