Tuesday, March 31, 2015

Challenge #194 - SHOPPING OUR STASH - NO FOOLIN'

Hello, Crafty Peeples!
If it's Tuesday, then it must be time to SHOP OUR STASH!   
 SHOPPING OUR STASH we are challenging you to use your favorite FAUX technique.

Here are a few links to some techniques you might use

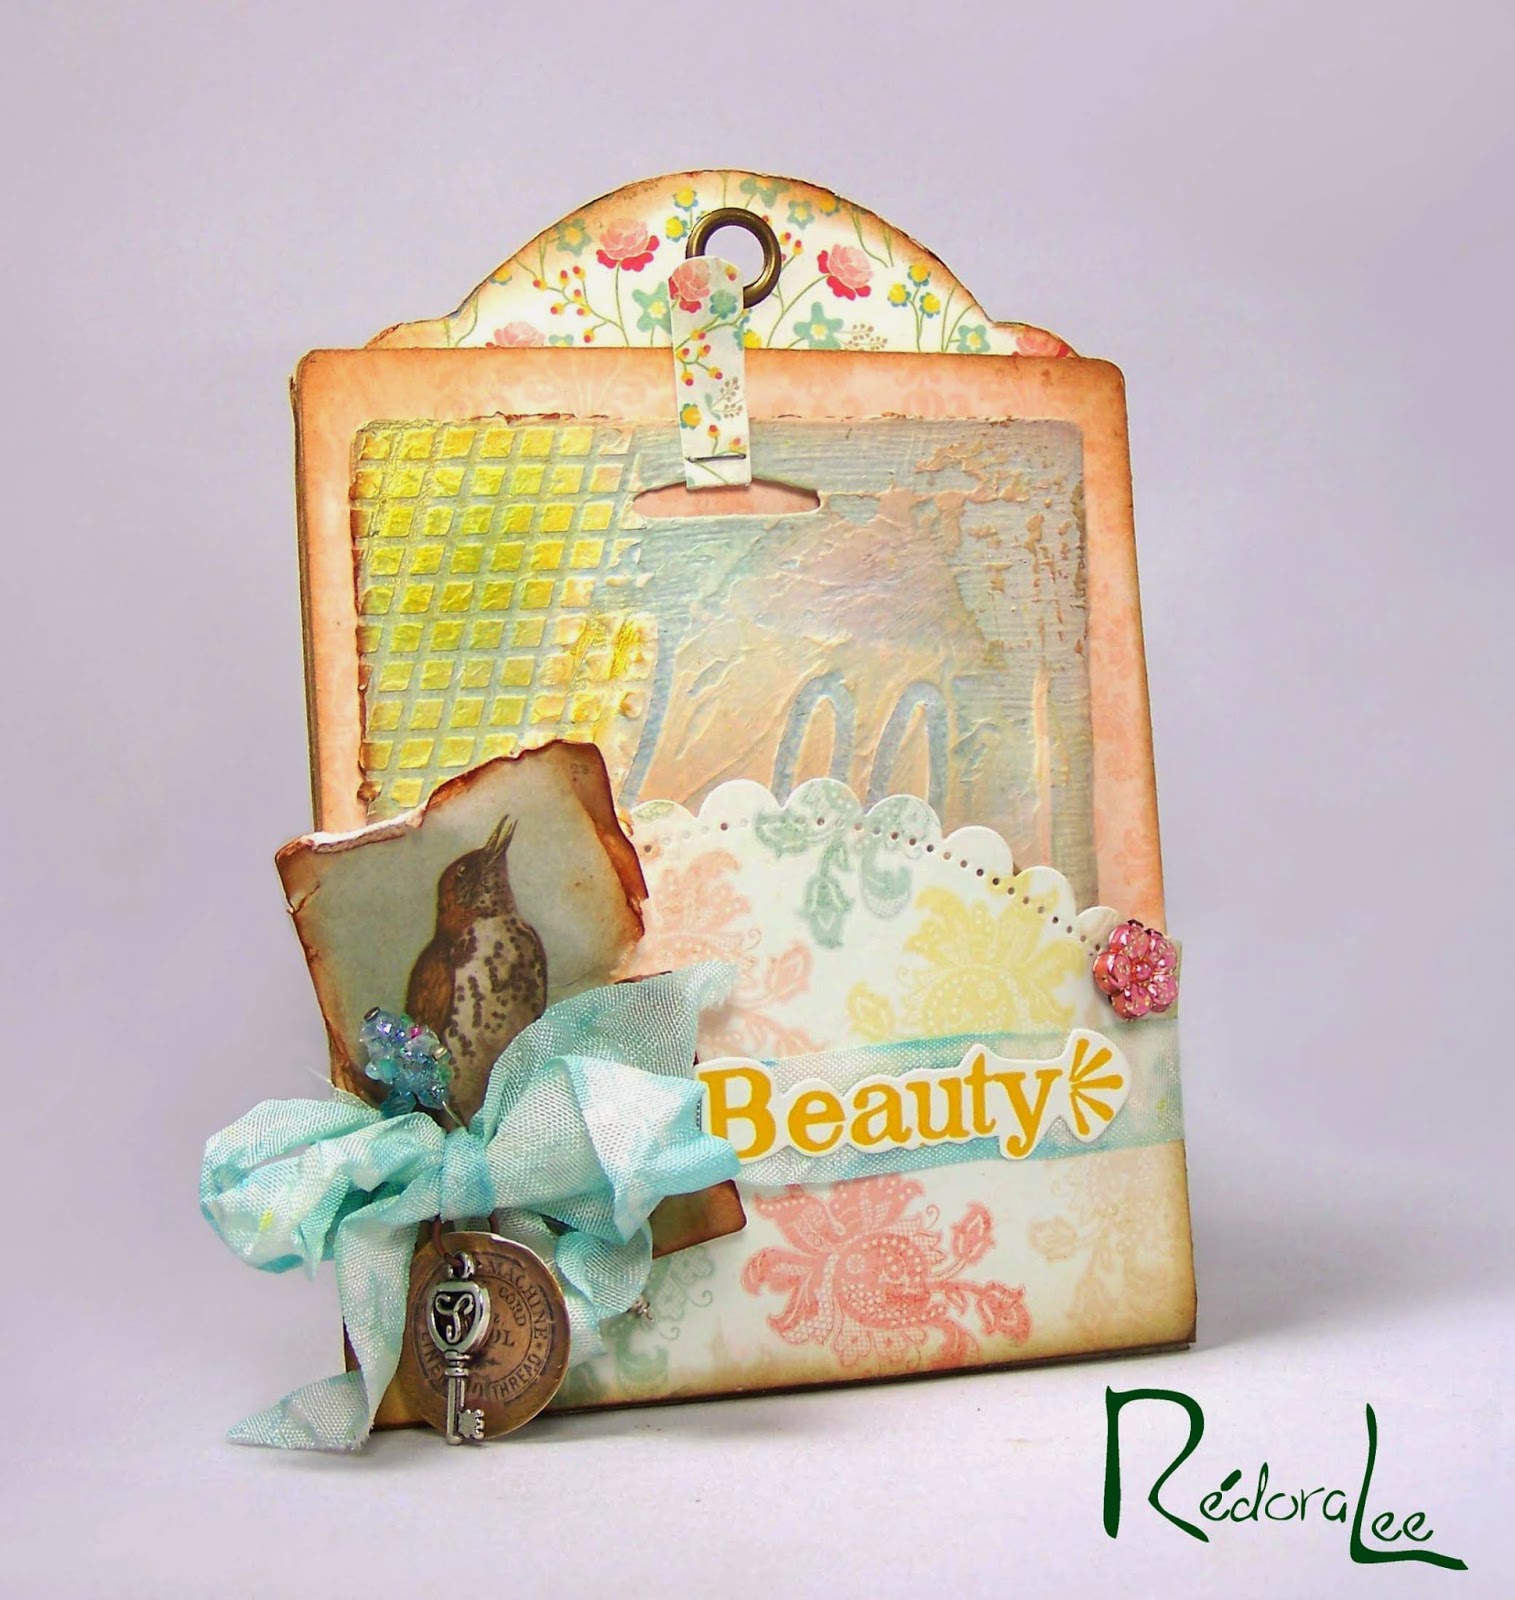
My inspiration this week was The SCS Faux Wood Frame.   I used just a basic Bazzill Textured Blue Card Stock that I streaked with TH Weathered Wood Distress Ink. I used SB standard squares to cut the frames and embossed them with my Couture "Pinstripe" embossing folder.  Using the direct to the paper technique, I applied Vintage Photo DI to embossed ridges. Finally, I added a little Ranger Crackle Accents.

The is another of my Brown Paper Bag Cards.  
The Paper is Graphic 45's French Country Collection

I am mailing this off to a friend, so I created a matching box!
 The French Country Collection is so full of wonderful detail, that a lot of fussy cutting was not required.  The Rooster was just screaming to be used and I wanted the stamp for depth and more texture.  This wonderful Prima Rose, with a little Vintage Photo DI added, round things off nicely! 
I found this sunflower stamp while browsing through my stash of Unity Company Stamps.  Nice!
I included this coordinating tag with the card.  There is an opening for another tag or for a gift.
 When I make these cards, I alway leave one cubby empty so that the recipient can create their own tag or gift item.  I was really pleased with the outcome of this project.

My Teammates have created some fabulous projects using various Faux Techniques!  Please stop by their blogs and take a look!
Thanks for Stopping By!
Hugz,

Monday, March 30, 2015

OUTLAWZ GREETINGS CHALLENGE - ANYTHING GOES!

Hello, Crafty Peeps!   
As I have said in the past, I love using brown lunch bags to make cards and tag holders.  This past week I decided to return to that old favorite to create my DT projects.  
I was also inspired by the coming of Passover and the gentle stirring of Spring.
This was a fun, quick, and easy project that utilizes a small bag.  
I did not do a step out tutorial for this project but probably will photograph the next one.
Thanks for stopping by, I look forward to seeing your project in the challenge.
I love the ease of creating pockets with the brown paper bags!  The secret is in the folding!
To save on crafting costs, I keep all the cardboard backing from embellishments and use those for my tags.  These two tags were create using the carding from a Graphic 45 Staples purchase and  from some Bo Bunny Brads.

Hint: Once your brown bag is folded, run it through your Big Shot.  This will smooth out any wrinkles in the bag and reinforce your folds.

Supplies Used:
Papers:  My Mind's Eye - Miss Caroline - Howdy Doody
Inks:  Broken China, Vintage Photo, Spun Sugar and Scattered Straw Distress Inks


Sunday, March 29, 2015

Challenge #117 - 613 Avenue Create - TRULY ANYTHING GOES!

Hello, Crafty Peeples!
This week at 613 Avenue Create, we have a "Truly Anthiny Goes" Challenge.
So, show off your Canvas work or Art Jounals.  I would love to see some Scrap Pages and Home Decor Projects.  Whatever strikes your fancy, we would like to see your creations.

I decided this week to revisit an old favorite of mine, brown paper bag cards.  They are so easy and so full of opportunities to "hide stuff" like tags and gifts.

BROWN BAG TAG POCKET CARD
I don't celebrate Easter, but this wonderful paper from Authentiques's "Hope Collection" was impossible to resist.  I am sending this as a gift to one of my crafting buddies!


 Like I said, lots of little "cubbies" in which to stick things.  Such a nice way to send a gift of stamps to a crafting buddy! The Inkadinkado Stamps fit perfectly!

Thanks for Stopping By!  I look forward to seeing your work in the challenge at 

Tuesday, March 24, 2015

Shopping Our Stash - Challenge #194: Neon Rainbow

Hello, Crafty Peeples!

This week over at Shopping Our Stash our theme is: 
Neon Rainbow 
Use a rainbow -- Rainbow Image or Rainbow Colors --- OR --- use Neon

I'm working on another project for which I need a number of tags, 
so I decided to make a tag for this challenge.  
This also gave me the opportunity to play with my new 

Somewhere along the line, my rainbow colors turned "cloudy," 
but they are all there orange/red, yellow, blue and green. 
Here is one of my proof pictures to get a better view of the embossing on the tag.  
I used the Darice "Henna" Embossing Folder. 
 I probably should have used a folder with more open areas.
 I liked the result, so it's okay!

STEPS:
FOR A COMPLETE TUTORIAL VISIT:

1. Emboss Tag
2. Apply Texture Paste ..Let Dry
3. Spray with desired MISTS...Blot with cloth
4. Sand Tag
5. Decorate

INKS AND SPRAYS USED
 Tattered Angels : Plain Jane Baseboard -Bluebird, Grass, Clay
Tattered Angels:  Plain Jane Simply Sheer Mist - Cozy Yellow
Tattered Angels:  Glimmer Mist - Tropical Pink

Tim Holtz Ranger Distress Inks:  Mowed Lawn, Peacock Feathers, Broken China

Thanks for stopping by!  I hope to see your entry at  Shopping Our Stash
Hugz, Chana Malkah


Challenges Entered:

Thursday, March 19, 2015

Shopping Our Stash Challenge - I Made This! Create Your Own Background

Hello, Crafty Peeps!

I have been MIA for a few weeks, but felt well enough today to create a simple card for challenge over at Shopping Our Stash!  This week's challenge is CREATE YOUR OWN BACKGROUND!

I have wanted, for a while,  to try the FAUX TORN PAPER EDGE technique and this challenge seemed like the perfect opportunity.  I also wanted to try coloring a simple embossed image, so I was able to kill two birds with one simple stone.

The base cardstock is Neenah Natural White.  I used the "Faux" torn paper technique and
 stamped with Prima's Epiphany Script Stamp.  The brick wall was created by sponging 
TH Vintage Photo DI over a TCW Mini Bricks Stencil.

I used the Darice "Small Daisy" emobssing folder to create my panel.  The image was colored with
Viva Inka Gold's "Old Gold" and "Greenyellow."  I used "Old Gold" on the petals and then colored over that with my  Marvy LePlume II "No. 13", so the petals have a soft yellow shadow layer.  When the panel was completed, I applied three coats of Modge Podge.  I also applied MP to the card base.

The ribbon is a scrap piece of seam binding that was colored with TH Bundled Sage DI.
The brad is from Leeza Gibbons'  " Wishes & Dreams" collection.


Thanks for stopping by!  Please visit Shopping Our Stash and enter your project!
Hugz,
Chana Malkah