More fun with foiling! This ornament die is so old! It is a Memory Box die that I purchased back in 2009 and ditto the ribbon die. I also pulled out an embossing folder that I have not used in ten years! I can definitely say that this was a true stash party!
One of these days I am going to learn how to successfully take pictures of foiled cards. I am using a new tablet and I have yet to figure out the camera!
This card is actually my favorite of the three. The poor photography does not do it justice!
Thanks so much for stopping by!
Hugz,
Chana Malkah
Stuff I Used:
I used two separate Memory Box Dies to create my ornament and bow, however, there is an off-brand die that combines them. Snowflake Lace/Christmas Bell
This week, the SOS Design Team challenge is: Create a project using Kraft Paper. I love kraft paper for creating "faux" leather notebooks and tablet covers. The cost is low and I can swap covers on my Fire Tablet almost daily. I am eager to see your makes... I am always looking for "Krafty" inspiration.
~~~~~~~ I created one new project for this challenge Using the Tim Holtz Die Alterations® Die "Umbrella Man.
"TRANSFORMATION"
I used craft foam instead of foam tape to add dimension to my project. Craft foam is cheap and allows you to die cut cardstock and foam at the same time.
I reversed the "Transition" on my interior image.
Stash Items: Every item used in this project is 15 months old or older.
Here are some past faux leather projects using kraft paper. Hope you find some "krafty Inspiration!"
Orange You Special
My infusion nurse requested a Traveler's Notebook Cover but she wanted it to be Orange and she wanted me to use the "faux leather" technique. She was convinced her family and friends would not believe that her planner cover was made from paper. She took the finished planner before I could get pictures, however, I found two shots on my tablet.
I used Tim Holtz® Carved Pumpkin™ and Abandoned Coral™ Distress Inks to create the orange undertones desired. She was very pleased with the result. The orange is there but does not overwhelm.
"Itty Bitty Notebooks" Using Kraft Paper to Create Faux Leather
Sunflower
I use the sunflower embossed design quite often when creating notebooks and Planner Covers. It is the most requested.
"Waves of Grain" I don't get as many requests for this one, but it is still one of my favorite embossed designs.
"Butterflies are Free"
This design is fabulous on a mini planner.
"A Pocket Full of Posies"
My five-year-old granddaughter chose this design for
her mini notebook cover. This summer she is going to do her first planner.
I used Darice folders for these projects but any embossing folder will work just fine.
Join us at Shopping Our Stash! We look forward to seeing what you create with your kraft paper!
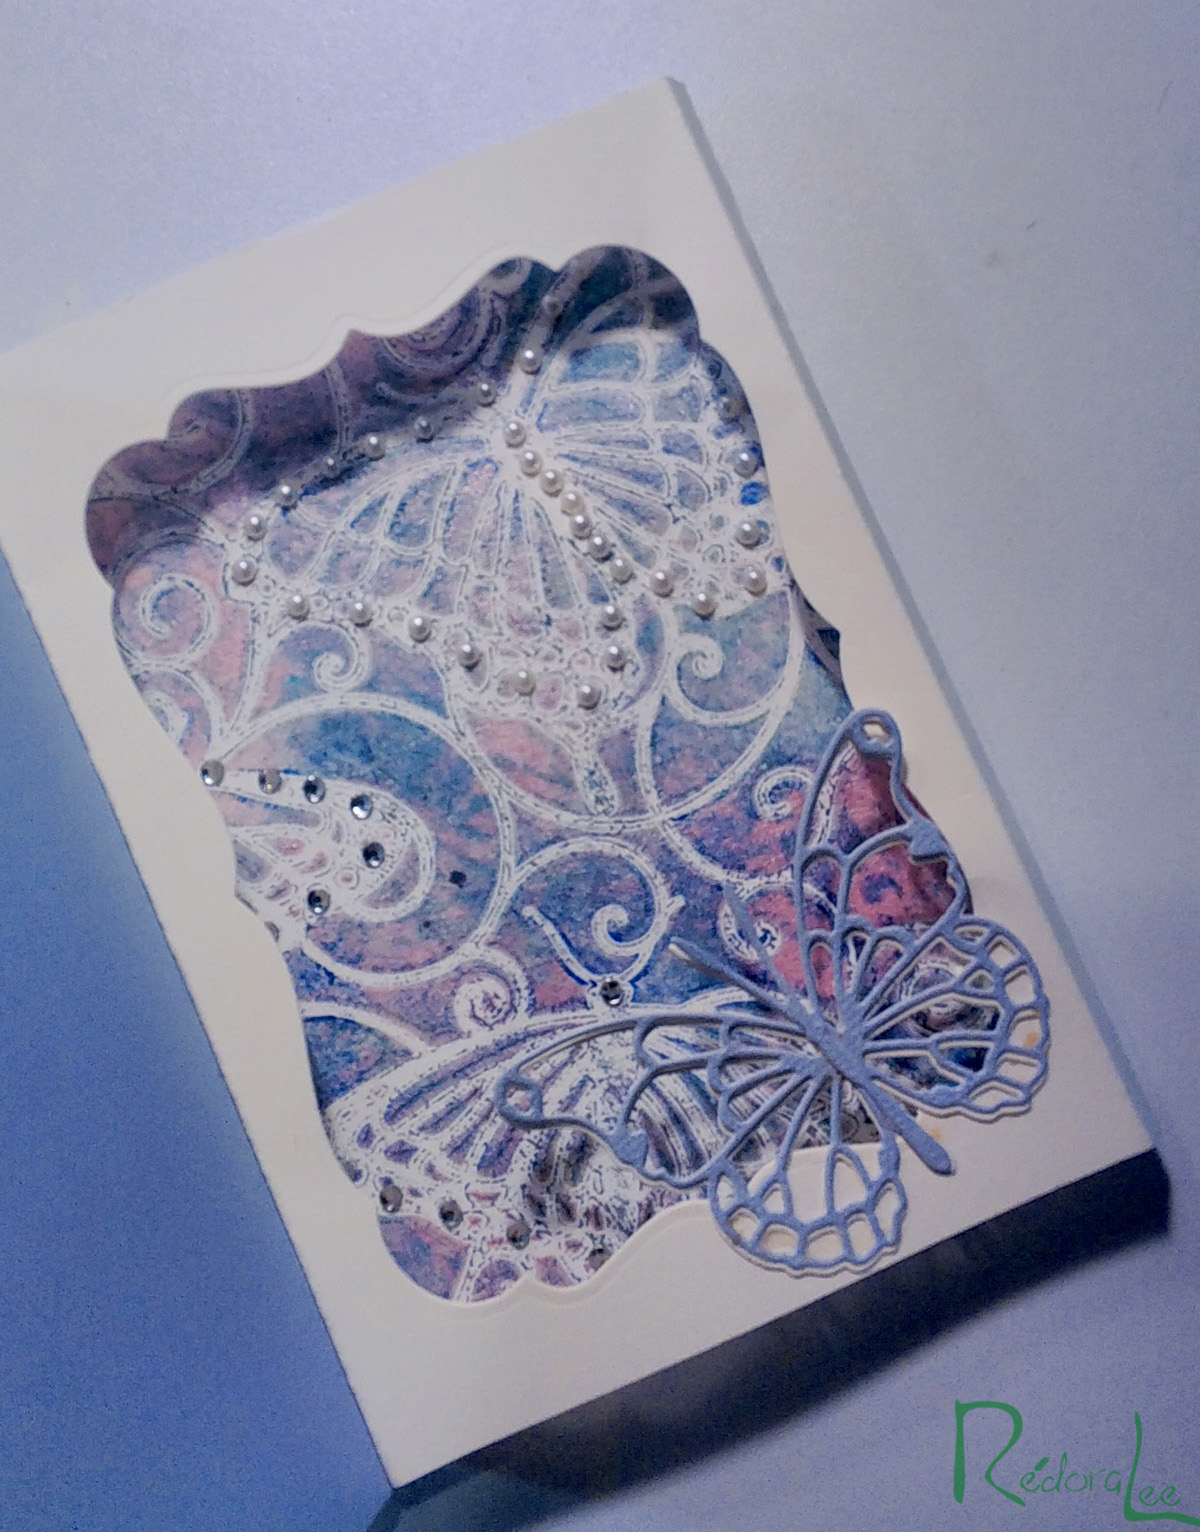
Hello, Crafty Peeps! Last night, I decided to play around with some stencils and my newly made Mono Printer (Gelli Plate). Mono printers are easy to make and fun to use.
This print was so pretty I just knew I had to use it to make a shadow box card.
This closeup shows the wonderful texture on my monoprint.
Don't Stop Believing
Inside Shadow Box Card
The front of the project is very, very simple because the payoff is on the inside.
The Butterfly Dies are Memory Box® - "Darla" and "Vivienne"
The acrylic inks are a combination of Liquitex® Basics and Martha Stewart® Pearlized Acrylic Paints.
Kraft faux leather using basketweave embossing folder.
This week, at Shopping Our Stash, we want to see how you use your favorite crafting "things." If you are anything like me, you have "hundreds" of favorite things so the most difficult part of this challenge will be the act of narrowing the choices.
Basic Materials Used: (to create faux leather)
Kraft Paper
Glycerine
Glue
Liquitex Professional Gloss Varnish
Distress Ink: Vintage Photo, Black Soot
Kraft/Faux Leather/ Traveler's Notebook
I made this TN as a birthday gift for my daughter. The project allowed me to use my favorite technique, creating faux leather using Kraft paper, and several other of my favorites like embossing folders, ClearSnap Smooch Inks, and anything Tim Holtz.
I love how this process gives the designer a beautiful emboss on the front and equally pretty deboss on the back.
I used Tim Holtz® Distress Inks™to color the cover. Almost all colors will work. Sheena has a beautiful blue faux leather notebook on her YouTube channel. The possibilities are endless. You can use the regular DI no need to buy oxides, etc. I used a clear acrylic sealer (three (3) coats) on both the inside and outside of my TN cover.
The sunflowers were colored using ClearSnap® Smooch™inks
The texture is determined by how much "scrunching" you do when your paper is wet.
Ink applied after the paper has dried can be used to add depth to specific areas of the design. The embellishment was made using a slide and layering a brad on it.
Some Fun Stuff on The Inside
Creating the dashboards and inserts for this project also gave me the opportunity to use my new favorite thing, Stickers!!
This image actually reminds me of my daughter.
Gotta love the back of that blouse!
The backing on inside of the TN is muslin I decided to leave it untreated and opted to create pockets using a printed acetate sheet. I am just in love with this image.
Fun papers make interesting insert covers.
Pen Loop
Another favorite thing, making pen loops. This one was made from a piece of the faux leather shown at the top of this post
~~~~~~~~~~~~~~~~~~
This is the definitive faux leather process tutorial.
Thanks so much for visiting my blog. Give this faux leather technique a try. Also, visit Shopping Our Stash and check out my teammates' creations!
I have been MIA for a few weeks, but felt well enough today to create a simple card for challenge over at Shopping Our Stash! This week's challenge is CREATE YOUR OWN BACKGROUND!
I have wanted, for a while, to try the FAUX TORN PAPER EDGE technique and this challenge seemed like the perfect opportunity. I also wanted to try coloring a simple embossed image, so I was able to kill two birds with one simple stone.
The base cardstock is Neenah Natural White. I used the "Faux" torn paper technique and
stamped with Prima's Epiphany Script Stamp. The brick wall was created by sponging
TH Vintage Photo DI over a TCW Mini Bricks Stencil.
I used the Darice "Small Daisy" emobssing folder to create my panel. The image was colored with
Viva Inka Gold's "Old Gold" and "Greenyellow." I used "Old Gold" on the petals and then colored over that with my Marvy LePlume II "No. 13", so the petals have a soft yellow shadow layer. When the panel was completed, I applied three coats of Modge Podge. I also applied MP to the card base.
The ribbon is a scrap piece of seam binding that was colored with TH Bundled Sage DI.
The brad is from Leeza Gibbons' " Wishes & Dreams" collection.
Thanks for stopping by! Please visit Shopping Our Stash and enter your project!
Hugz,
Chana Malkah